ConvertPlus lets you create attractive popups, opt-in and sign up forms for your WordPress website. These modules will help you convert your traffic into leads and transform your website into a lead generation powerhouse.
ConvertPlus comes with an inbuilt lead capture tool, called Connects. You can store and manage leads within Connects or integrate it with third party email marketing softwares.
ConvertPlus offers seamless integration with CleverReach. This integration will allow you to capture leads using ConvertPlus and manage email subscriptions through CleverReach.
In order to integrate ConvertPlus with CleverReach, you can follow the steps mentioned below.
1. Install the Connects CleverReach Addon
Install the Addon.
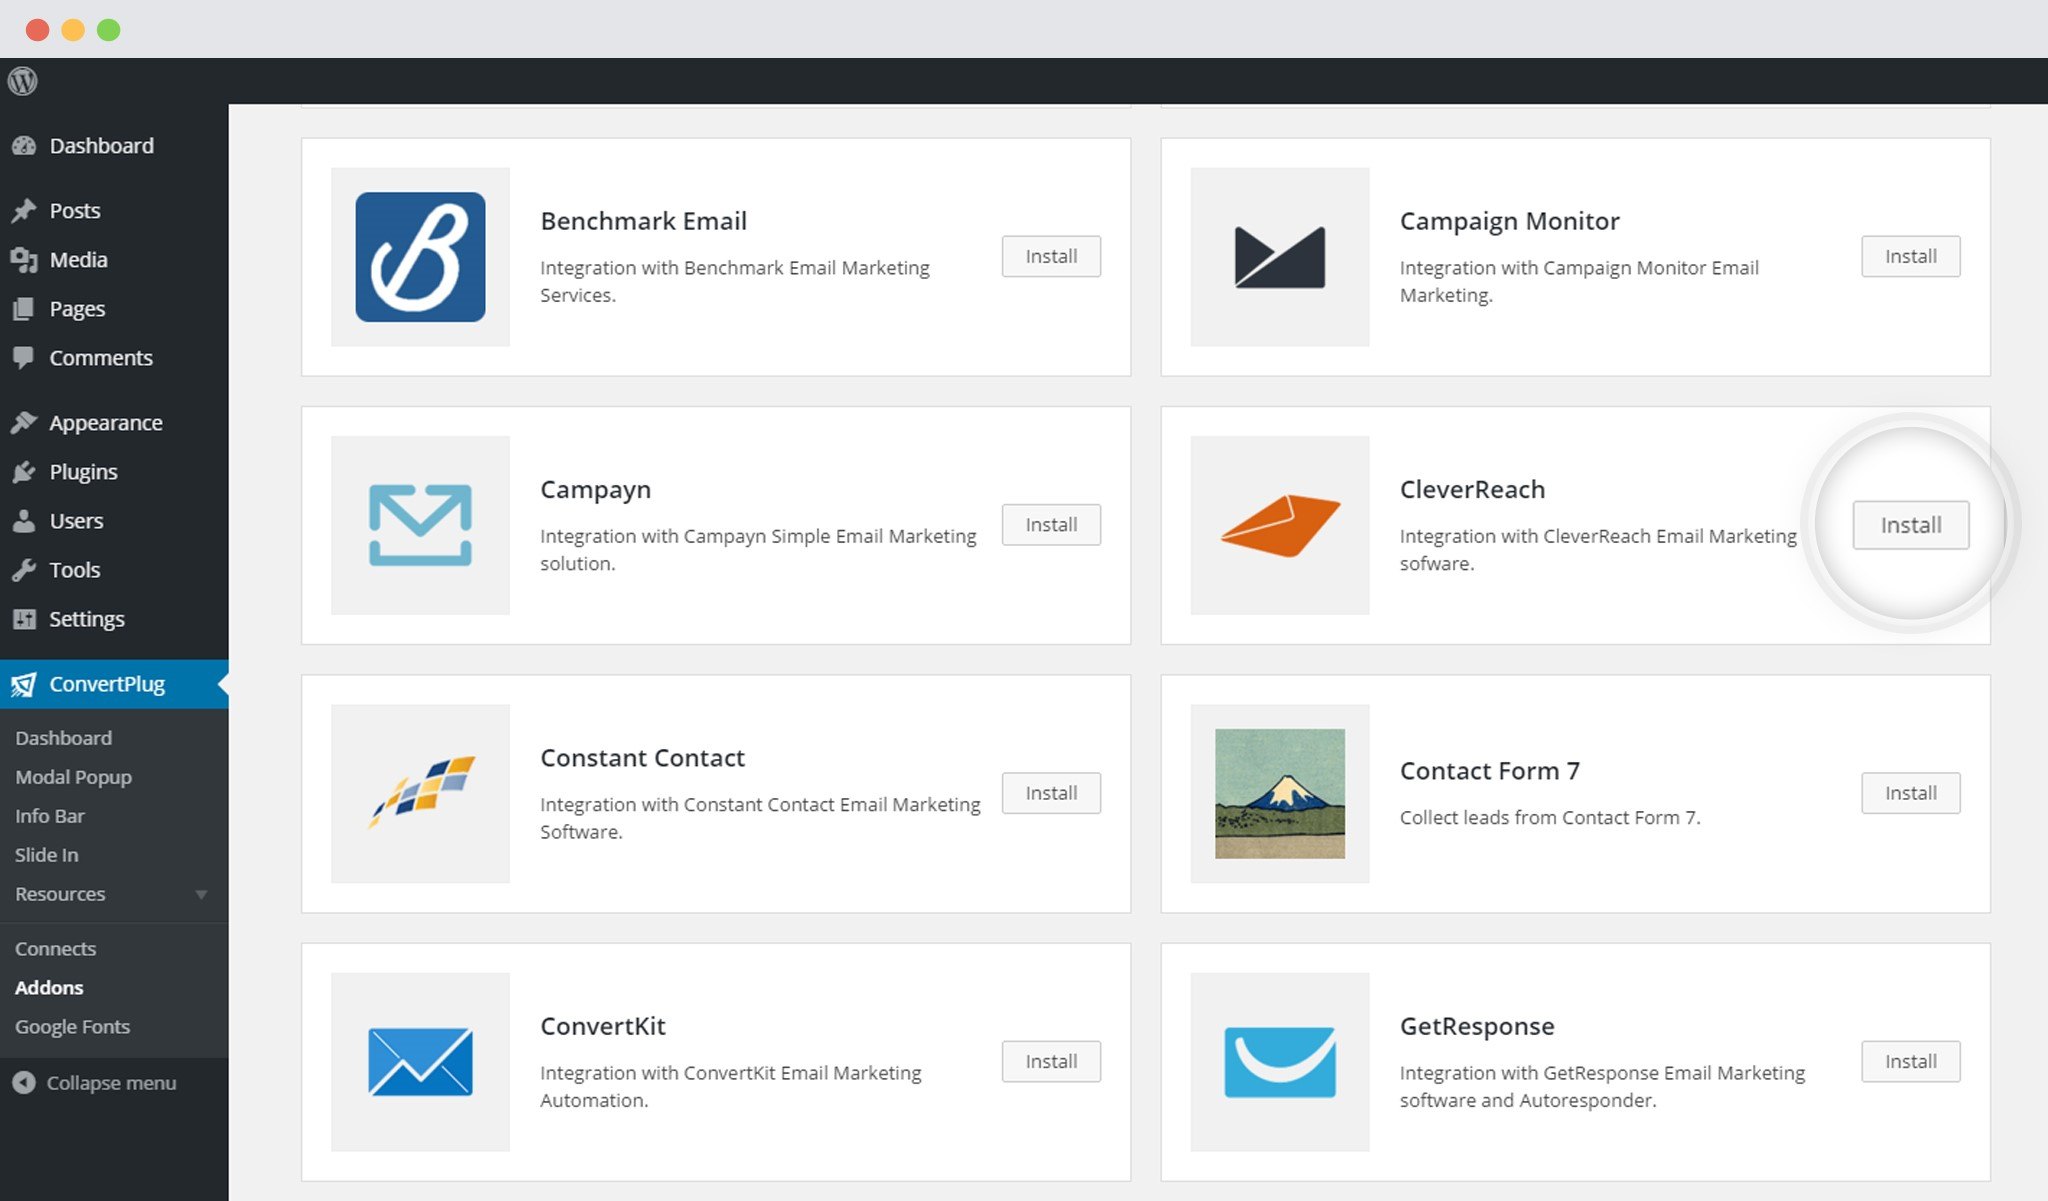
In order to learn how to use the Addon Installer in ConvertPlus, you can refer to the article here.
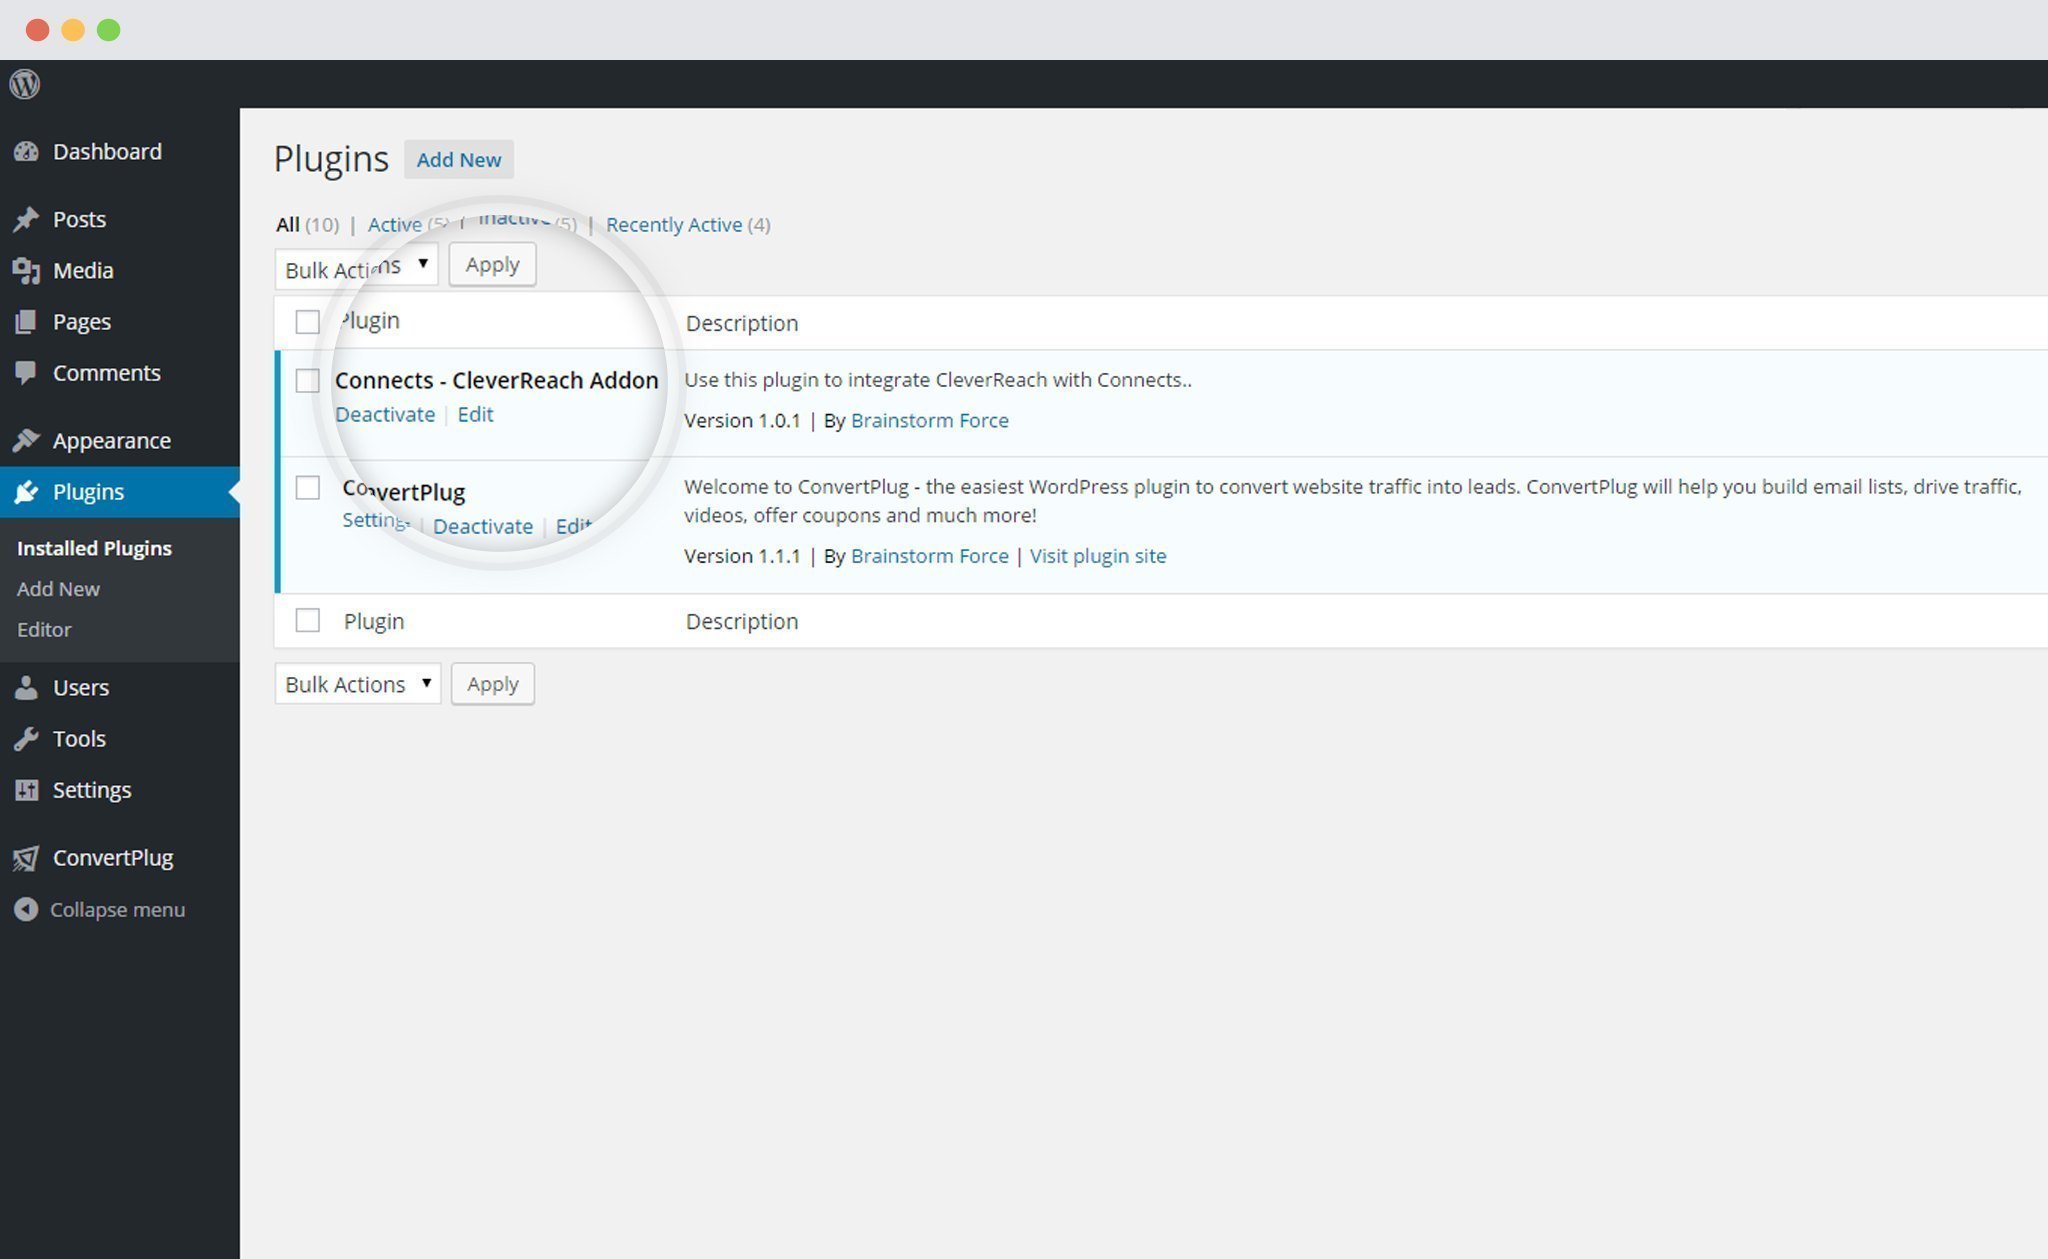
2. The Addon is now installed
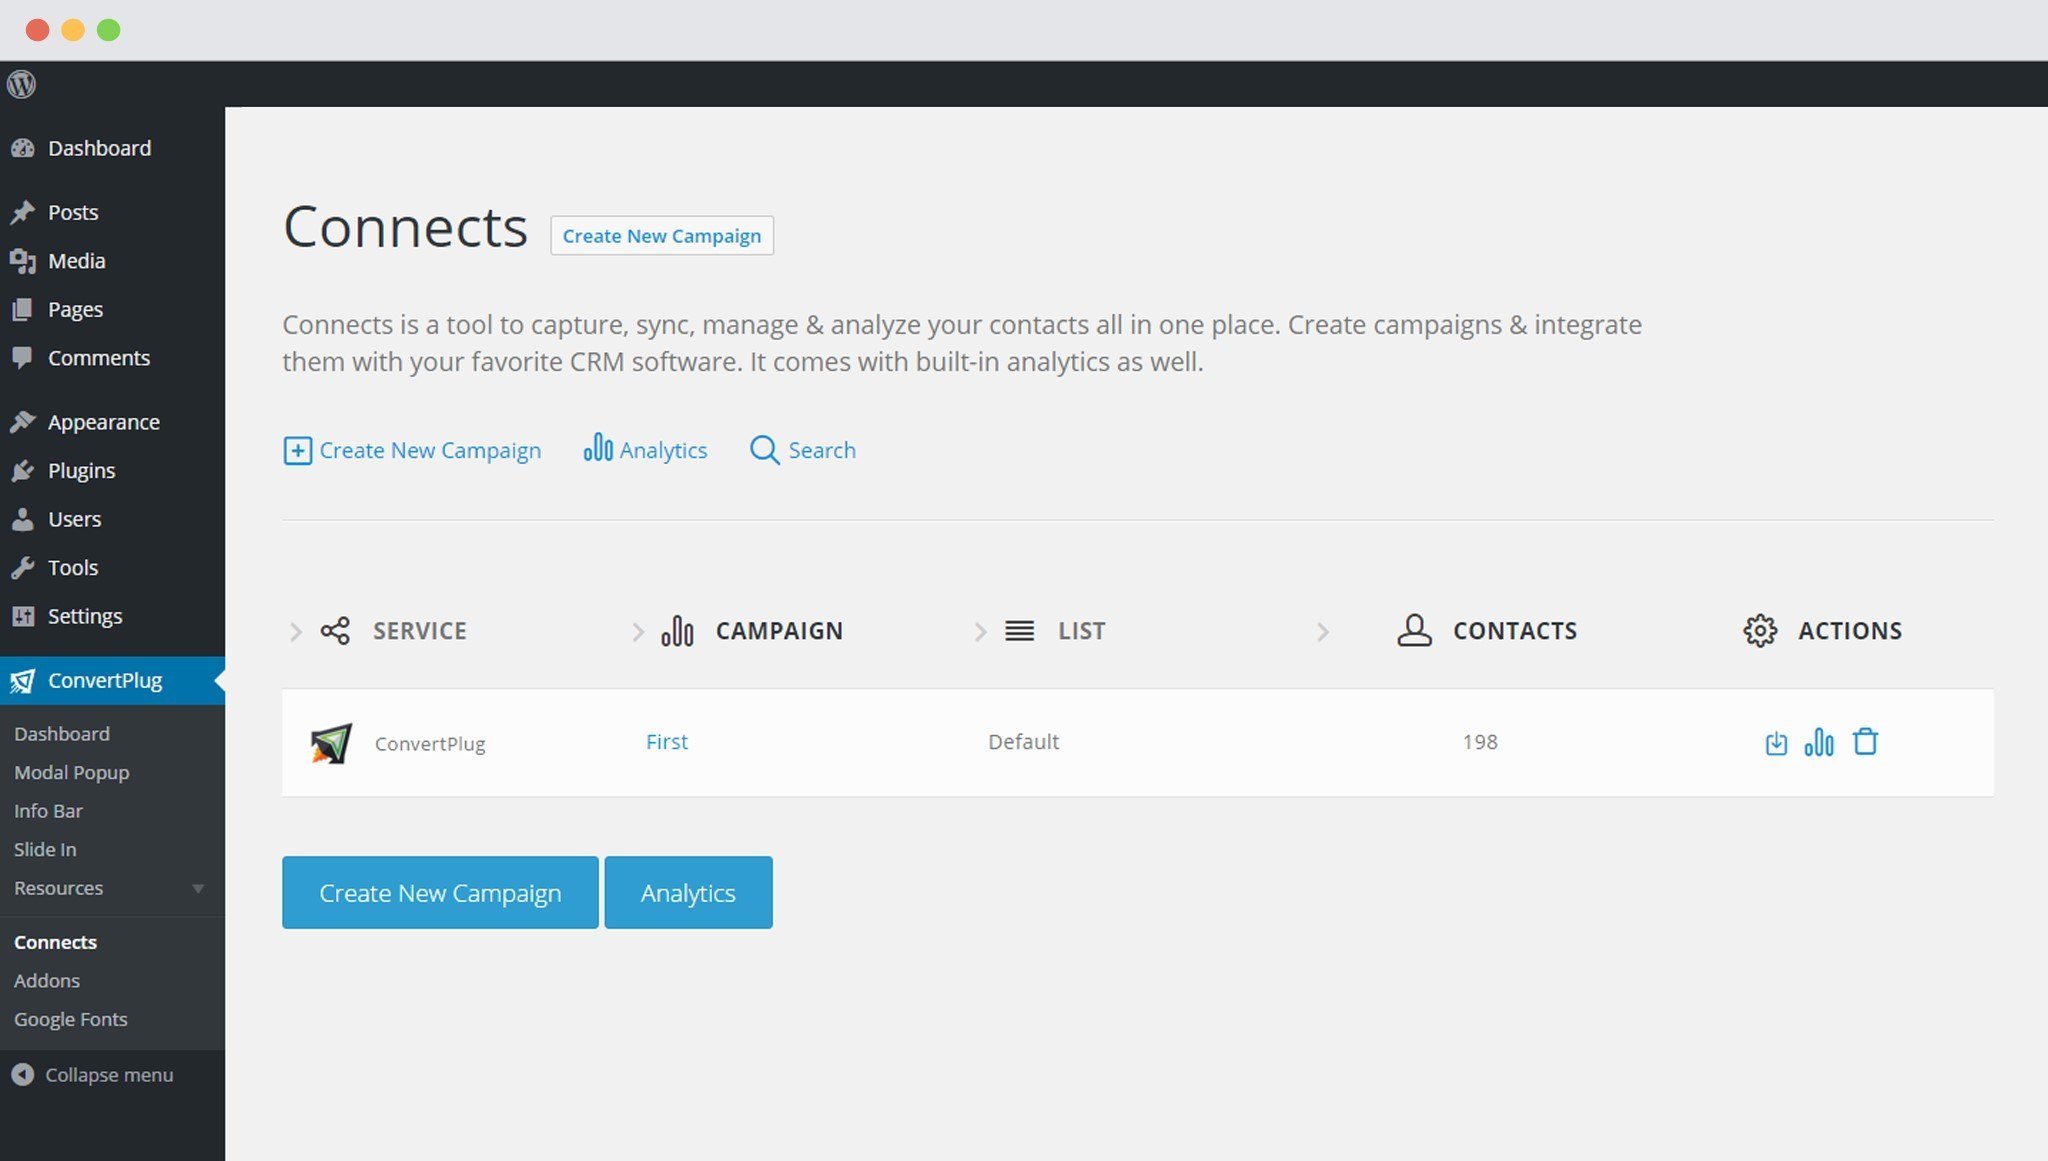
3. Open Connects
You need to open the Connects page seen under the Resources section of ConvertPlus.
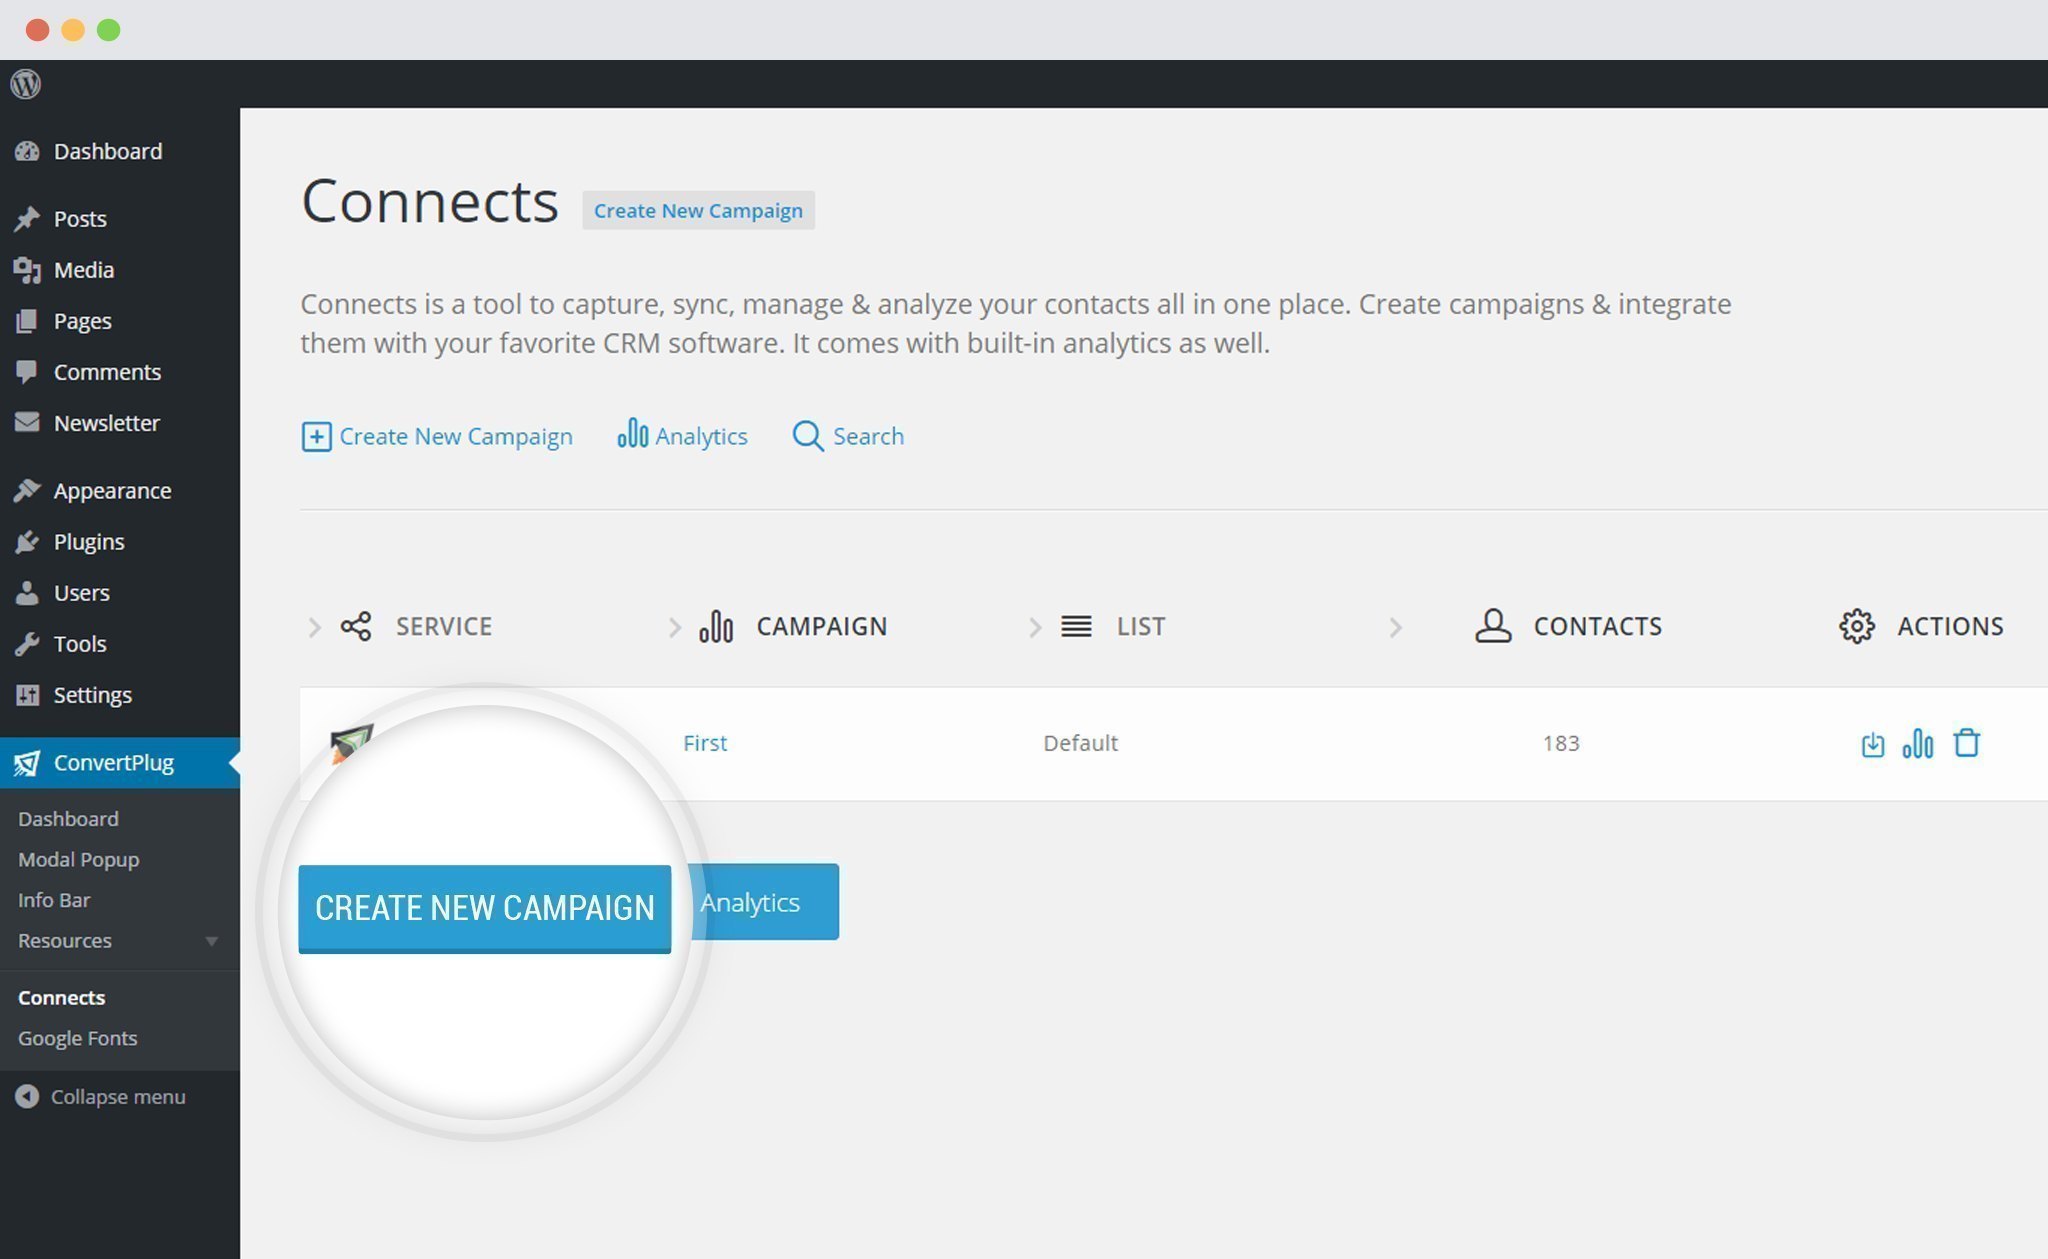
4. Create a New Campaign
You will then find a “Create New Campaign” button that allows you to create a New Campaign. Click on it.
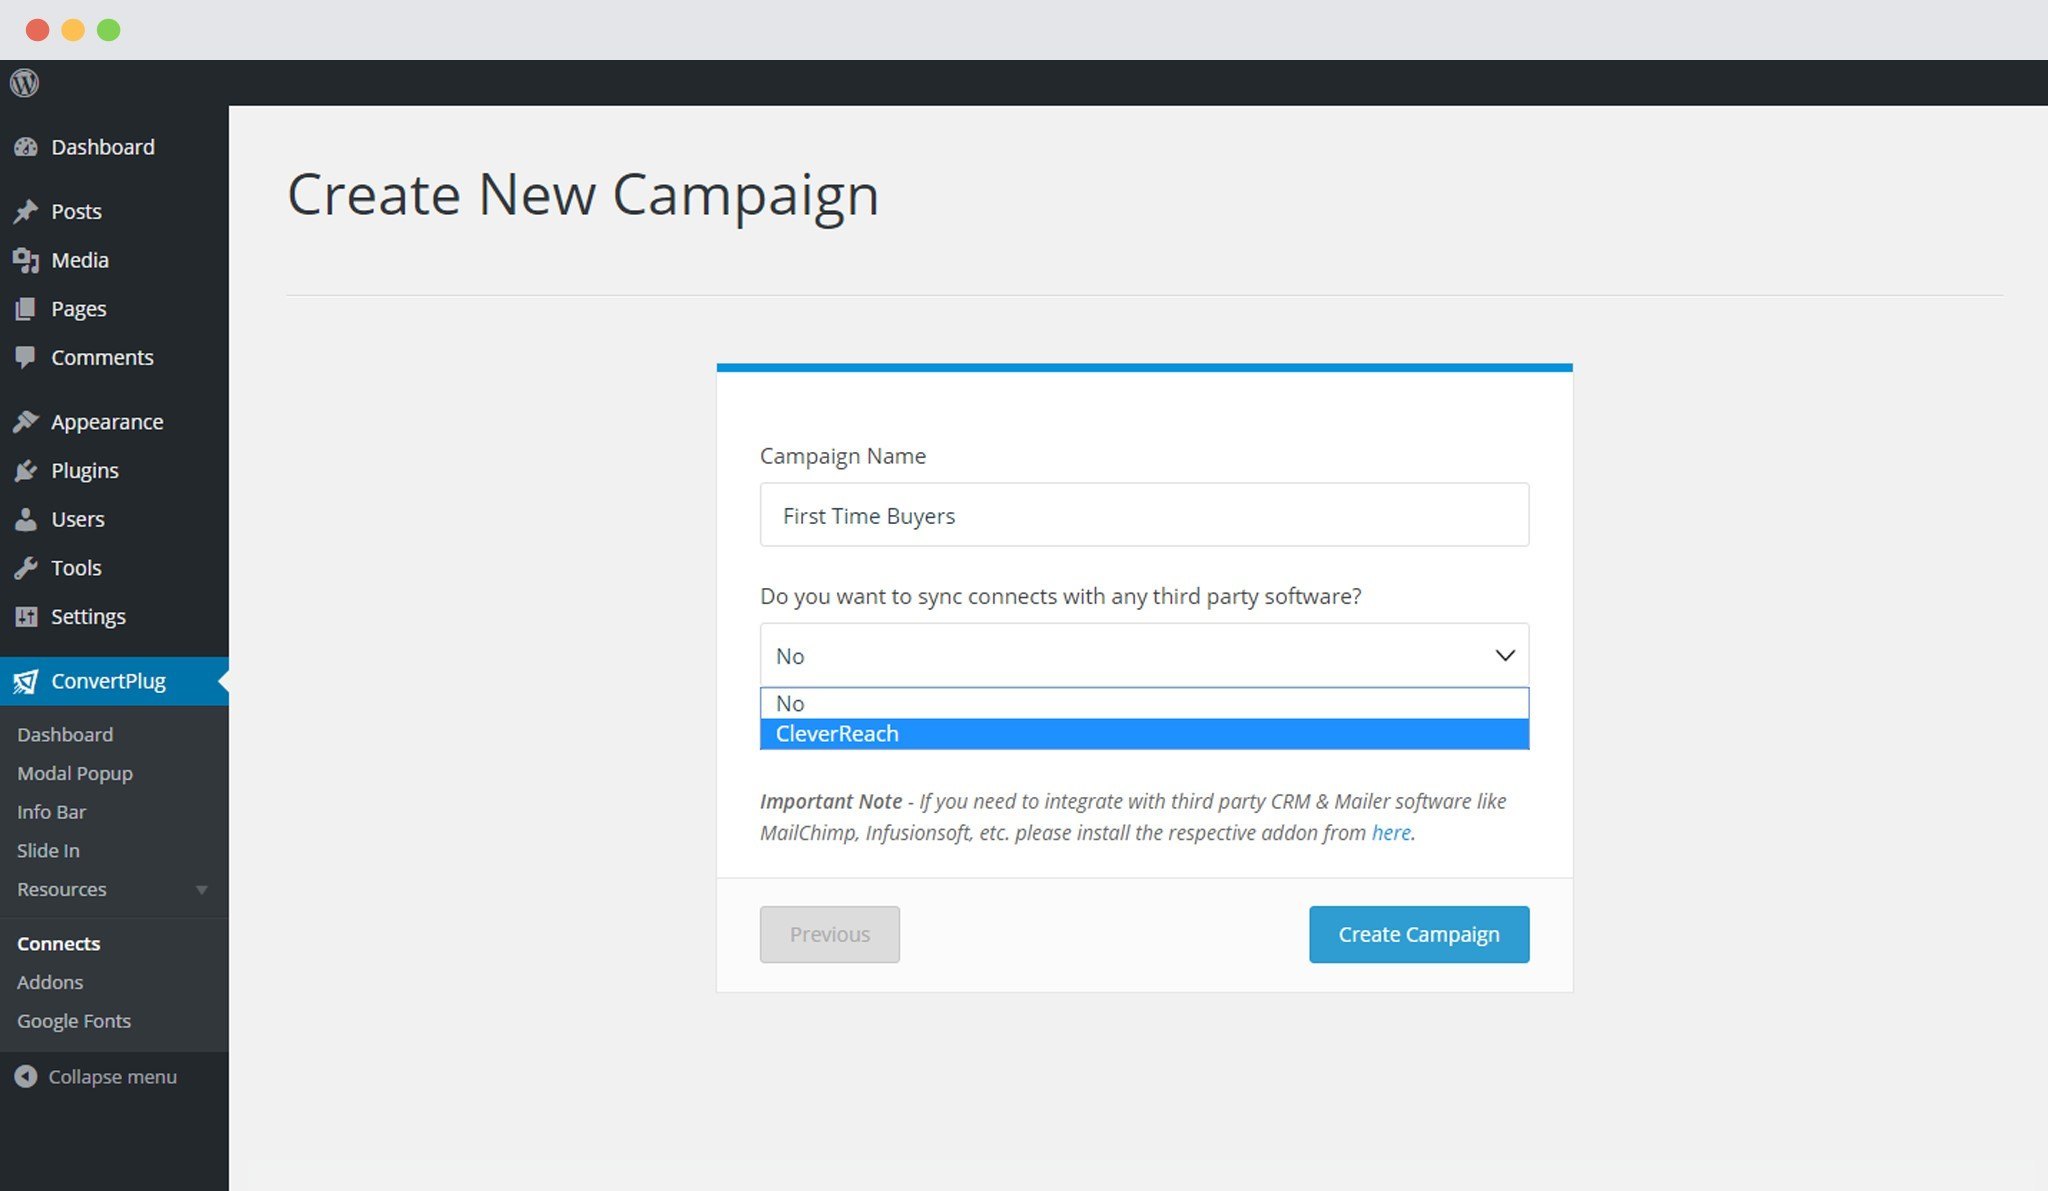
5. Enter a Campaign Name and Select the Third Party Software
A Campaign name should be valid, descriptive and understandable, so that you know what kind of leads are stored in it.
Select CleverReach from the drop down below.
Points to remember:
i. You should have an existing CleverReach account
ii. Create at least one list that can be integrated with ConvertPlus
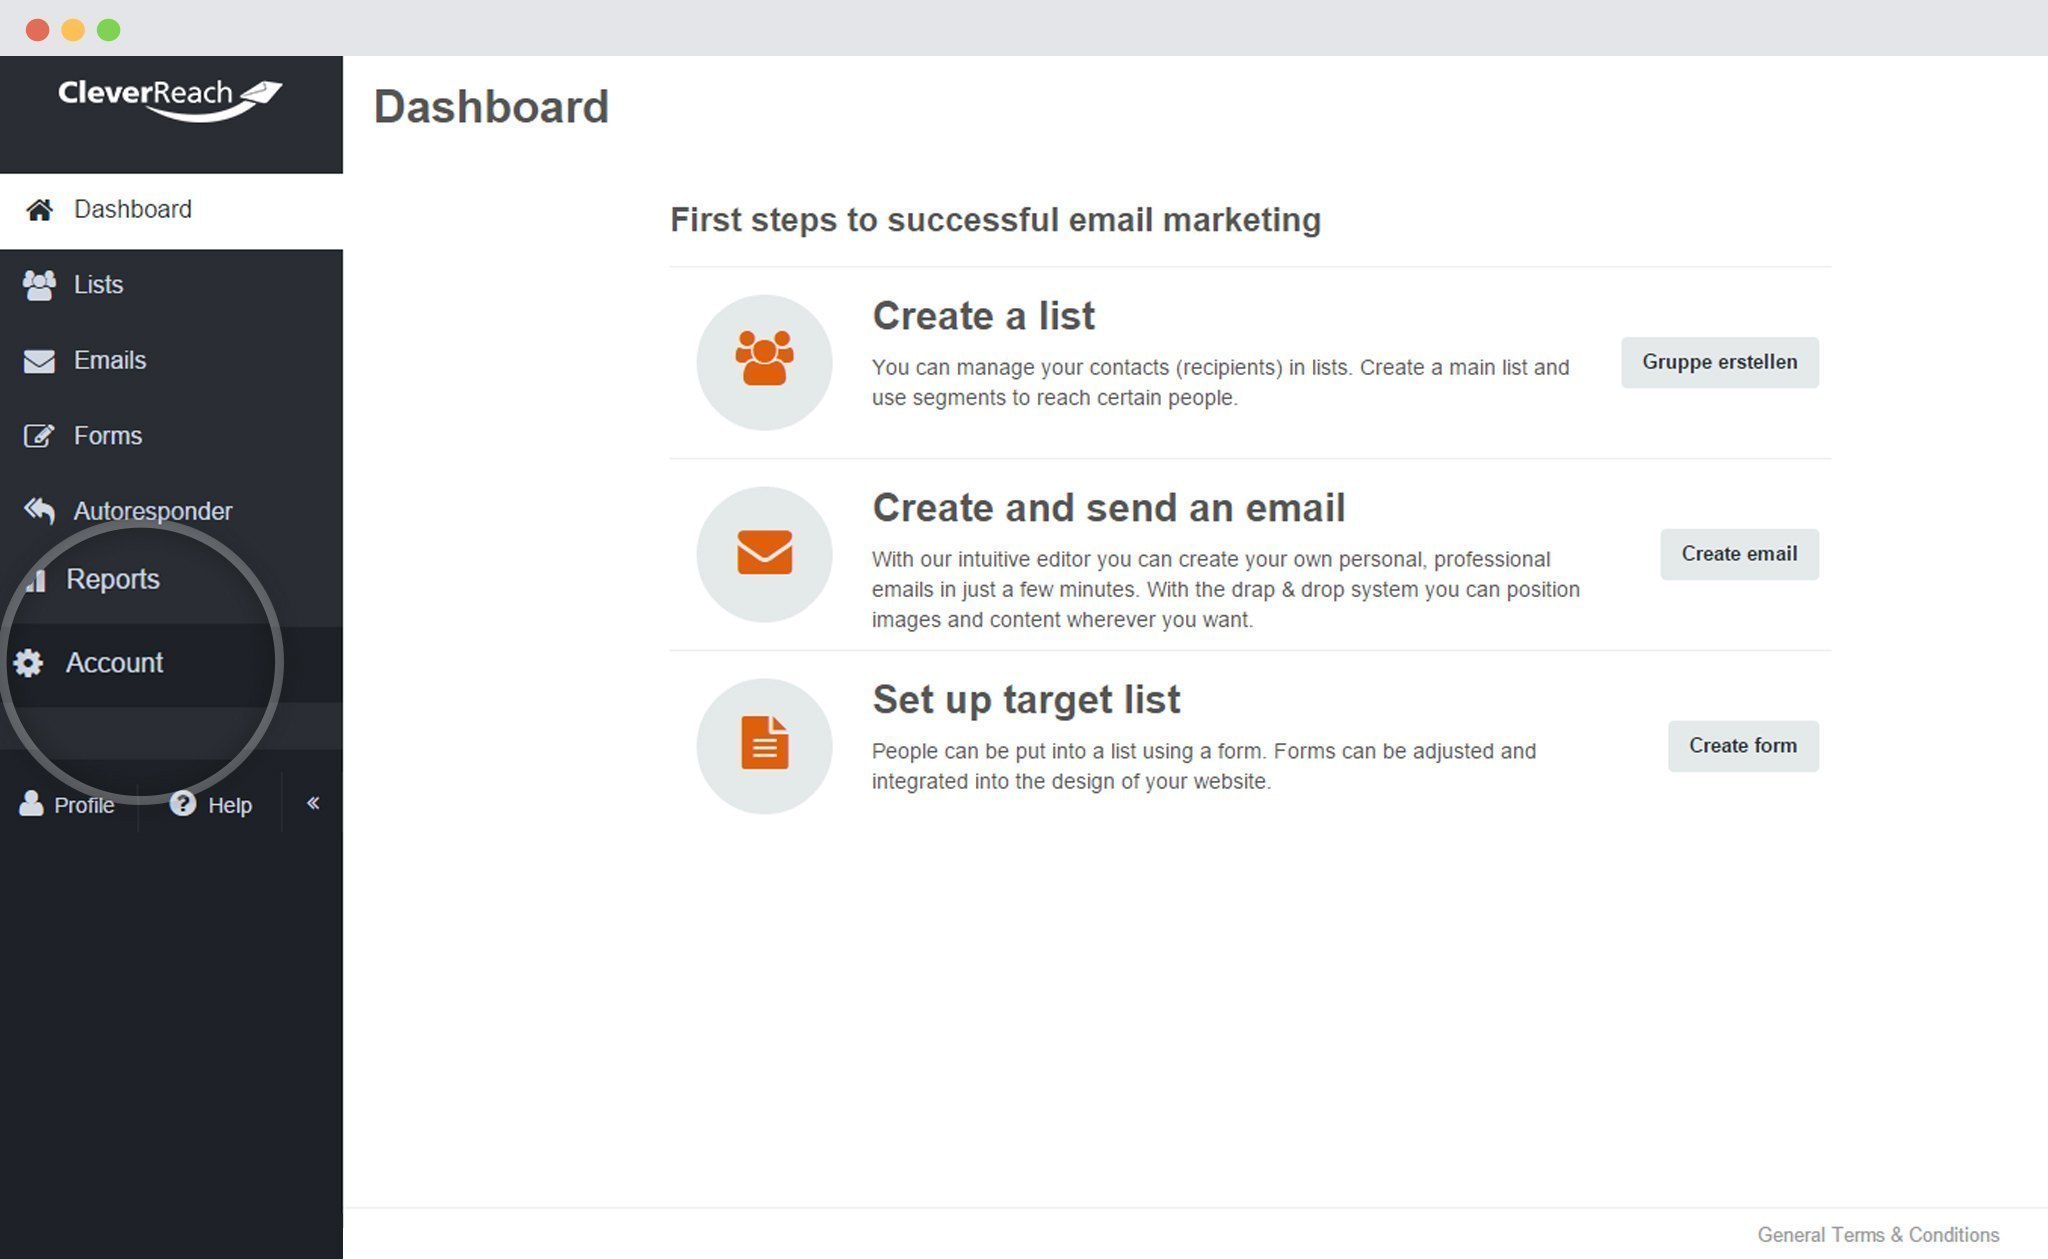
How to find the API key?
Click on “Accounts” in the Dashboard
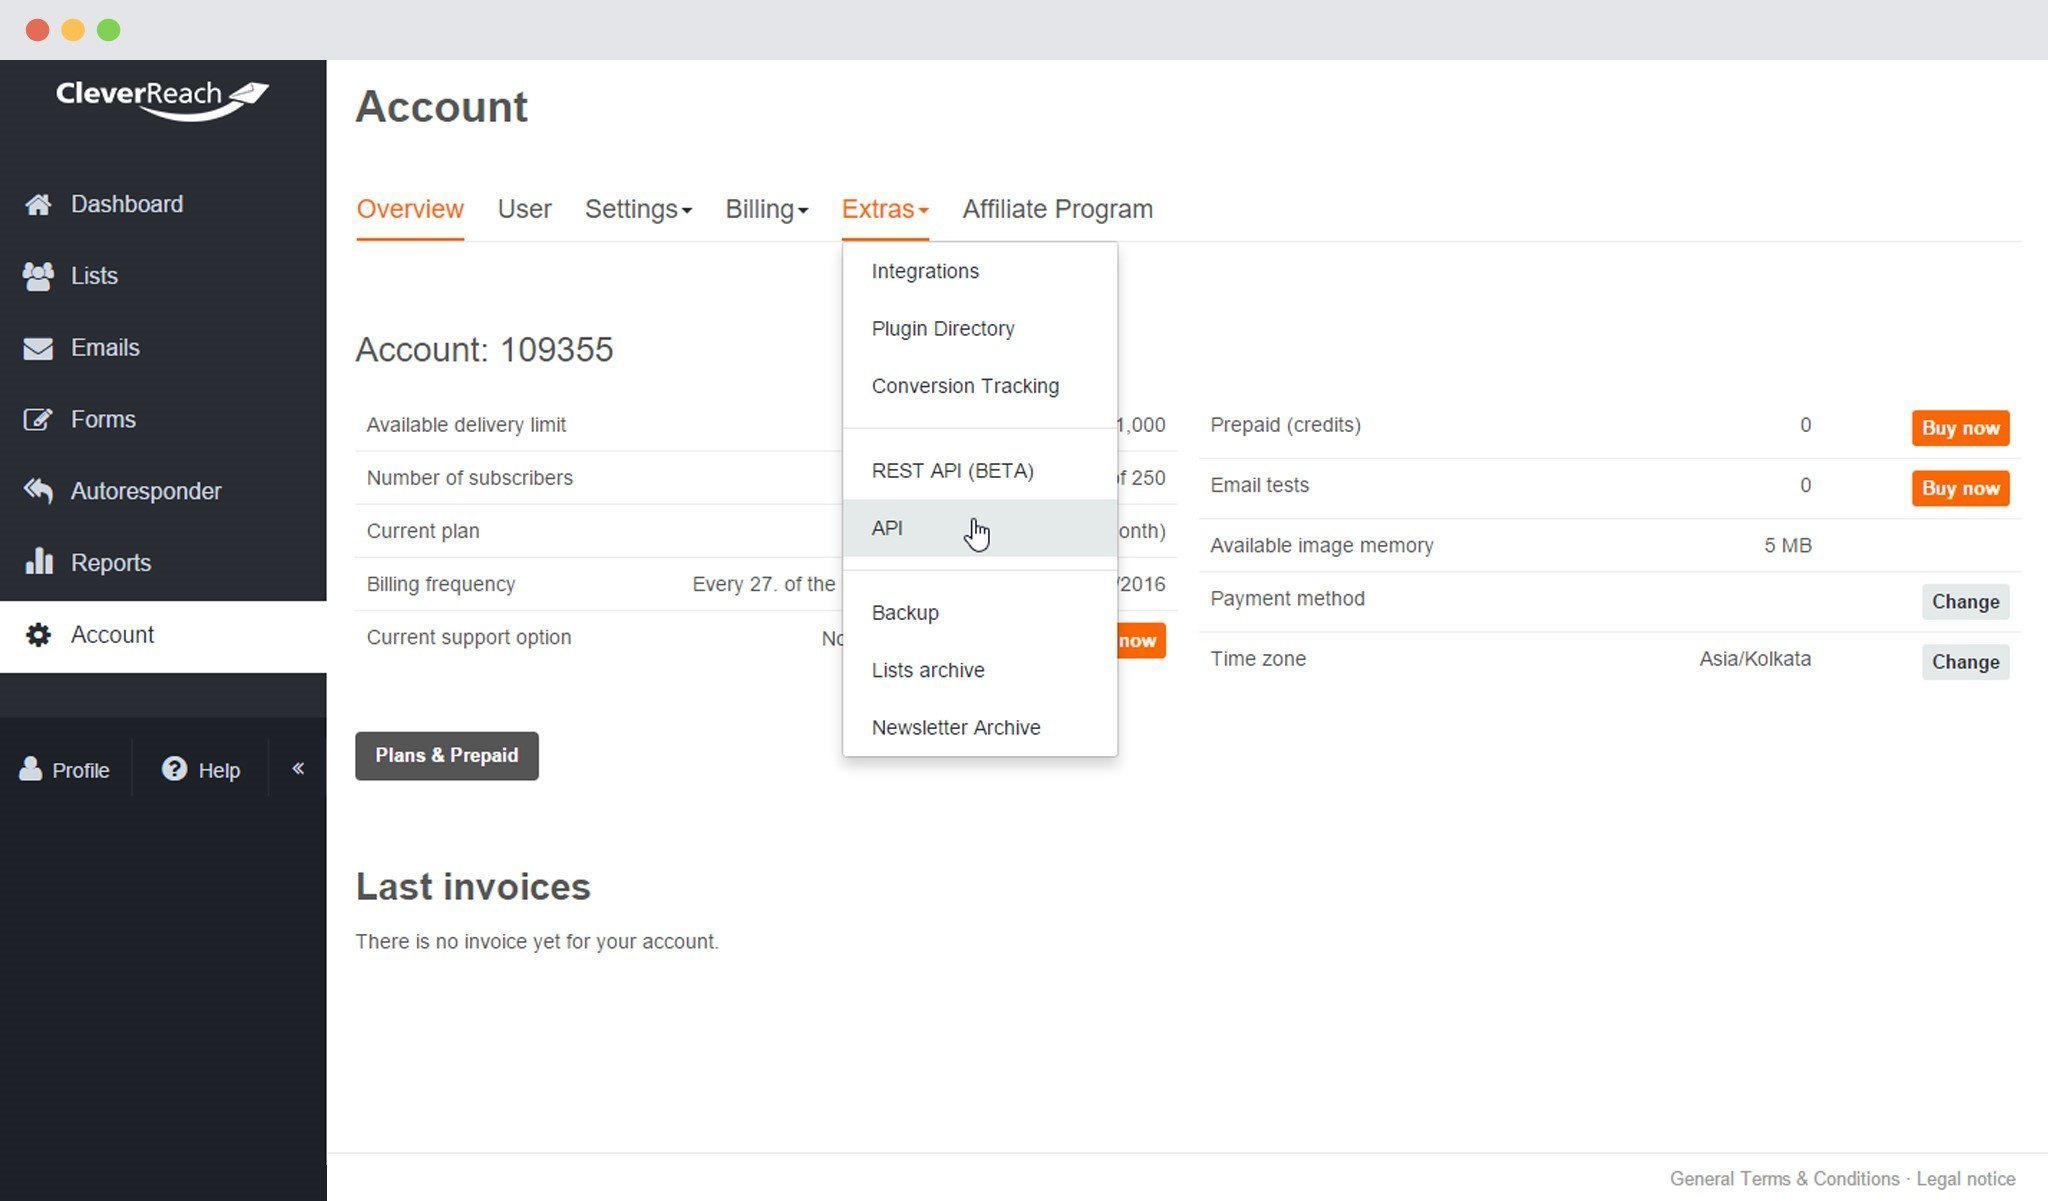
On the Accounts page, Click on “Extras” and then “API”
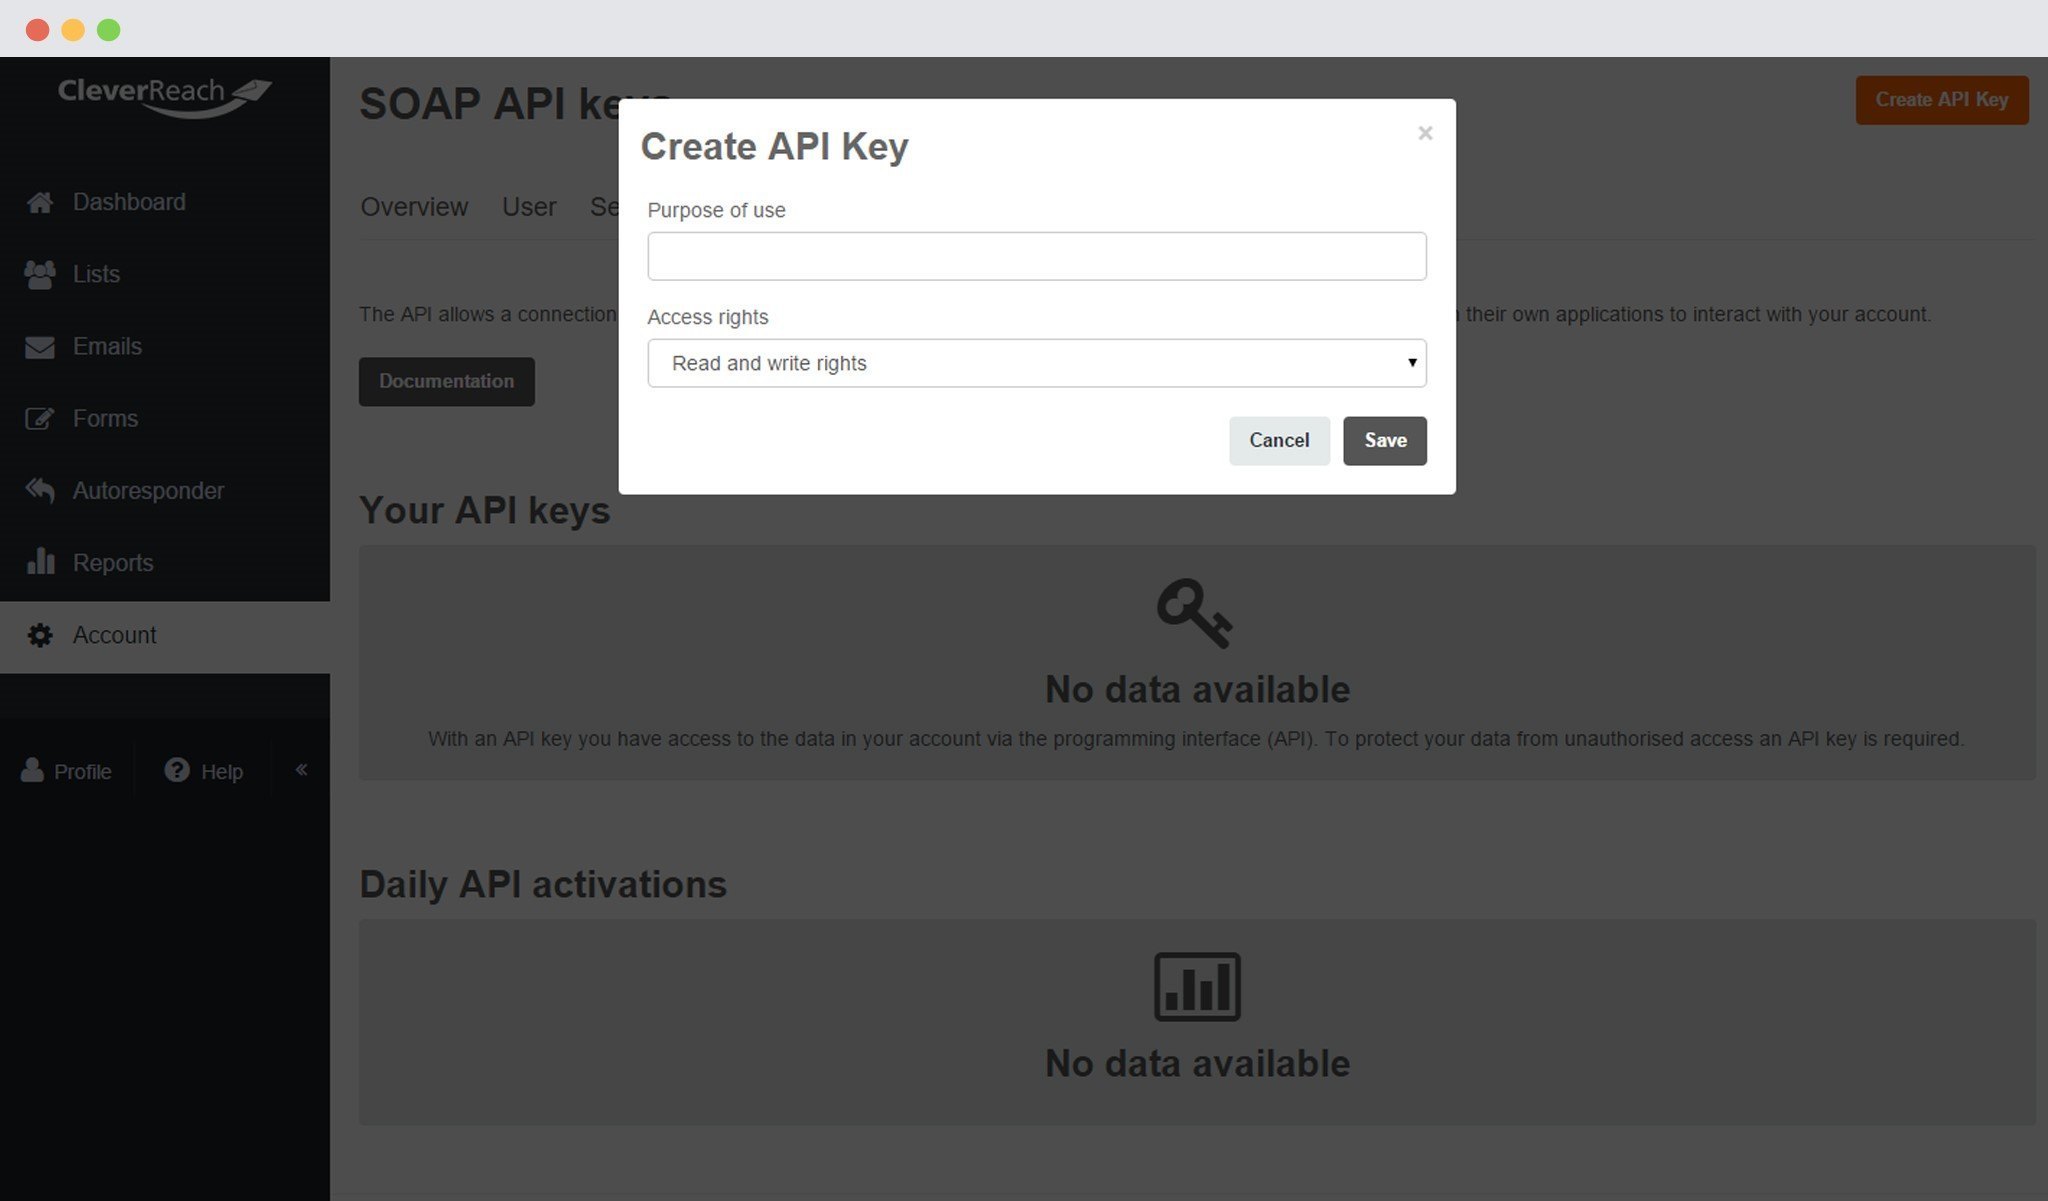
Click on the Create API Key Button
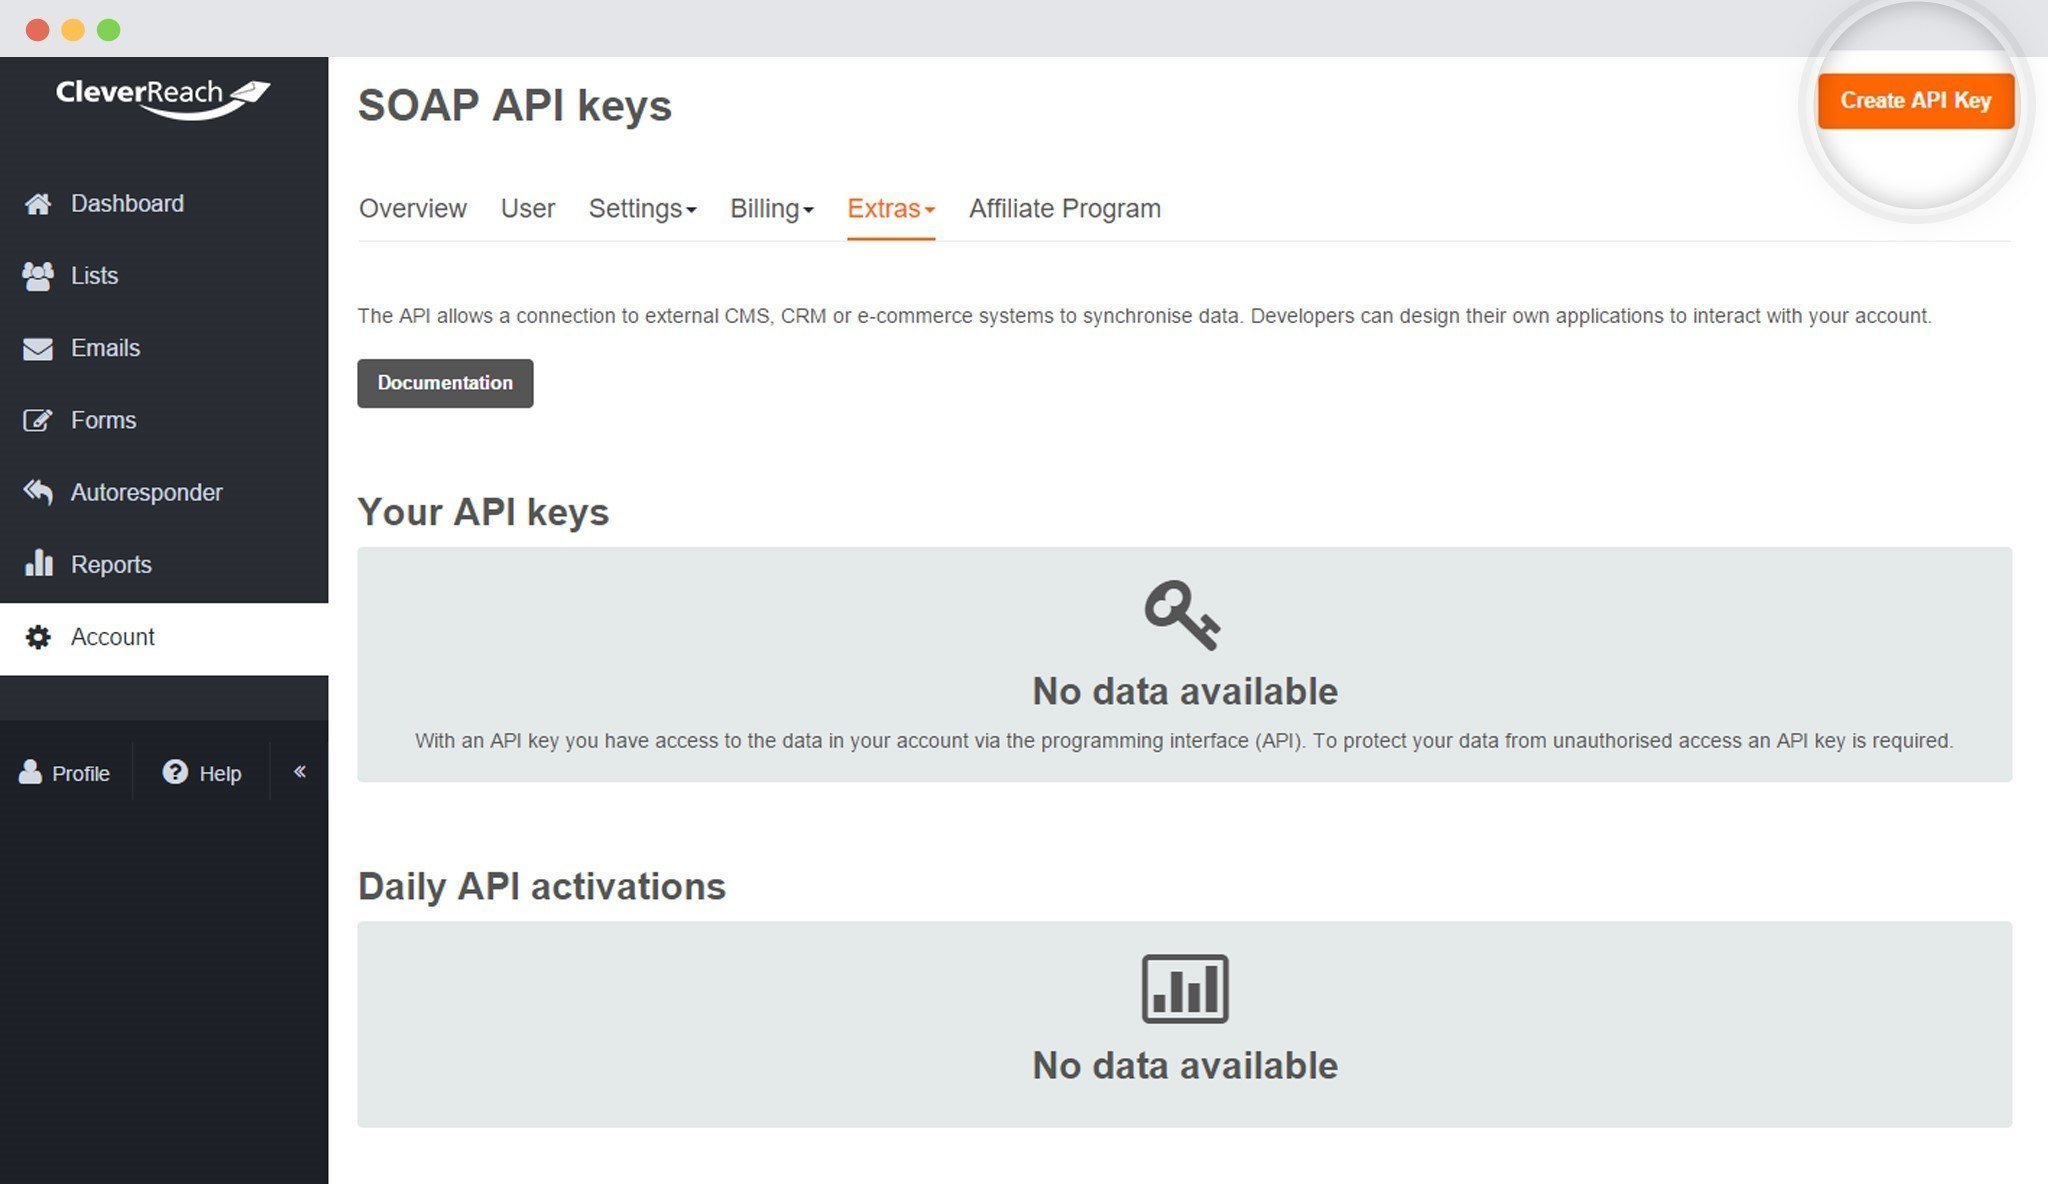
Enter the Purpose of Use and set the Access Rights. Save
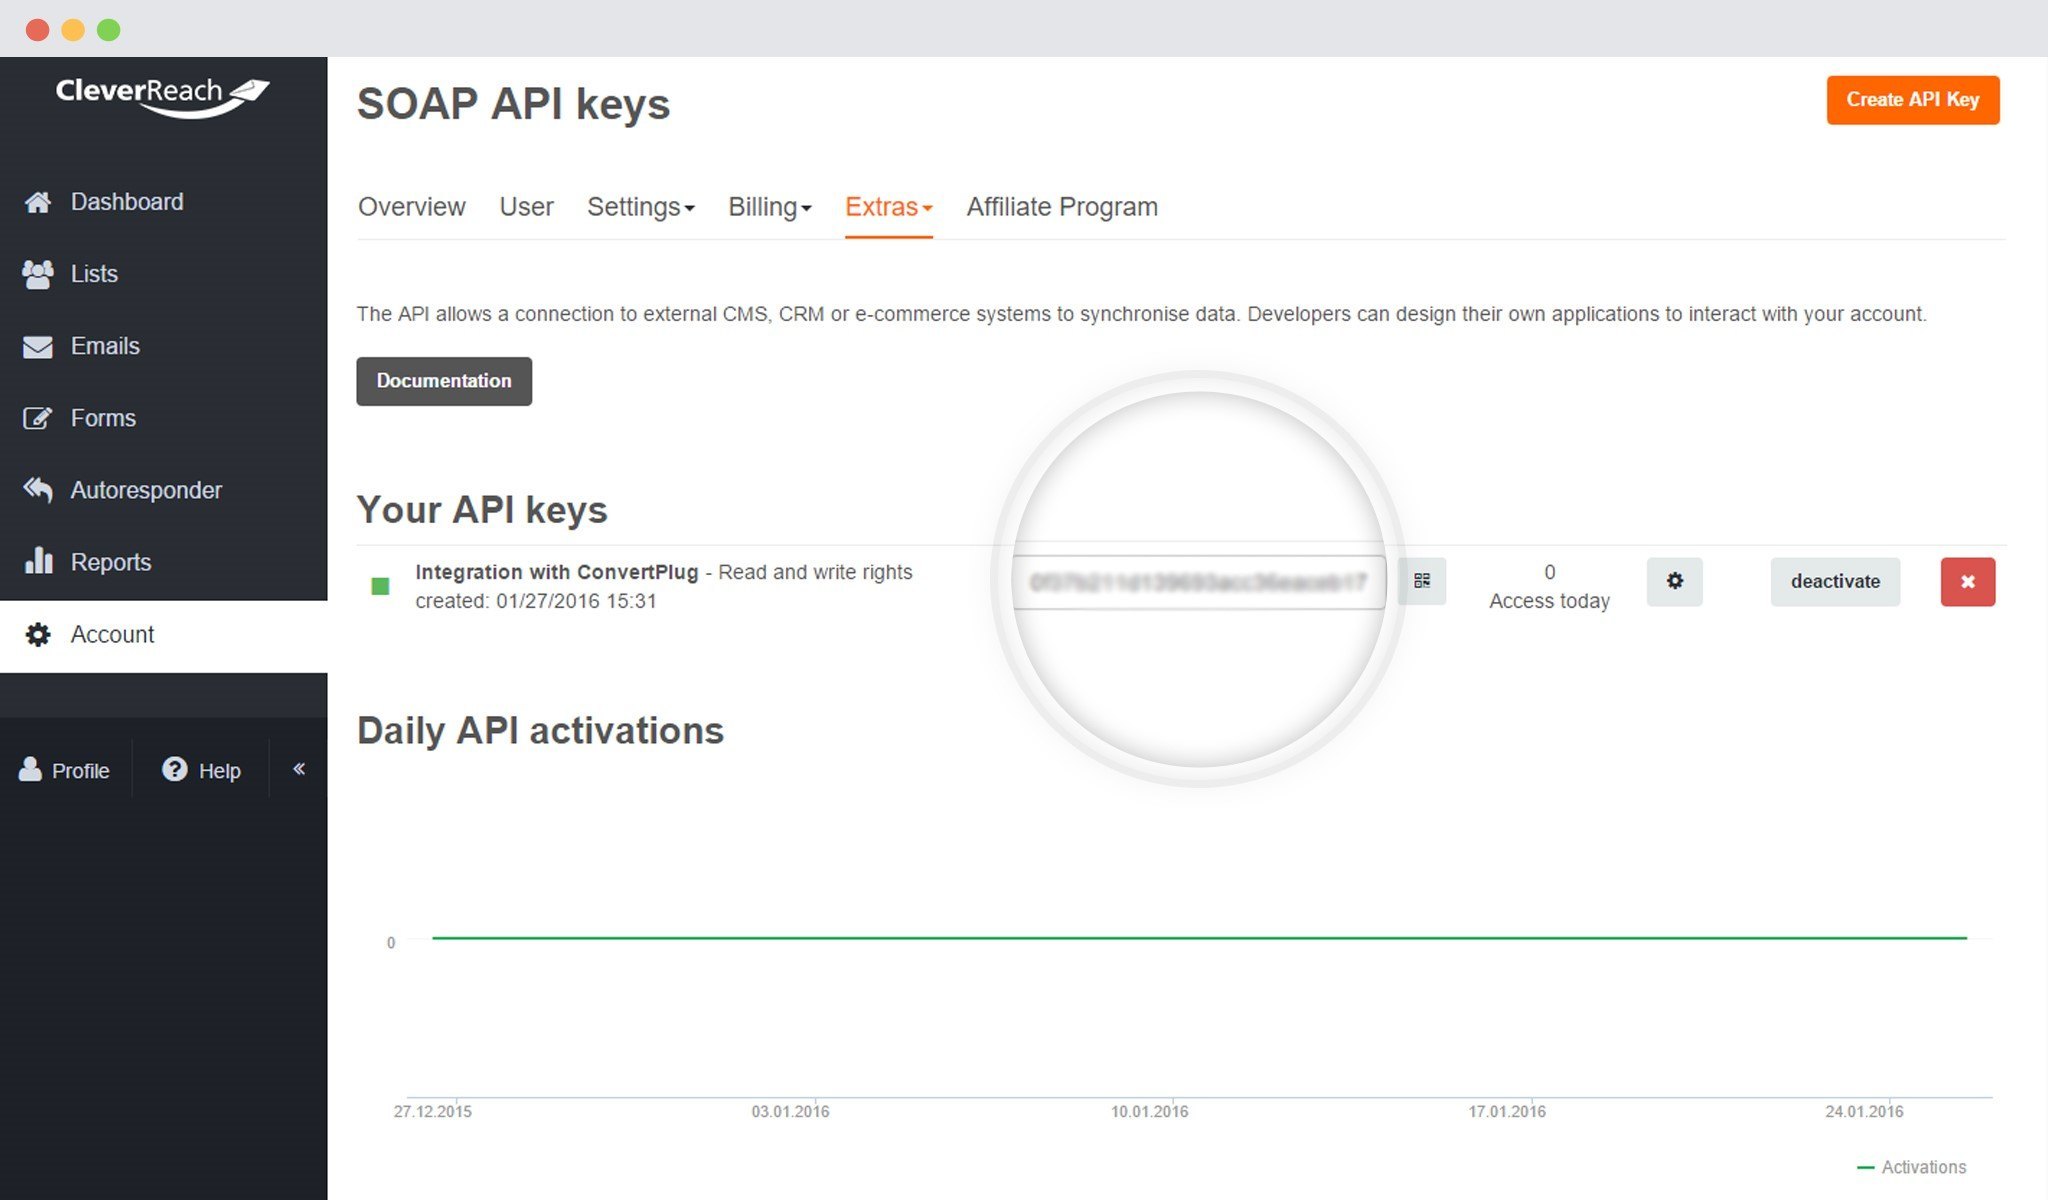
Copy the API Key
6. Paste the API Key
Paste the API Key in the Connects Interface
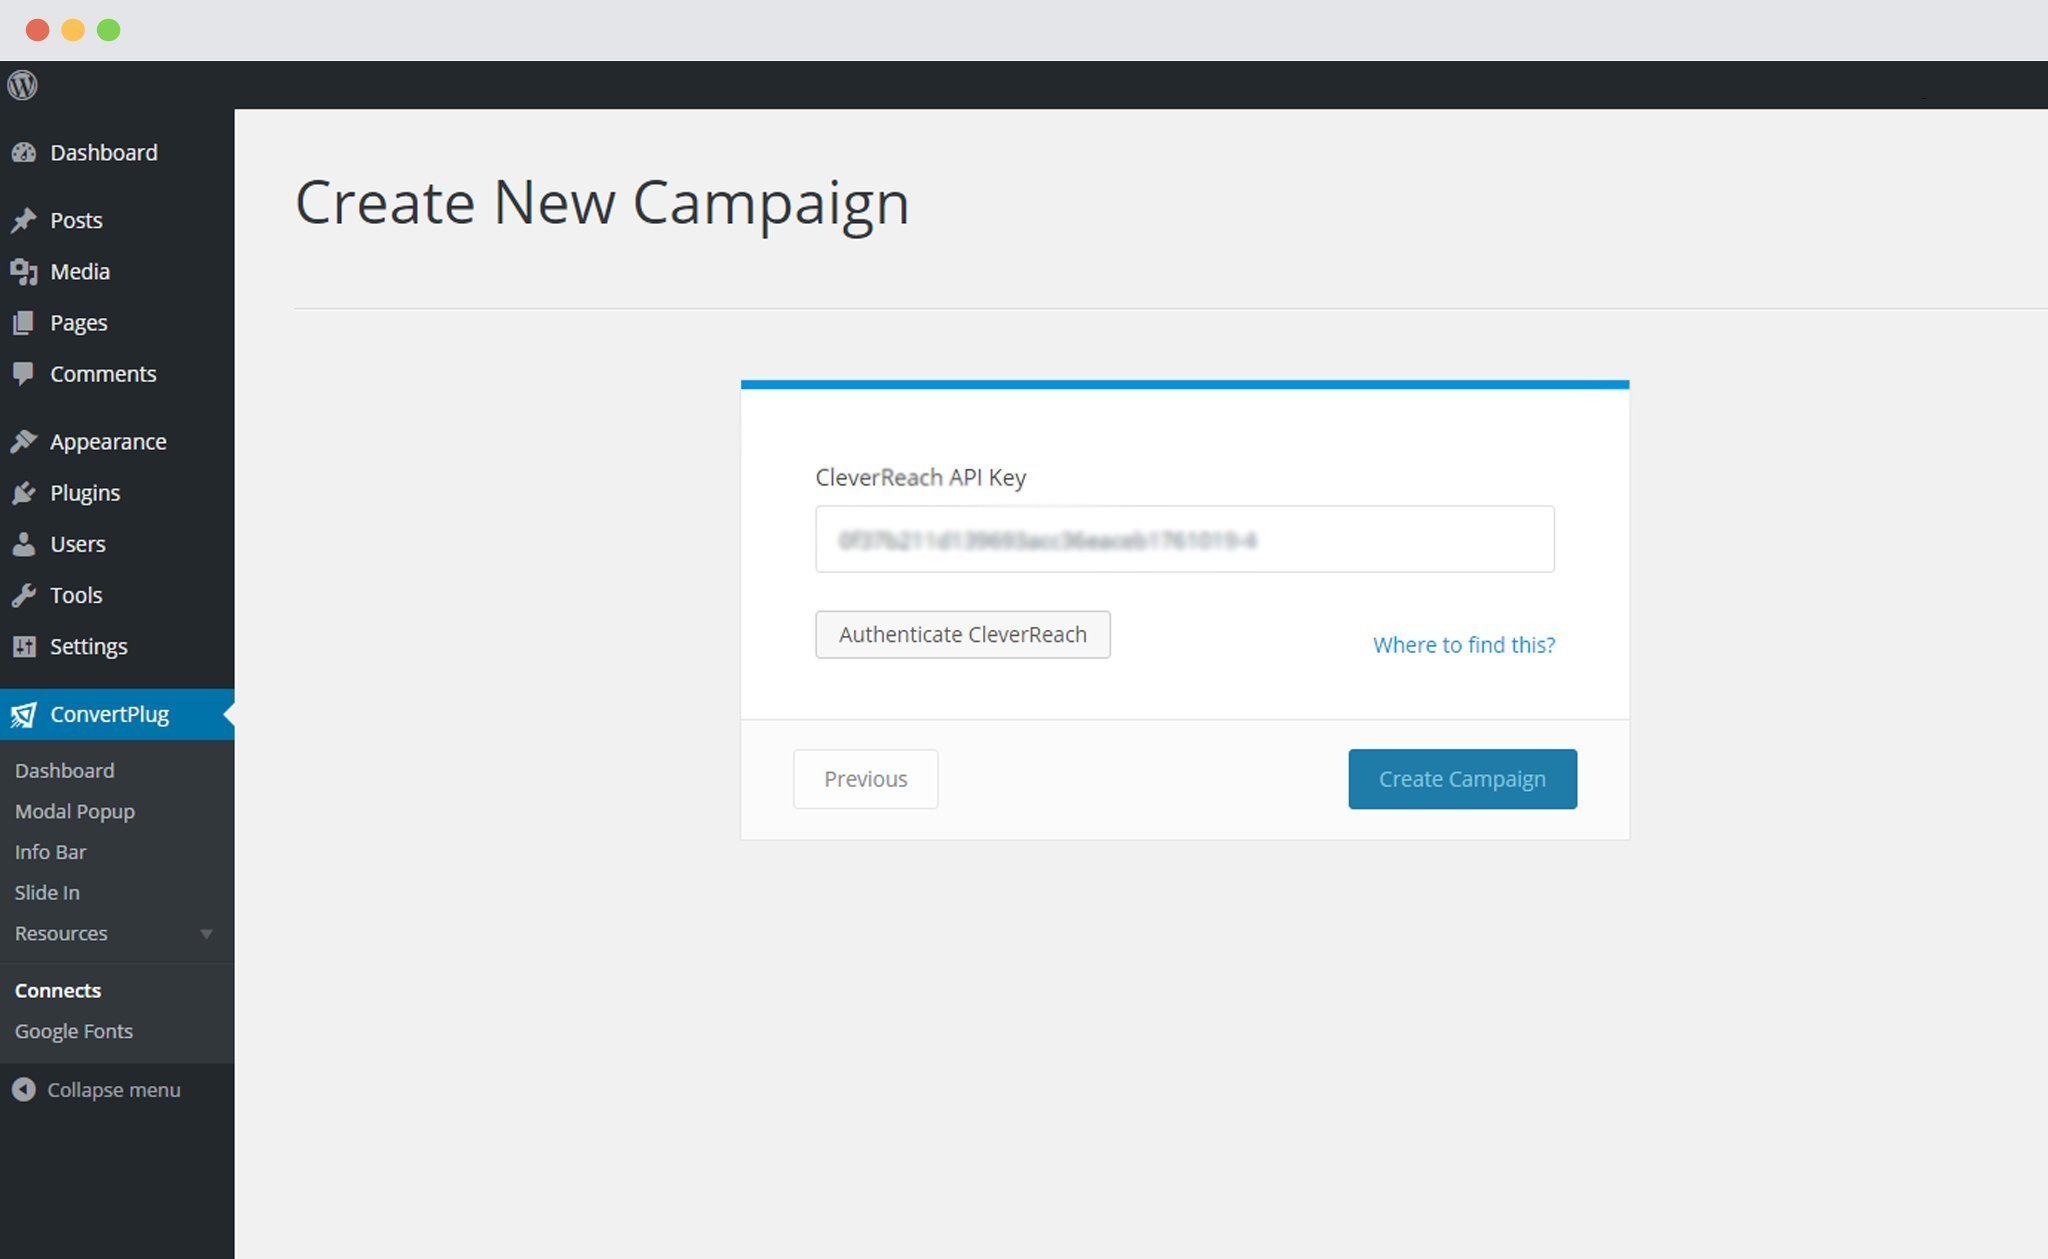
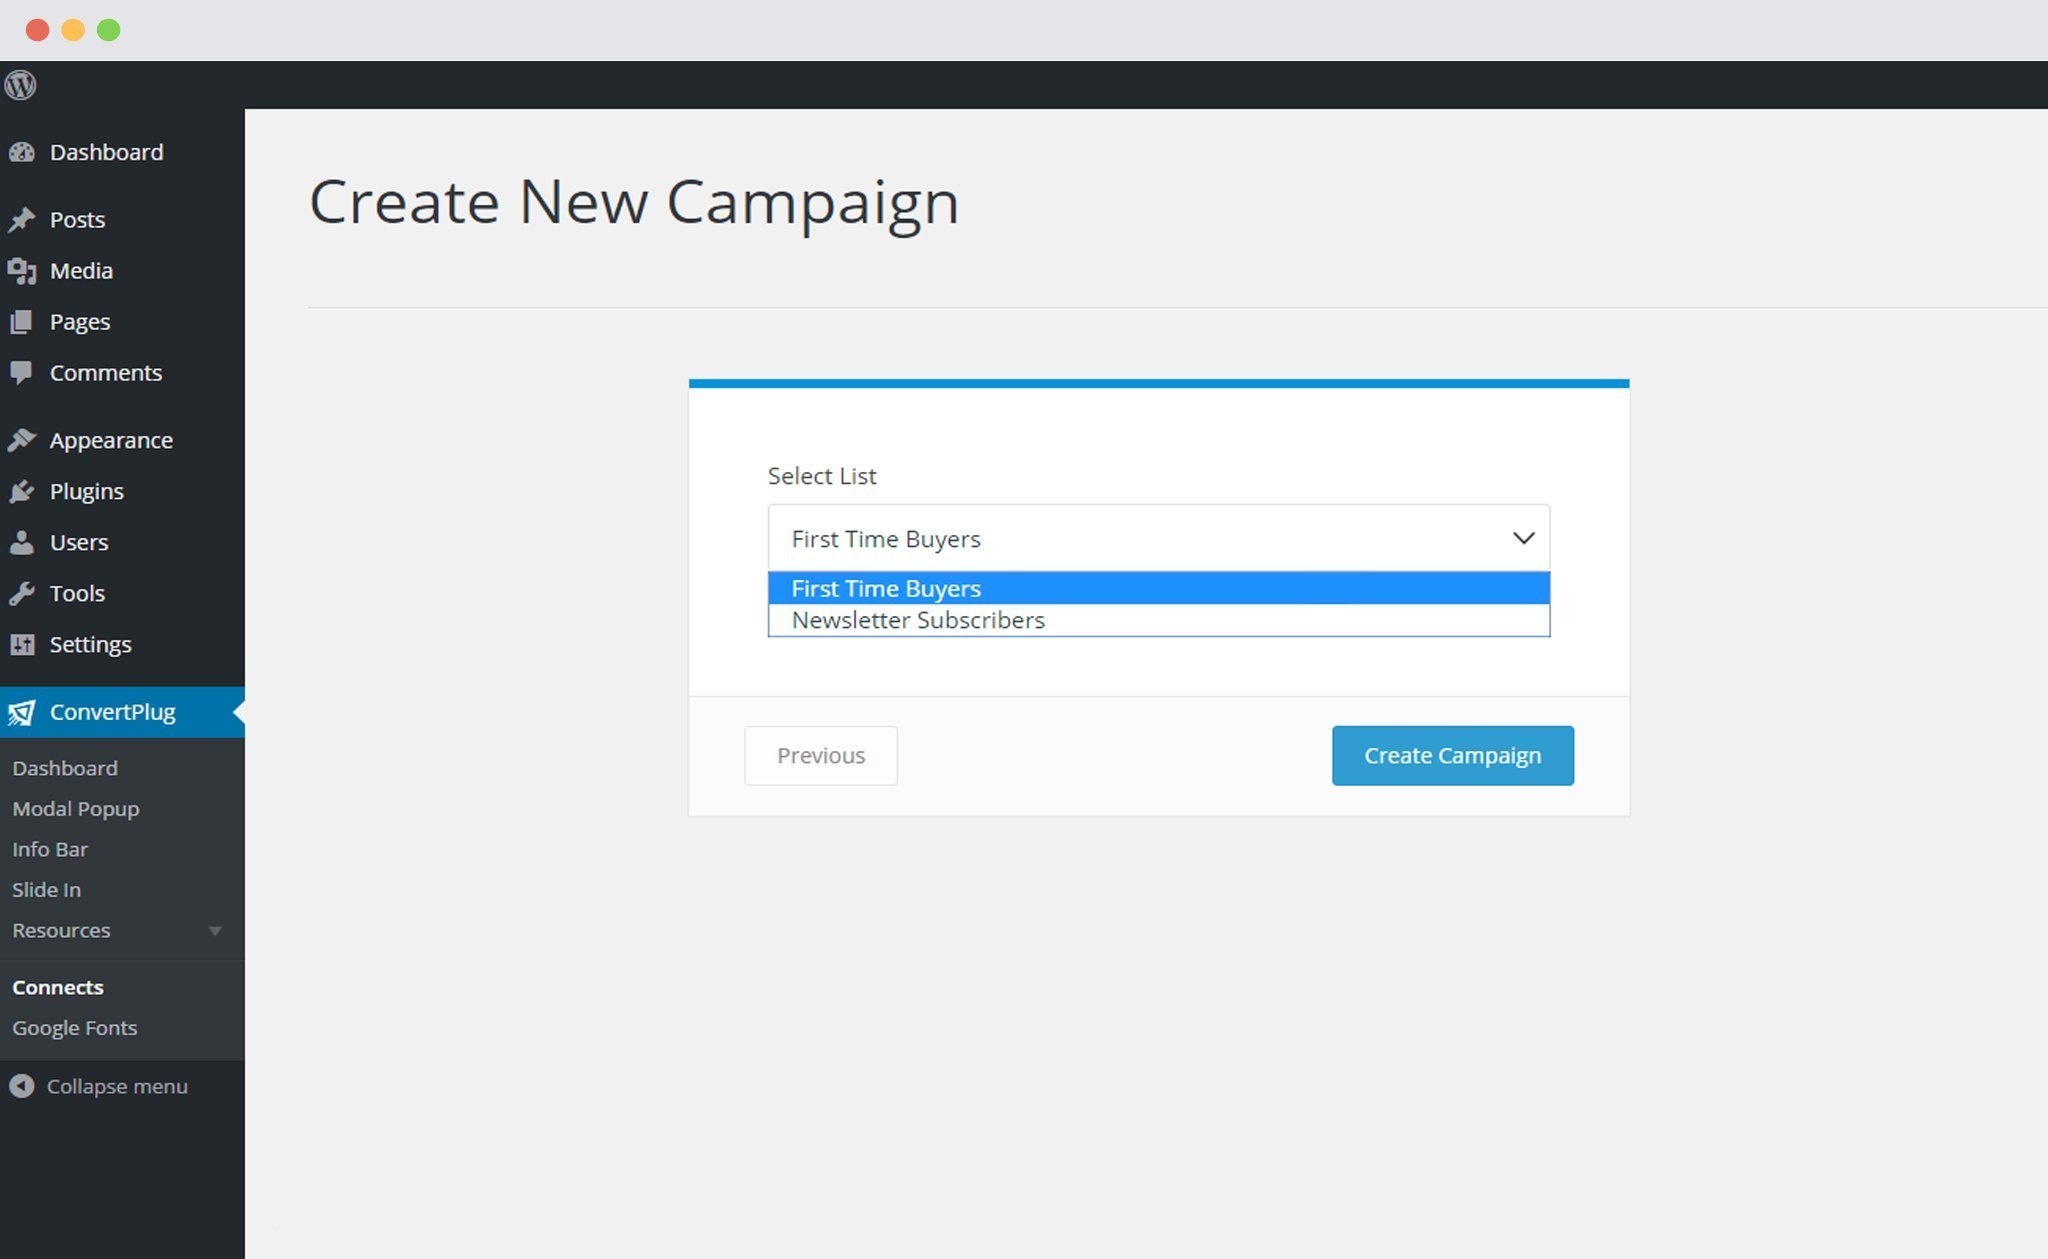
7. Authenticate your Account and Select the Appropriate List
Click on Authenticate CleverReach and go ahead selecting the list you wish to integrate with ConvertPlus
Note: If you wish to use the Double opt-in feature for CleverReach, you will have to do the following settings.
Enable the Form based campaign option and select the respective CleverReach form you wish to use.
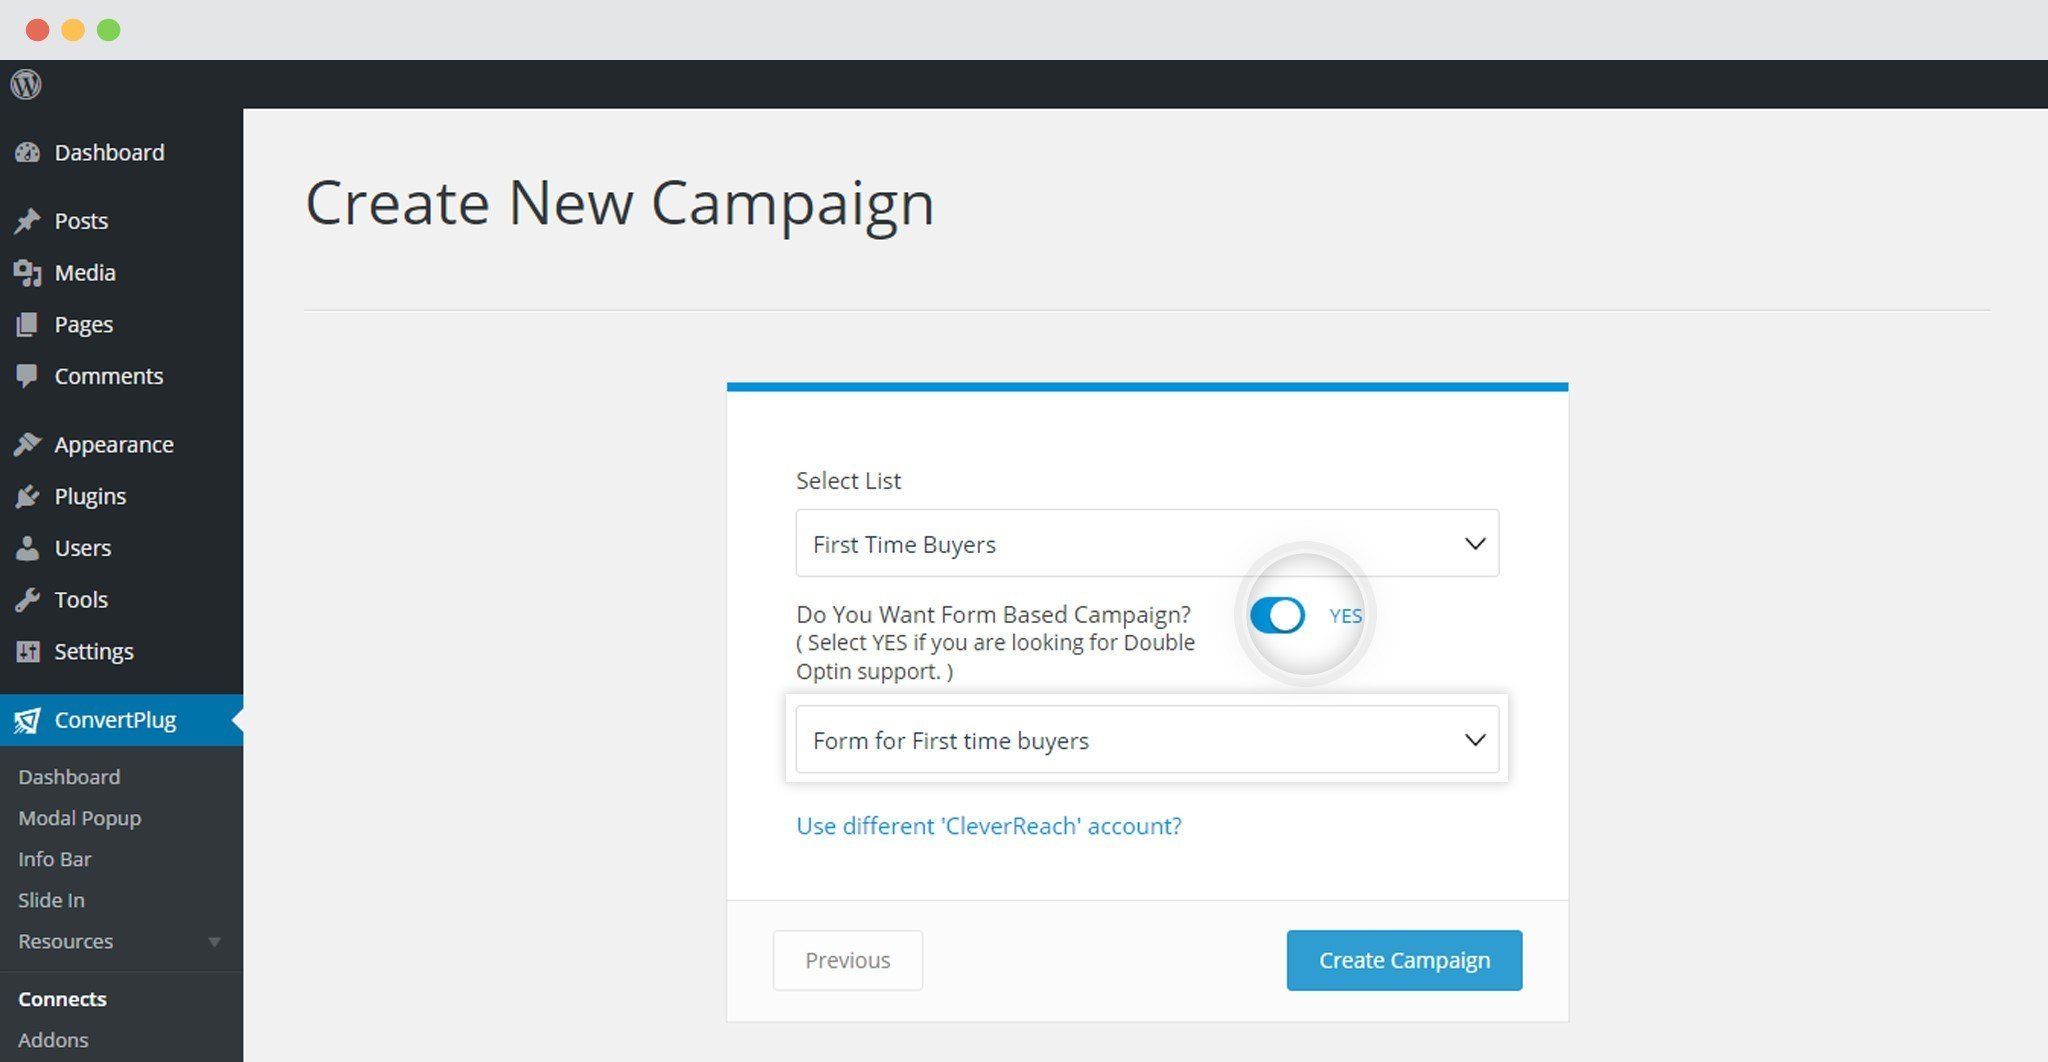
8. Click Create Campaign
Click on the create campaign button and see a new campaign being added to the Connects page.
Using the Campaign in a Module
i. Select and customize a module according to the Campaign needs.
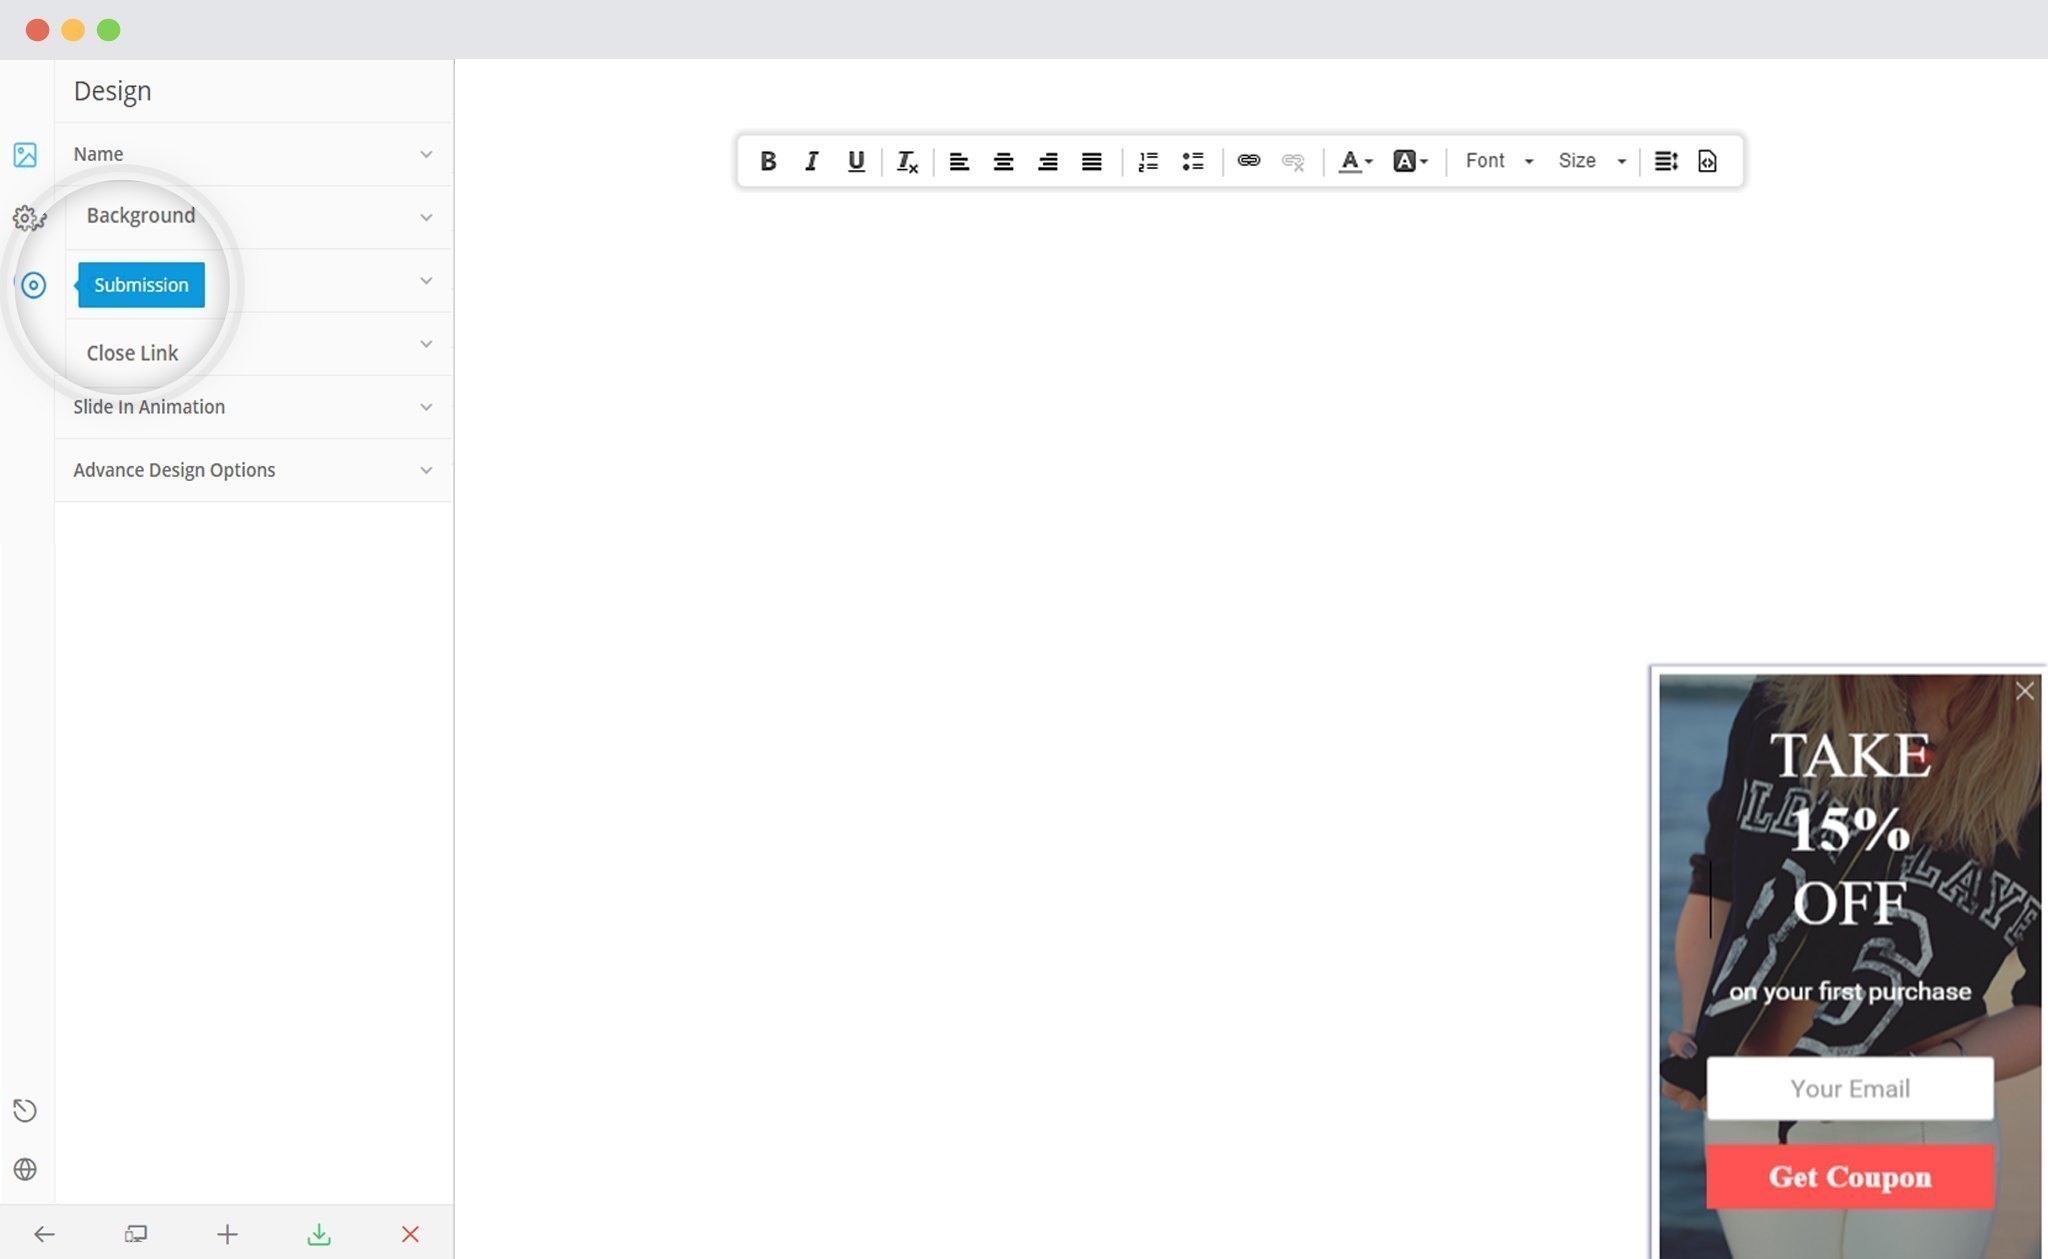
ii. Open it in the editor.
iii. Click on Submissions
iv. Select the appropriate campaign from the Dropdown list
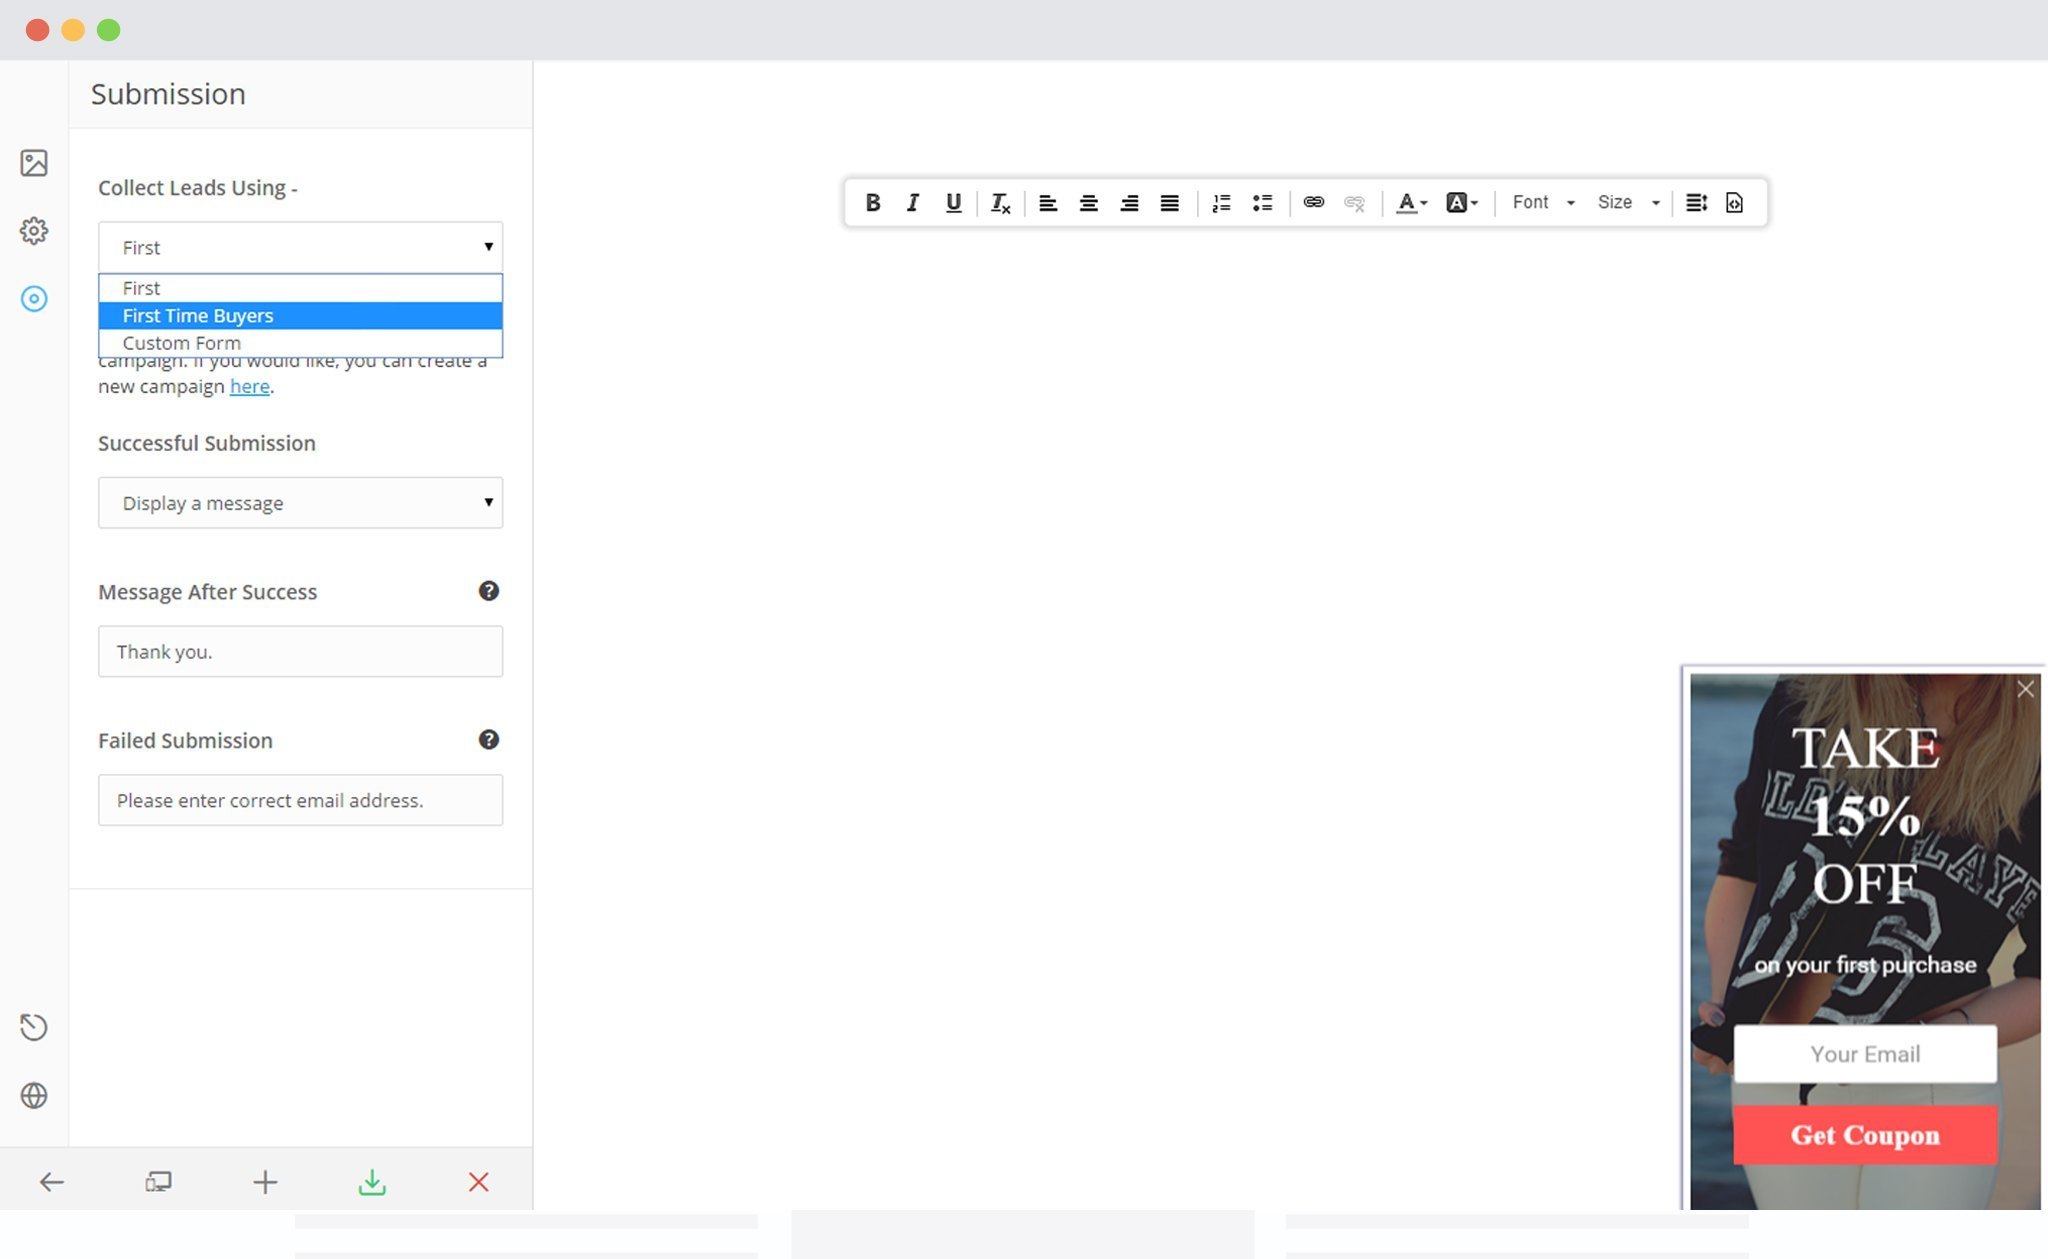
v. Save and Publish the Module.
Note: If by chance you are not able to see the CleverReach lists in Convert Plus, you need to make sure that the Rest API is enabled for the specific user.
If the Rest API is not enabled, you will have to contact the admin to enable it for you or you can enable the Rest API for your account.
Once enabled, you can then try accessing lists again.