


A slide-in popup is a tiny call-to-action that slides-in and remains on the sides/corners of the screen. You can display a tiny form to capture leads, promote offers and coupons within a slide-in.
In this article we’ll see:
- Creating a Slide-in popup
- Designing the Slide-in Popup
- Configuration Settings
- Managing leads captured through it
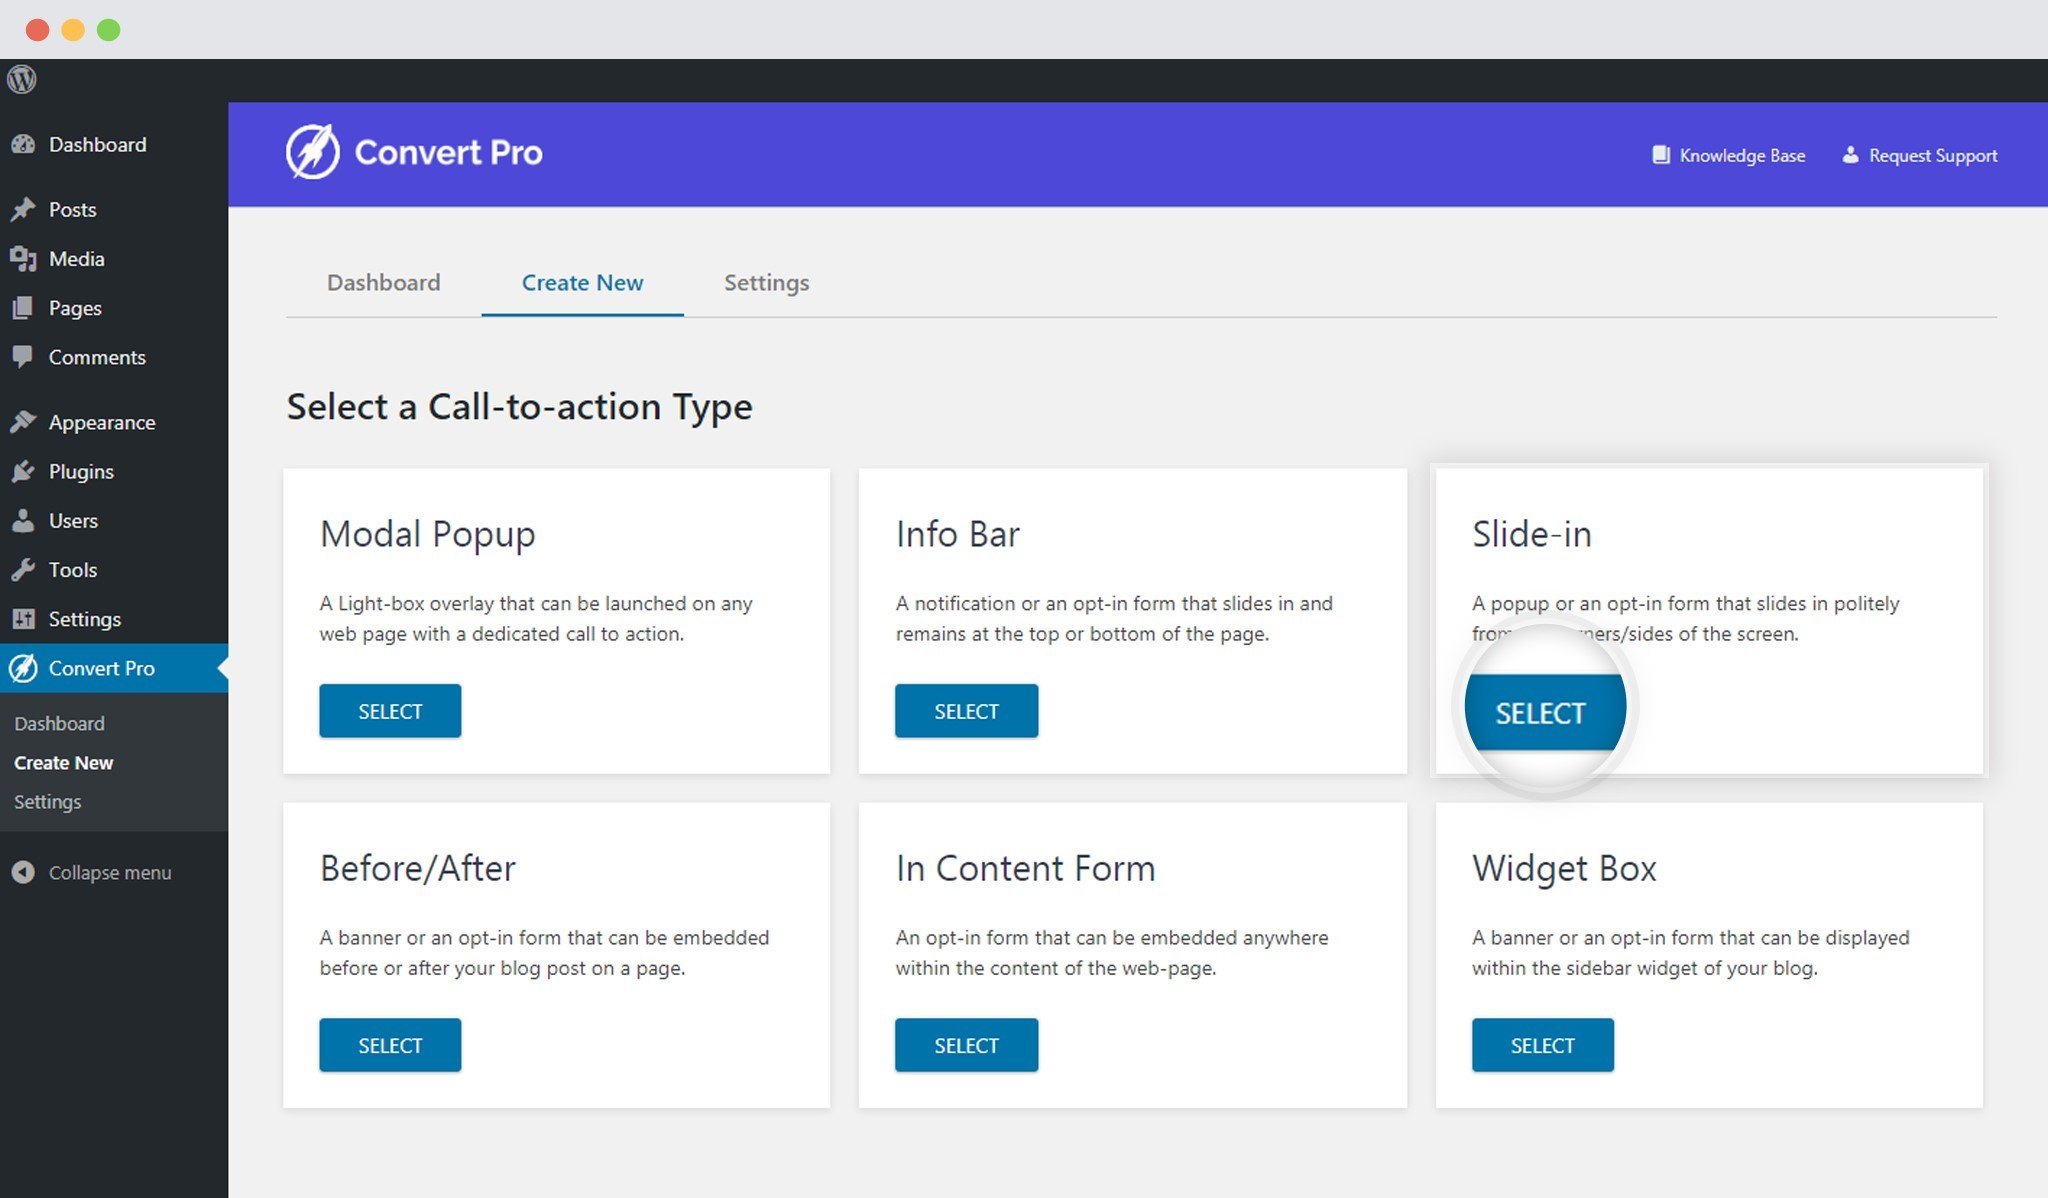
Step 1: Creating a Slide-in
In order to create a Slide-in, let us move to Convert Pro -> Create New tab
You can then select the template you wish to proceed with.
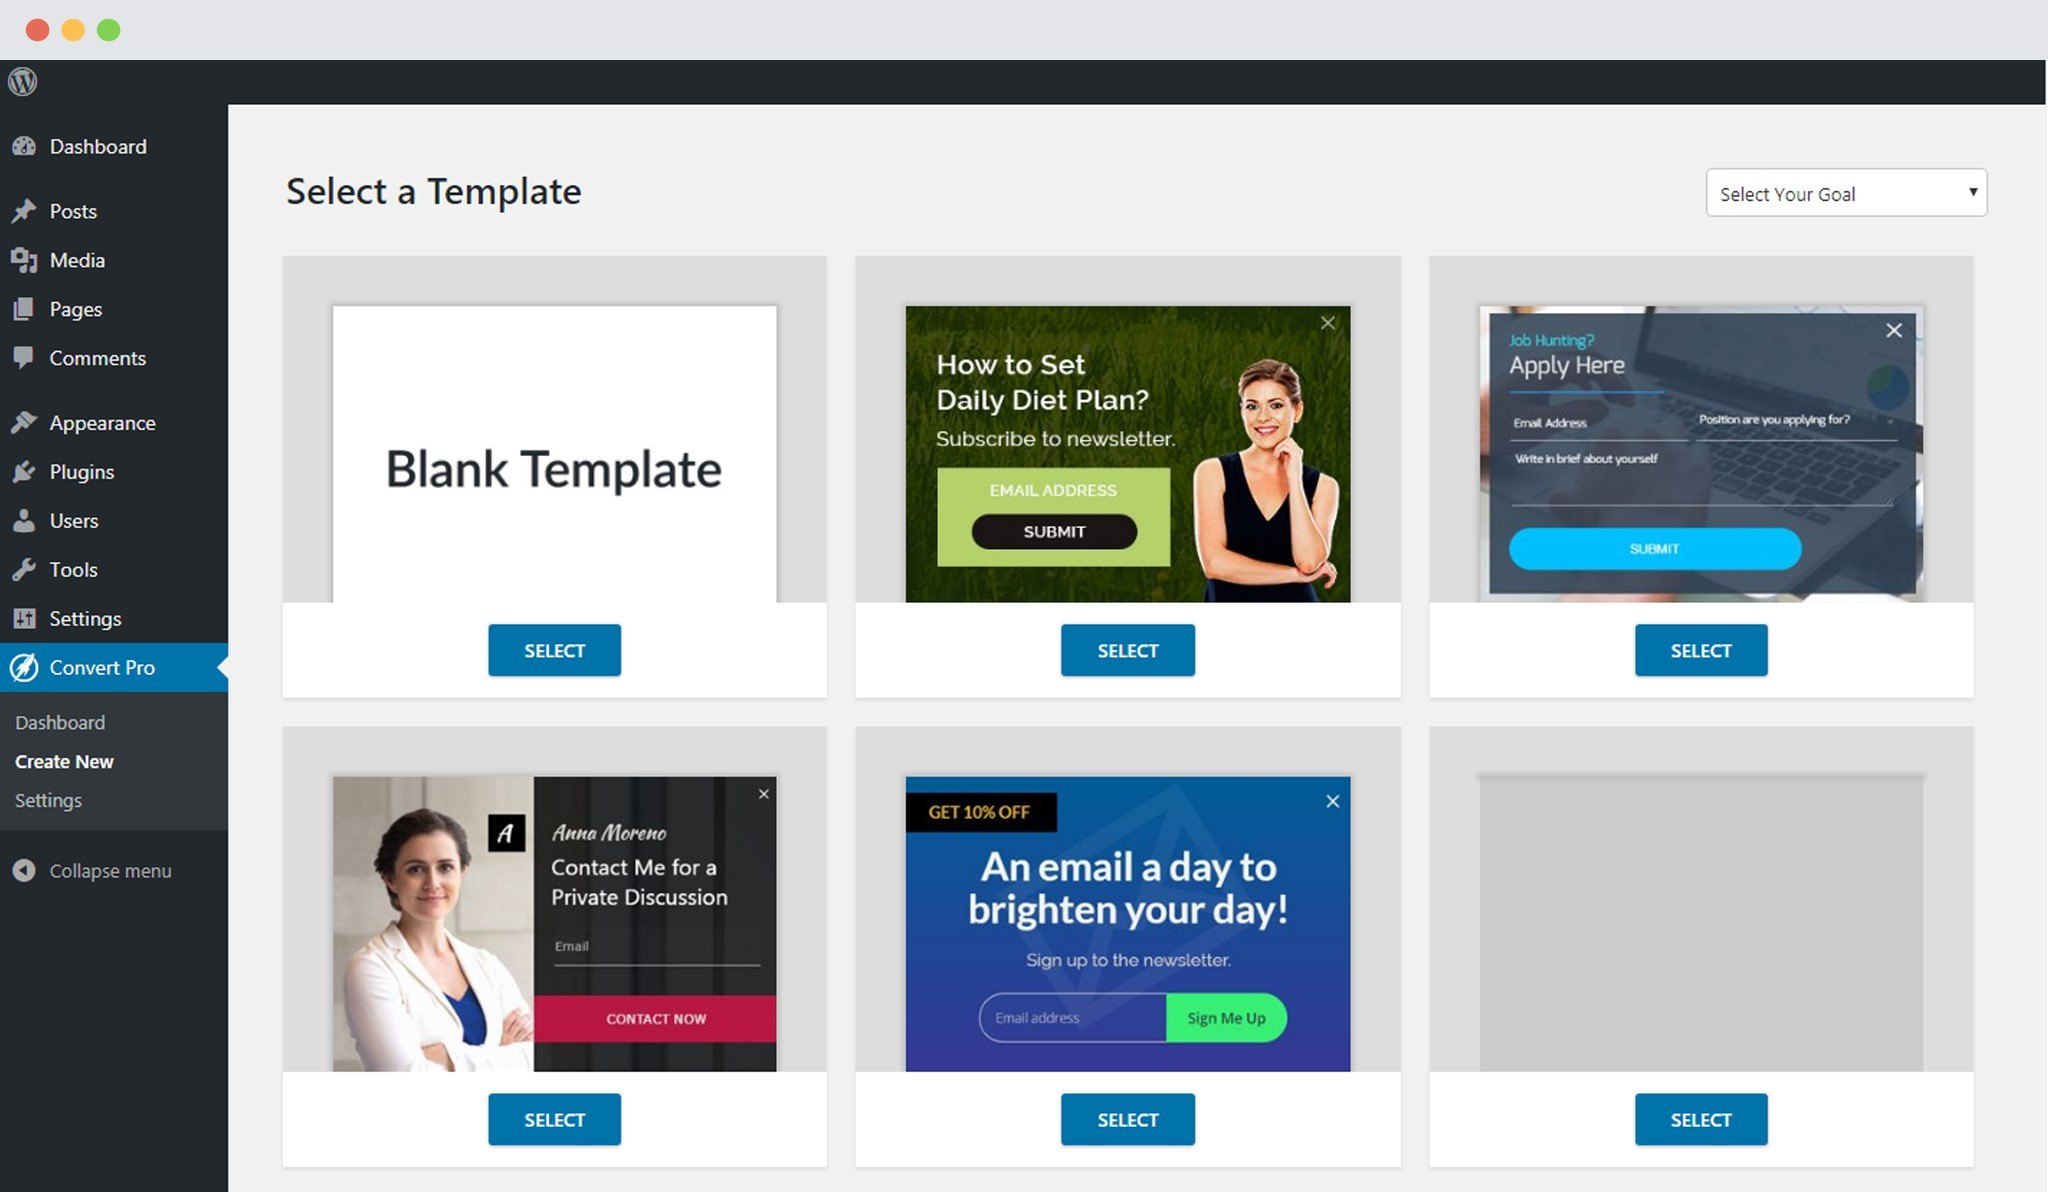
Once you have selected a template and named the slide-in, you will be taken to the editor, where you can design, configure and connect the form with a third party email marketing service provider.
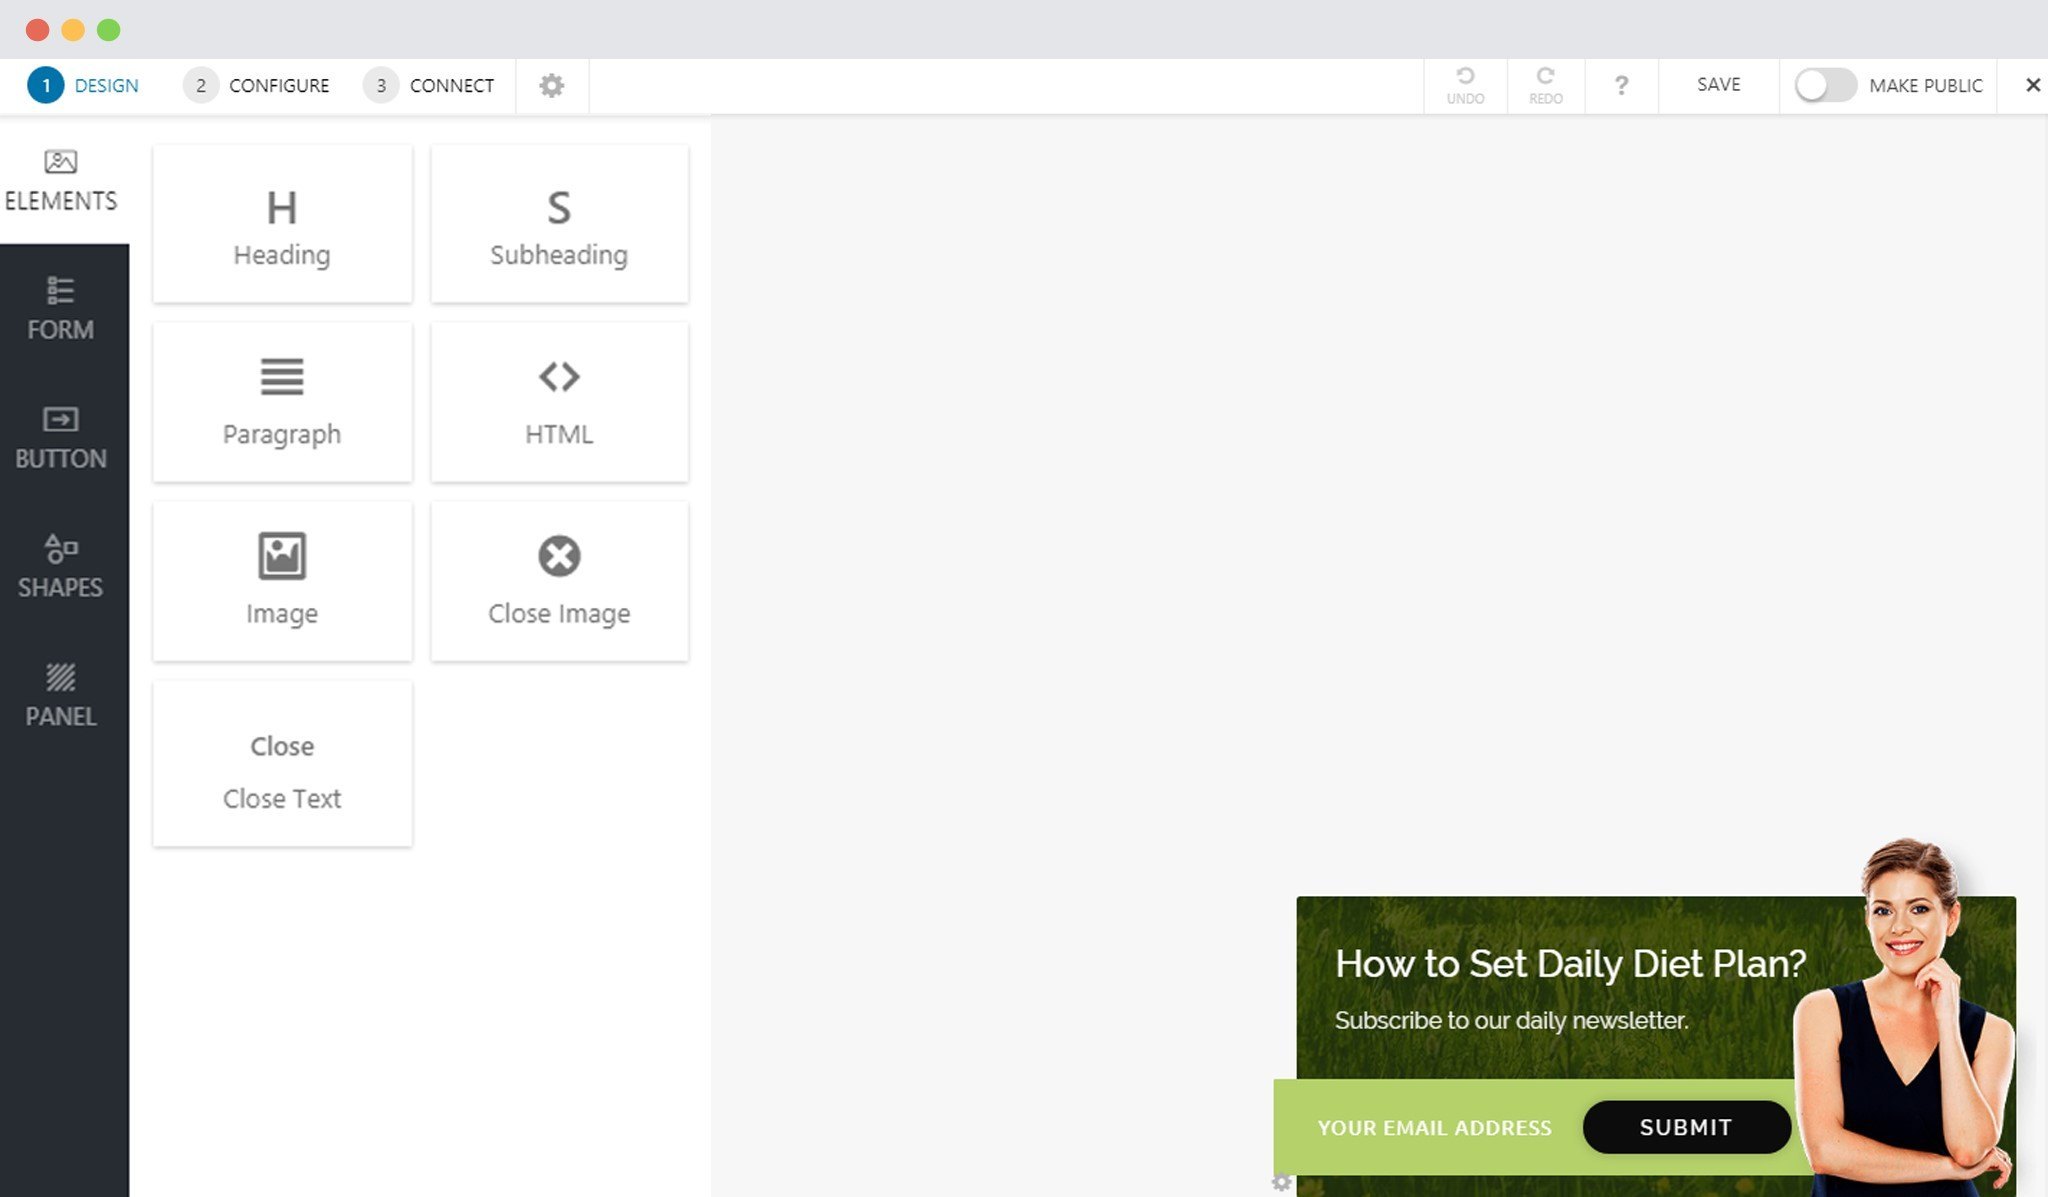
Step 2: Designing the Slide-in
Convert Pro comes with a complete drag and drop editor that makes designing both fun and easy. You can create and design the slide-in with additional elements, form fields, shapes and a lot more.
We have an article you can refer to know how you can proceed with Designing a call-to-action in Convert Pro.
Step 3: Configuration Settings
This step allows you to manage when, where and to whom should the slide-in be displayed.
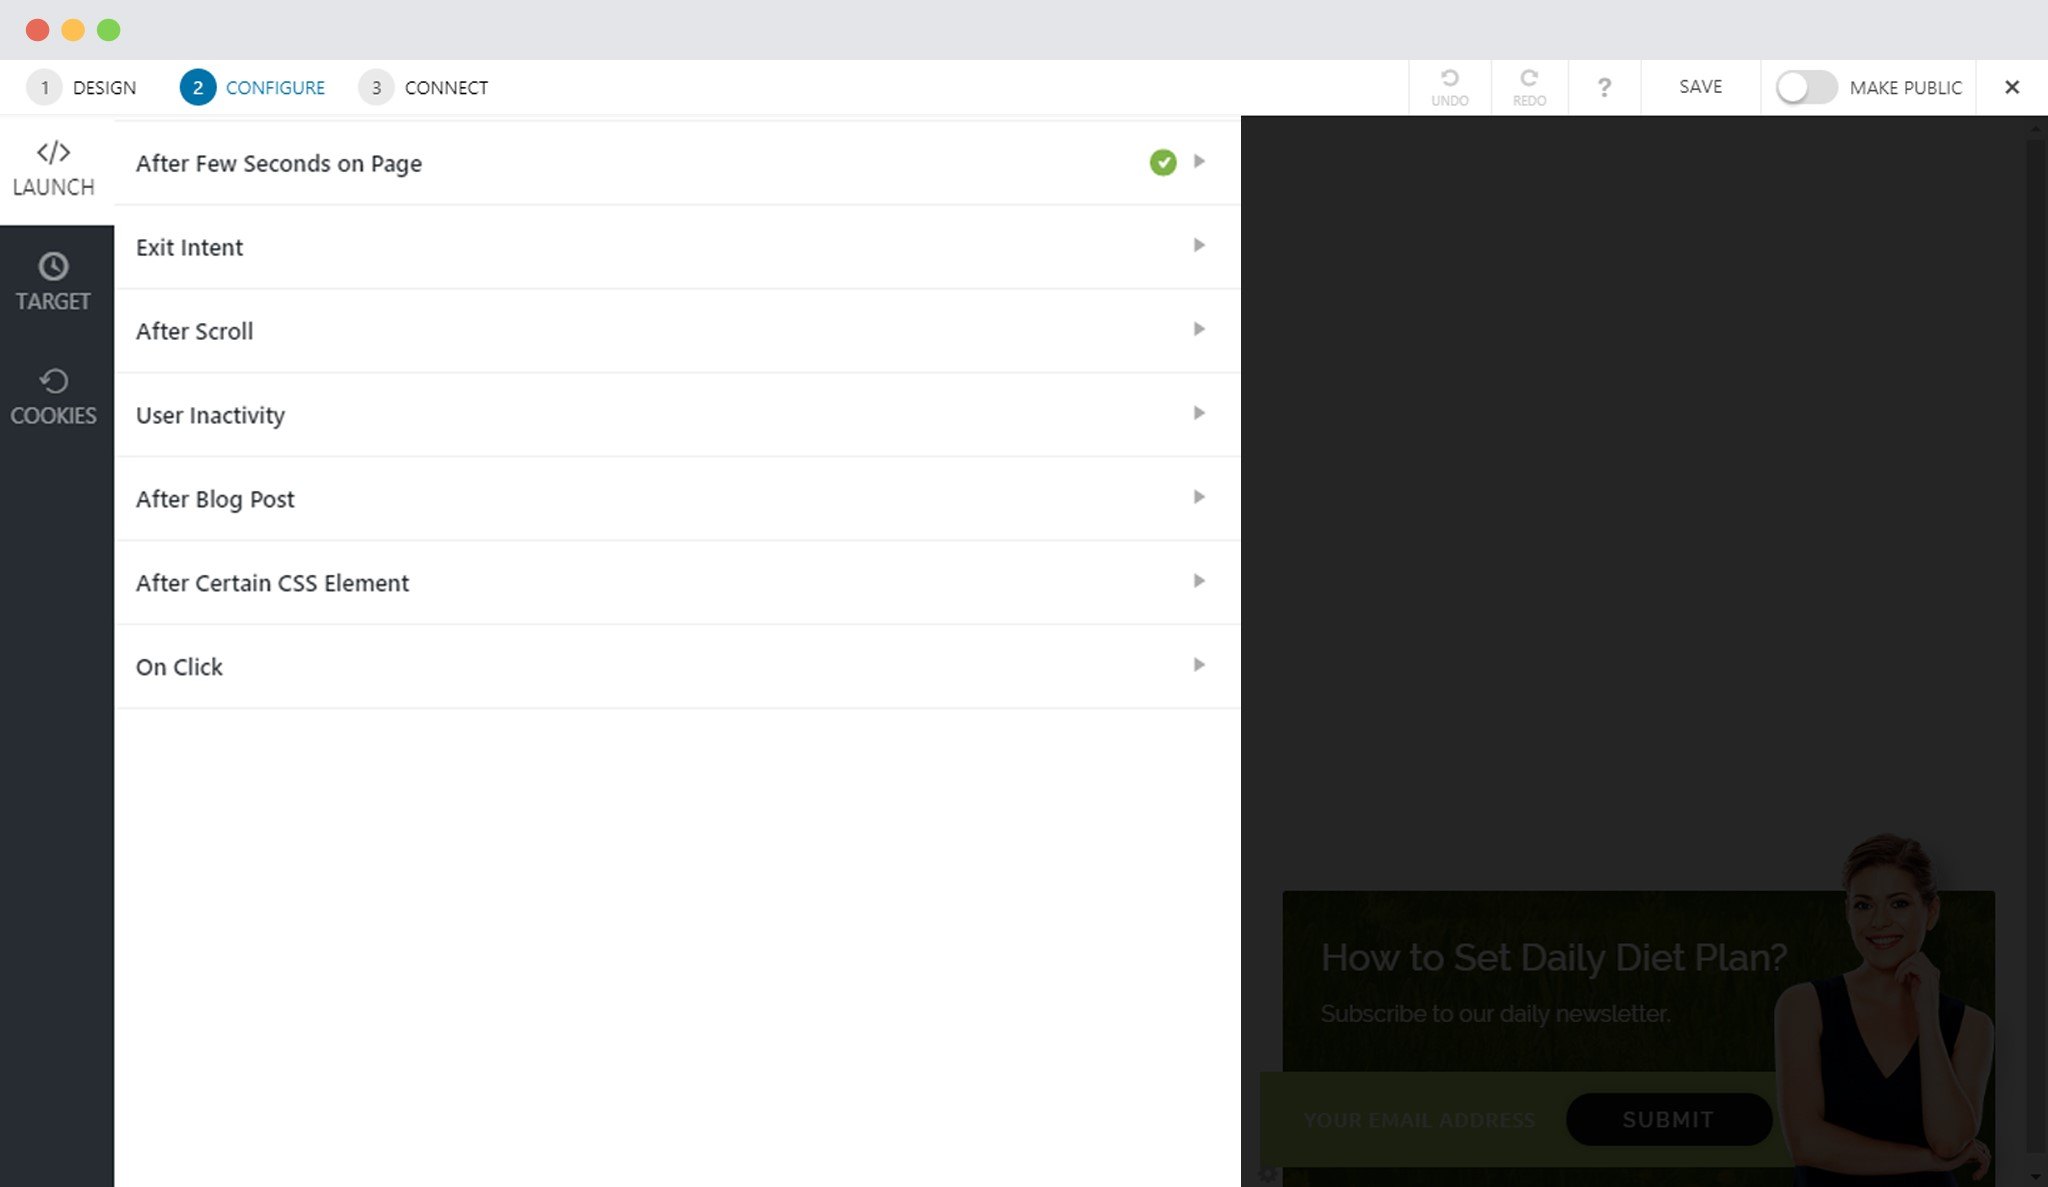
With triggers like the exit intent, well-timed, inactivity, after scroll and more you also have the option to display a call-to-action when a particular class or ID appears in the viewport or when a piece of text or element is clicked on the page. You can refer to the following articles that will help you trigger the infobar at the right time:
- Display a slide-in immediately after a user arrives on the page
- Display after few seconds when the page loads
- Display just when the user is about to leave the page
- Display when the user scrolls specified percentage of the page
- Display when user is found to be inactive for a specified amount of time
- Display after user reaches the end of a blog post
- Display when an element with specified class or ID appears in viewport
- Display the slide-in on click of text, button, image, etc.
The target settings allow you to specify particular page/pages/posts/categories etc where you wish to show or hide the slide-in popup. You can also choose to identify users by the device they are using or the website they come from.
- Display the slide-in on particular pages/posts/categories etc
- Target visitors based on the URL they come from
- Target visitors based on the device they are using
- Show or hide slide-in from logged-in and first time users
- Schedule the slide-in popup
Note: These targeting options cannot be used when you select the onclick method to display the slide-in.
The Cookie settings allow you to decide whether you wish to display the slide-in after conversion or after closing.
Note: These cookie settings cannot be used when you select the onclick method to display the slide-in.
Step 4: Managing Leads
Convert Pro integrates with 26+ email marketing service providers and autoresponders to help you store and manage leads. You can also enable email notification to receive lead data on a specific email ID.
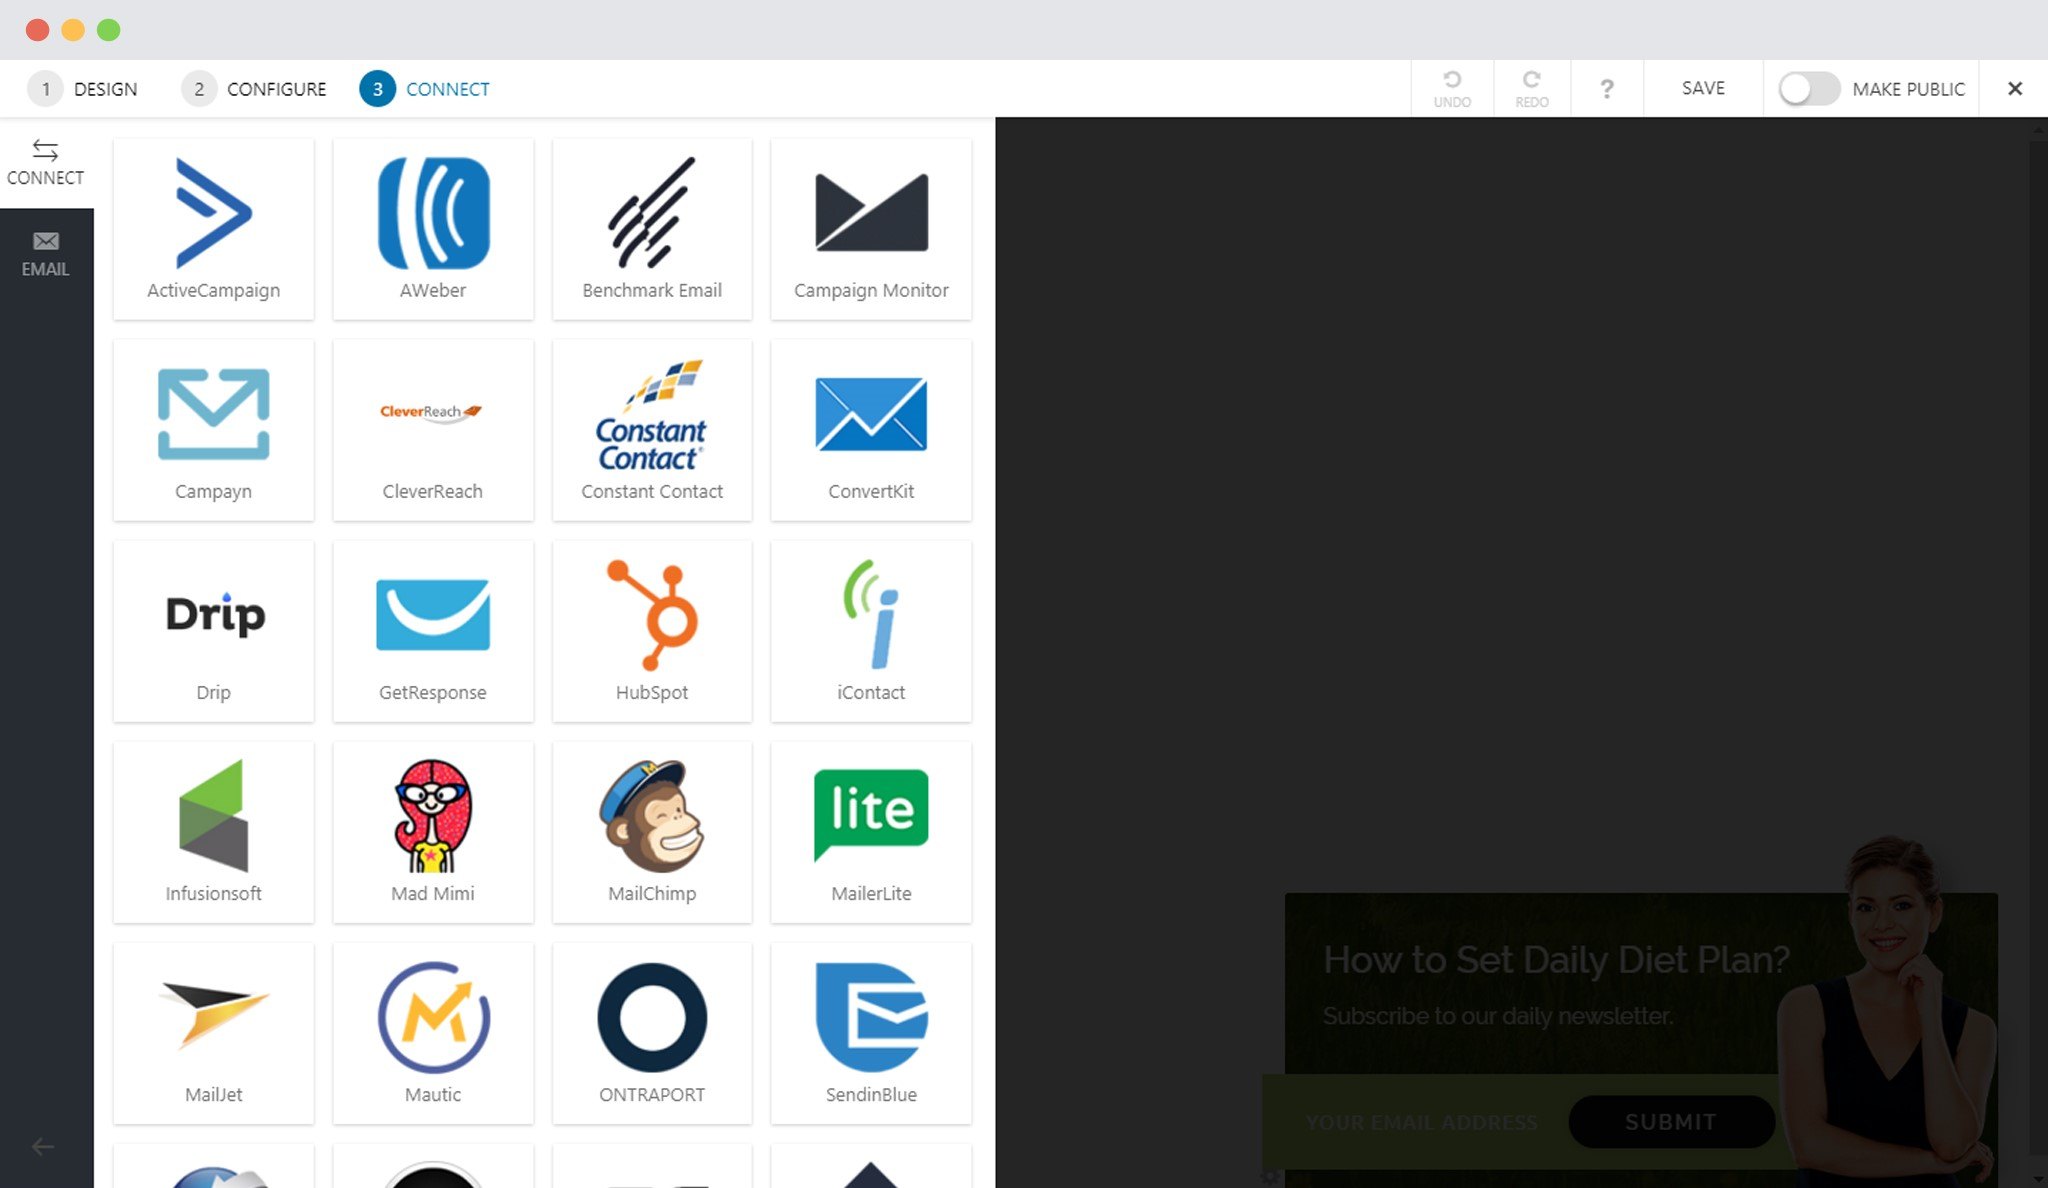
You can refer to the following links to integrate with a third party email marketing service provider and enable email notifications.
You are all set to publish the slide-in and convert your website visitors into prospective leads and customers!
Need help? Get in touch!

