Like many other addons needed to work with ConvertPlug, the WP Comment Form Addon is available within the Addon Installer of ConvertPlug.
In order to capture data obtained through WP Comment Form, you need to follow the steps mentioned below.
1. Install the WP Comment Form Addon
Install the Addon.
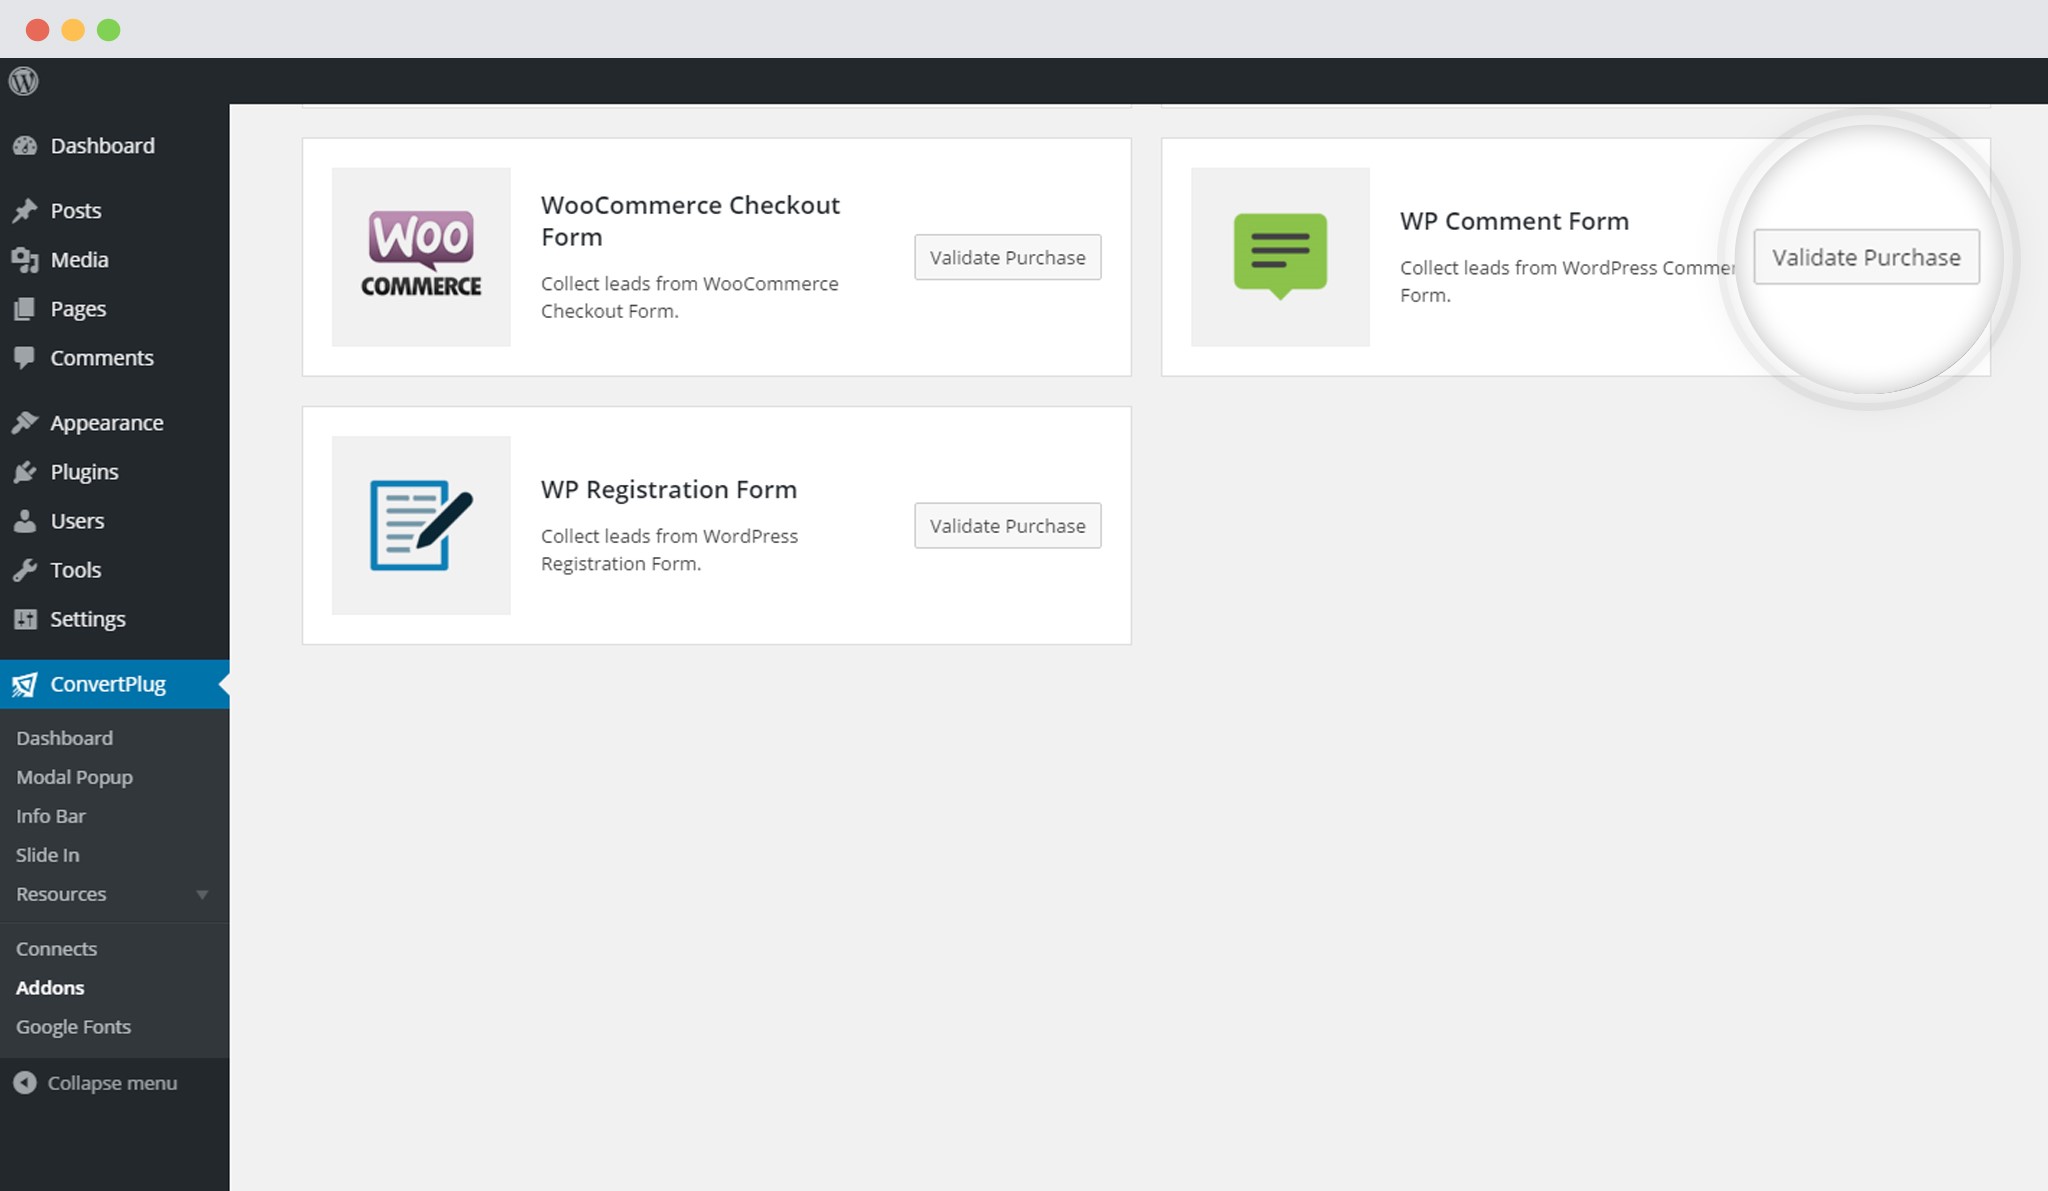
Note: If you are a direct customer (bought a direct copy from us), you will have to register your copy of ConvertPlug to validate your purchase, before installing this addon.
In order to learn how to use the Addon Installer in ConvertPlug, you can refer to the article here.
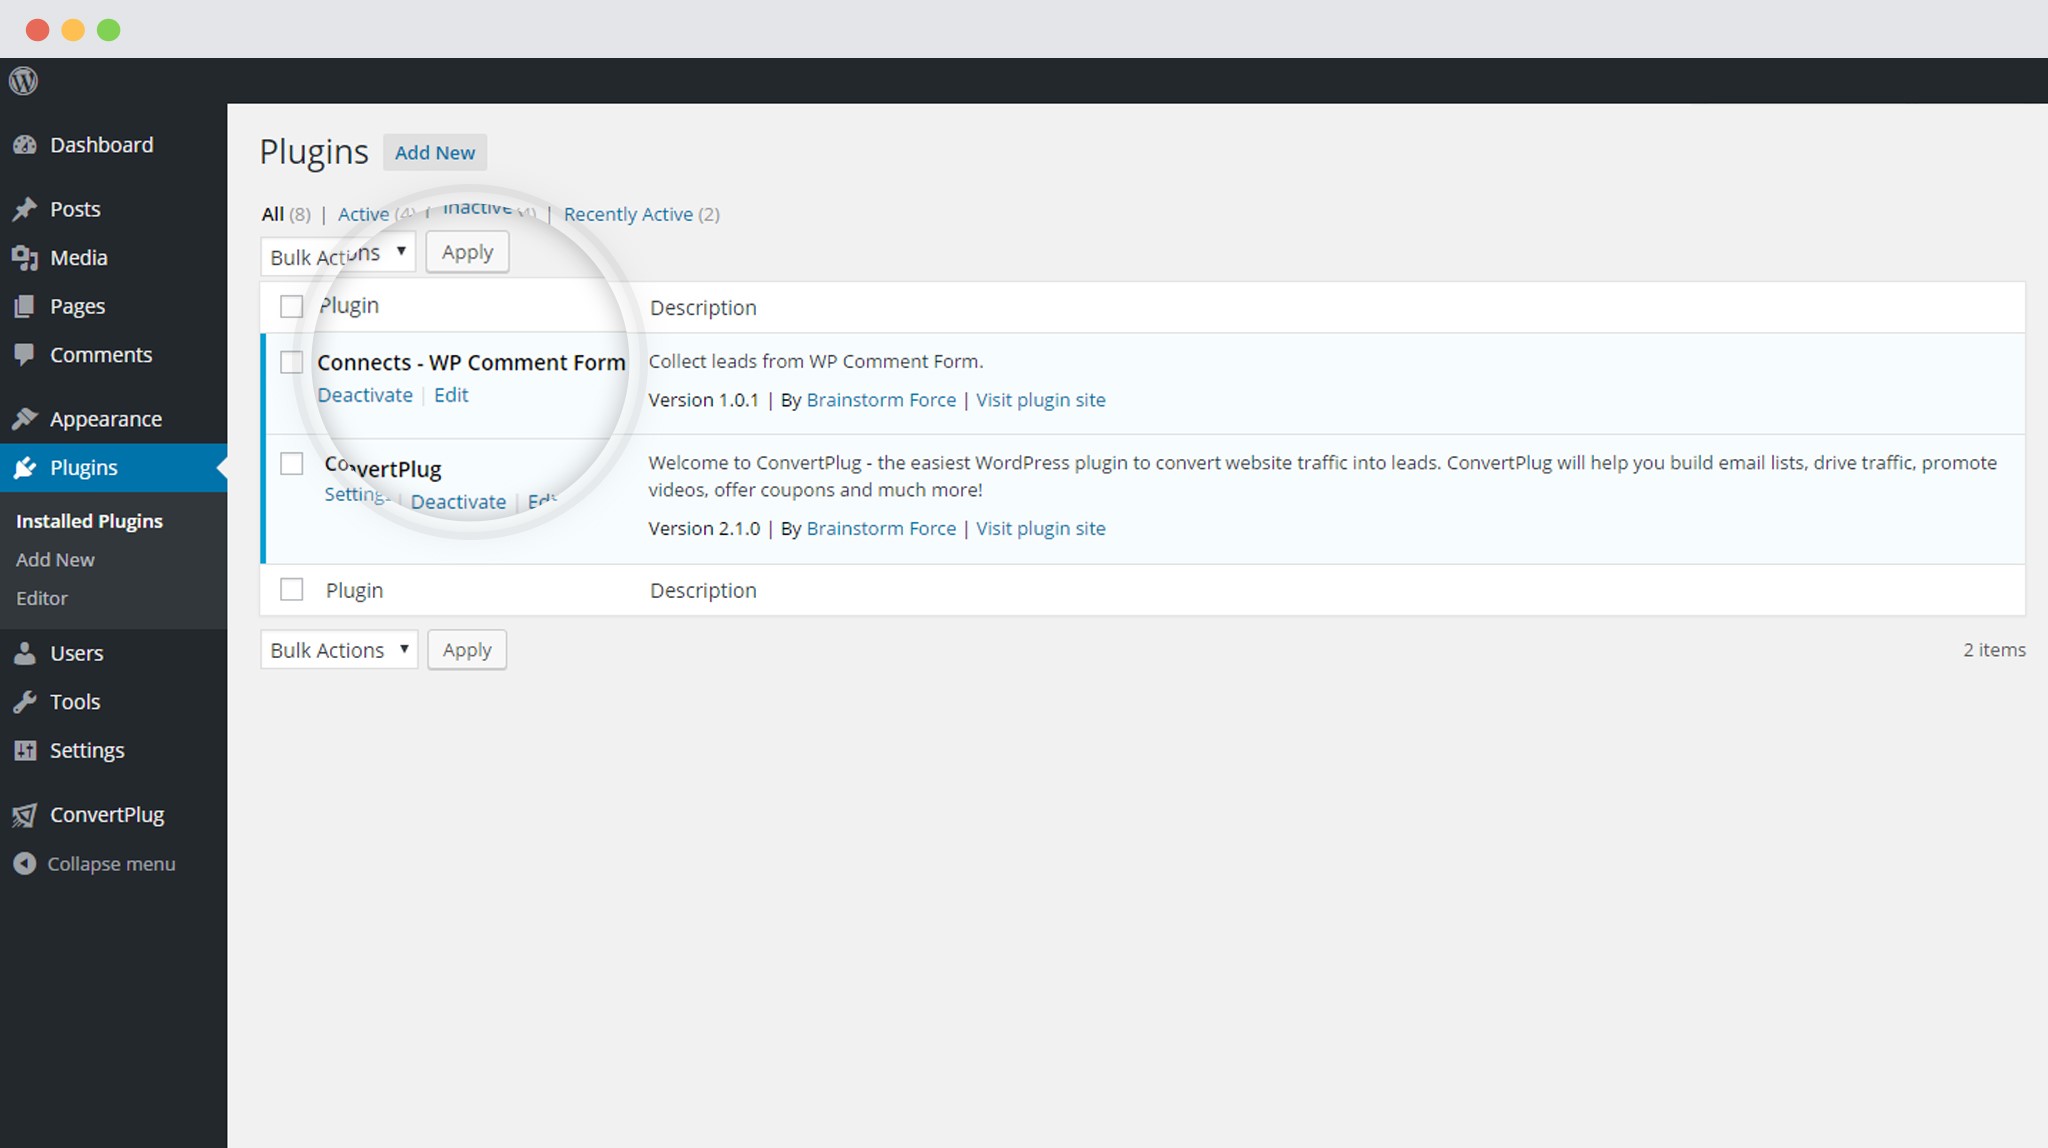
2. The Addon is now installed
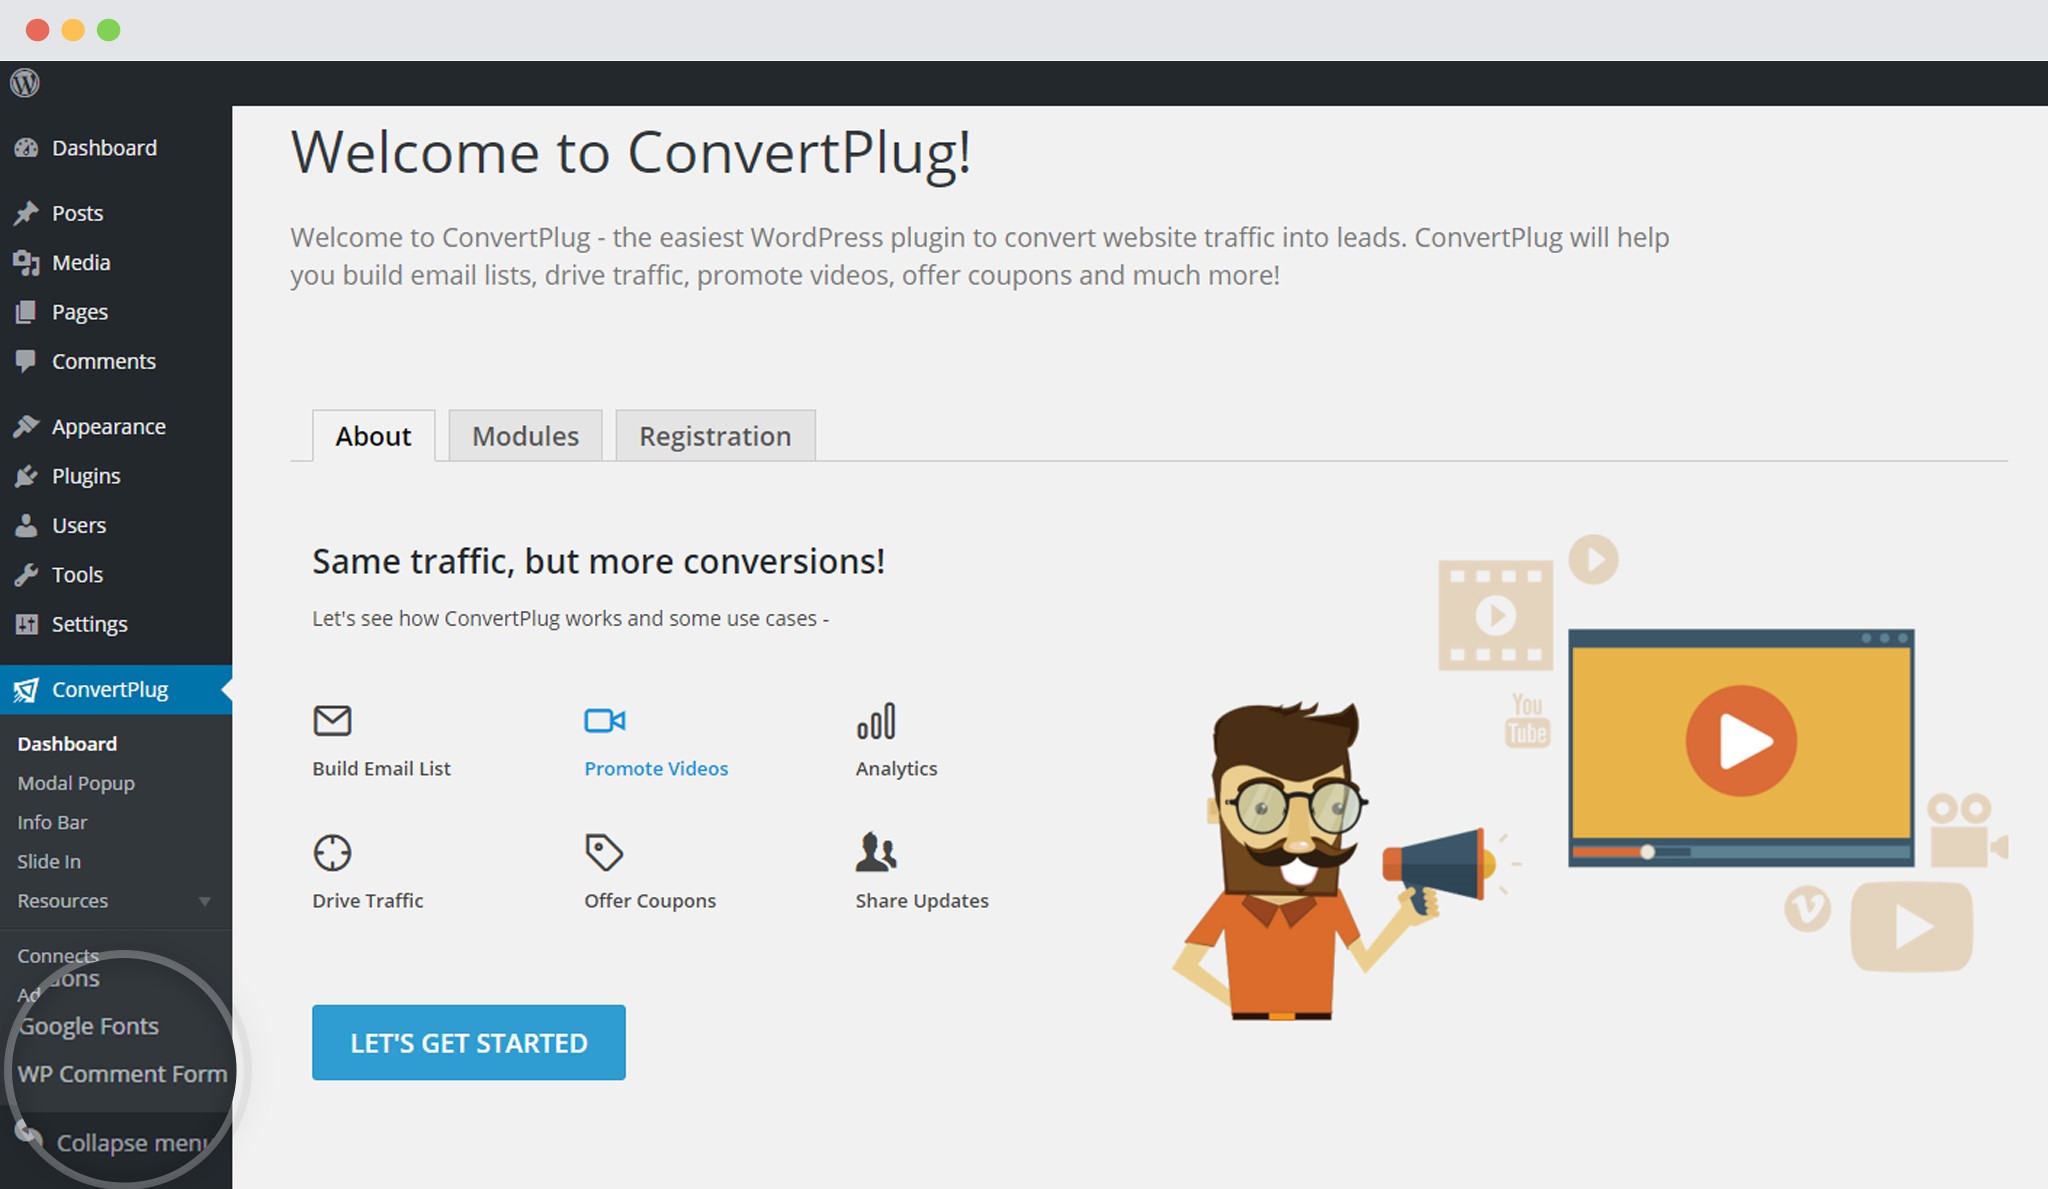
3. Open the WP Comment Form page
4. Enable the Comment Form Integration
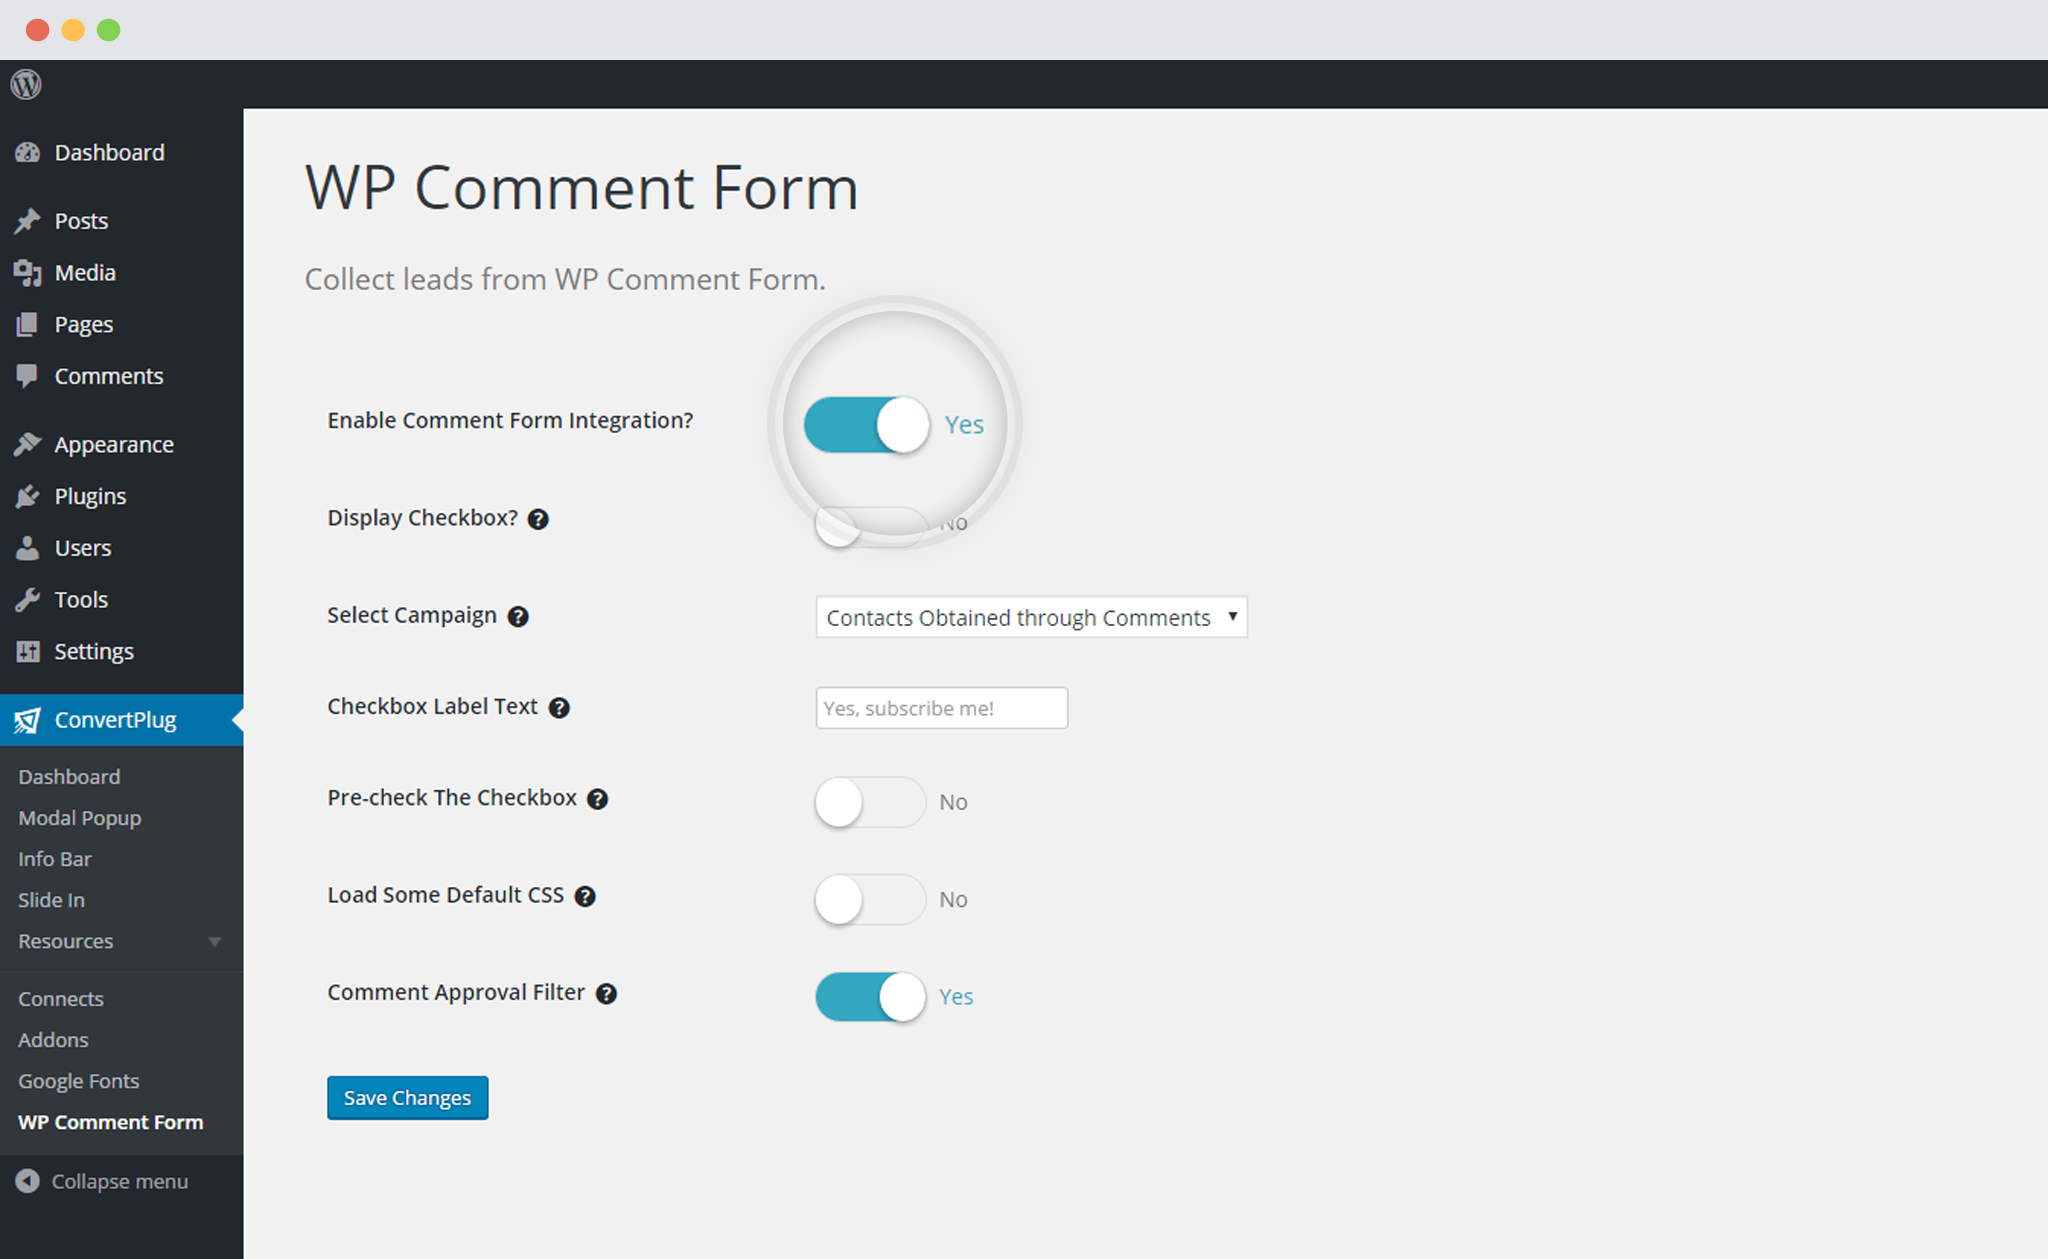
5. Select the Campaign
You can select the Campaign you wish to store your leads in.
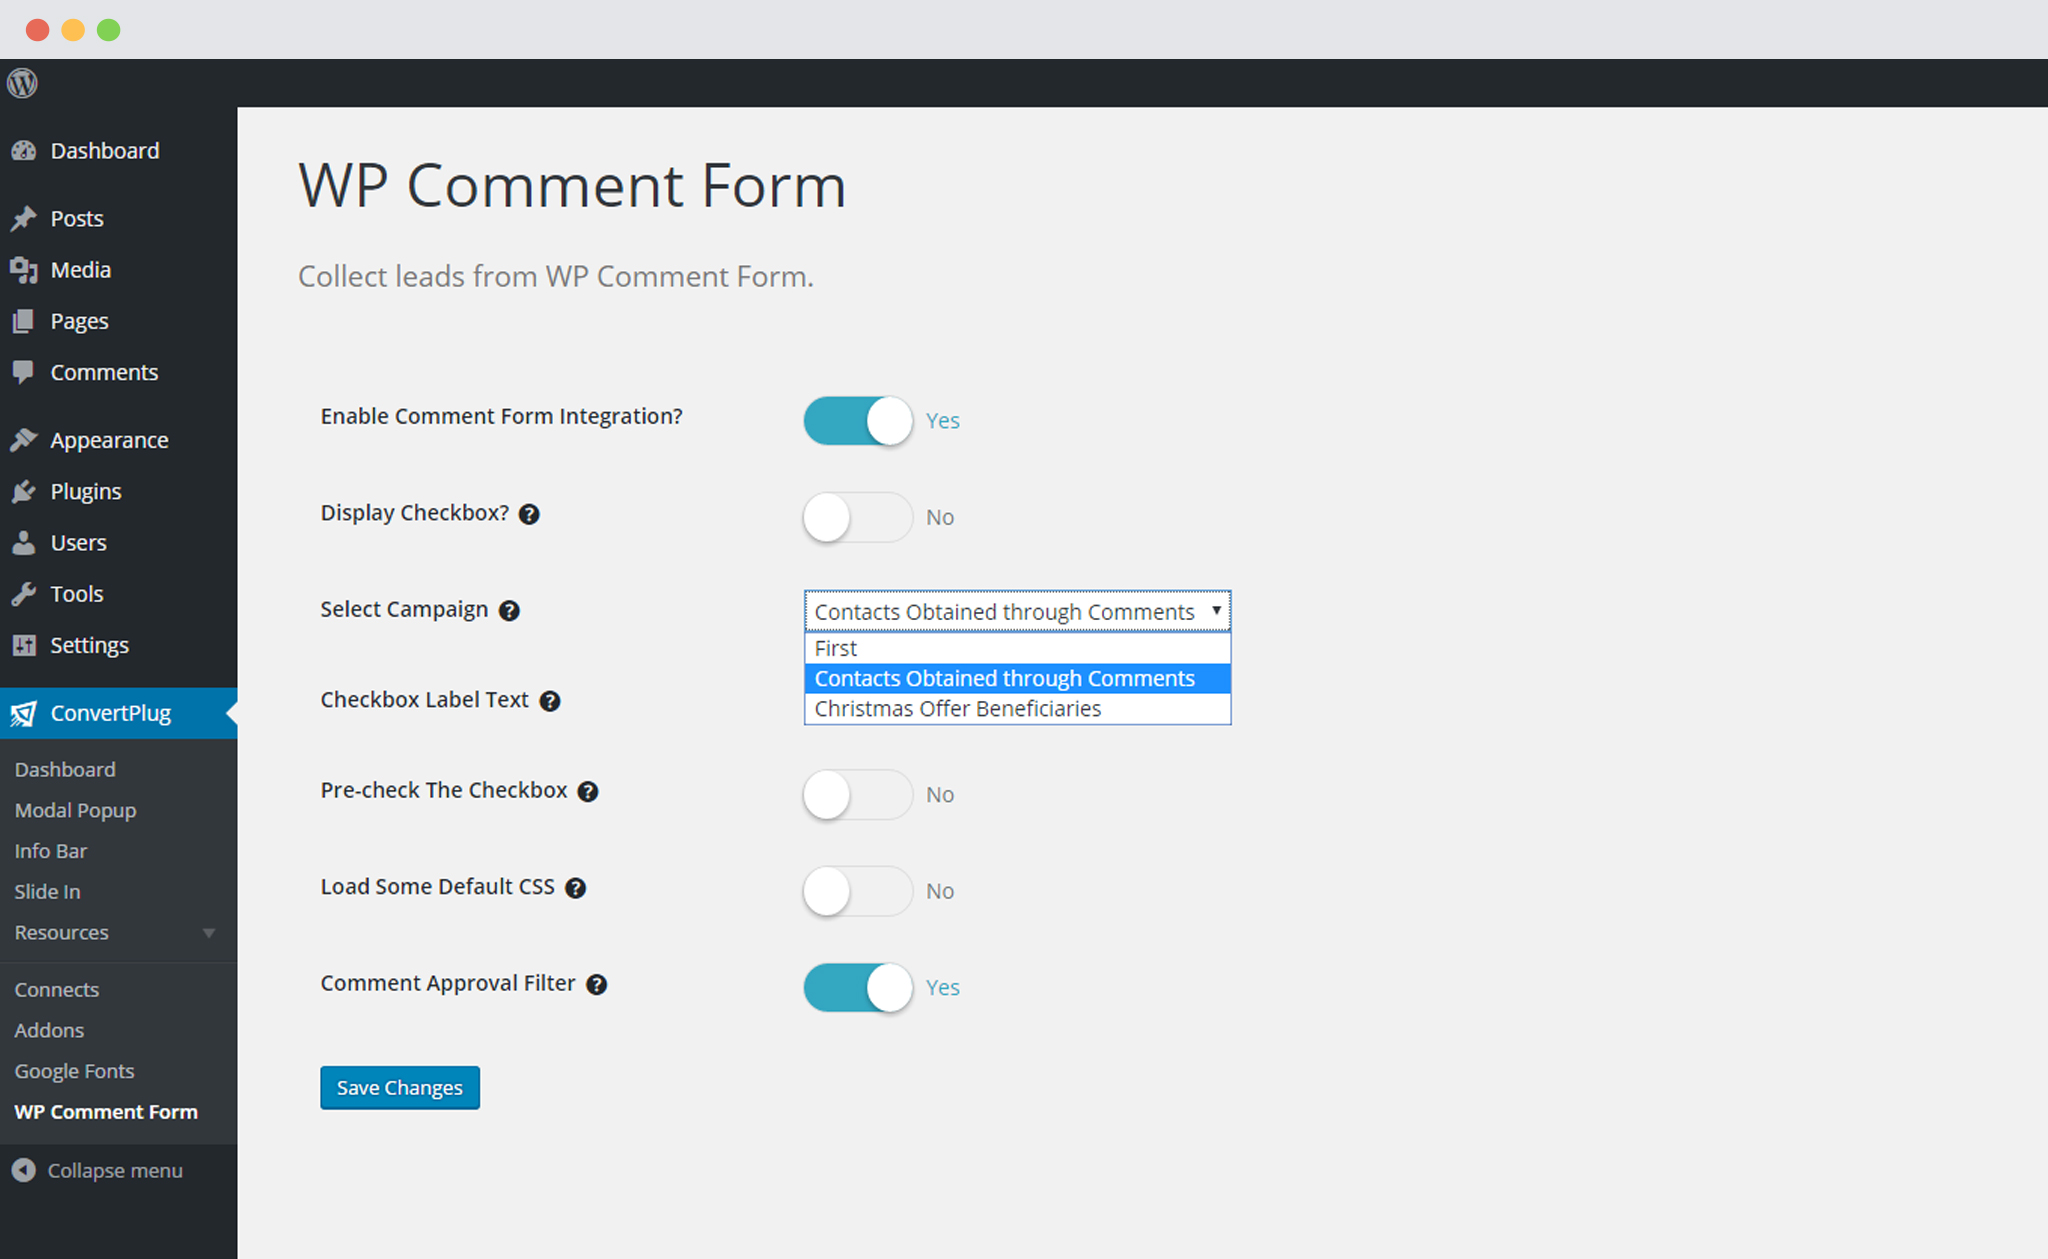
You can work on the other settings like enable/pre-check the checkbox, add approval filters or Load default CSS.
Save the Changes