ConvertPlug allows you to integrate with external email marketing software that help you store and manage leads obtained through the opt-in forms created using the plugin.
Among all the possible integrations, Connects, the inbuilt, tool allows you to integrate with AWeber too. In order to integrate ConvertPlug with AWeber, you will have to follow the steps mentioned below.
1. Install the Connects AWeber Addon
Install the Addon.

In order to learn how to use the Addon Installer in ConvertPlug, you can refer to the article here.
2. The Addon is now installed
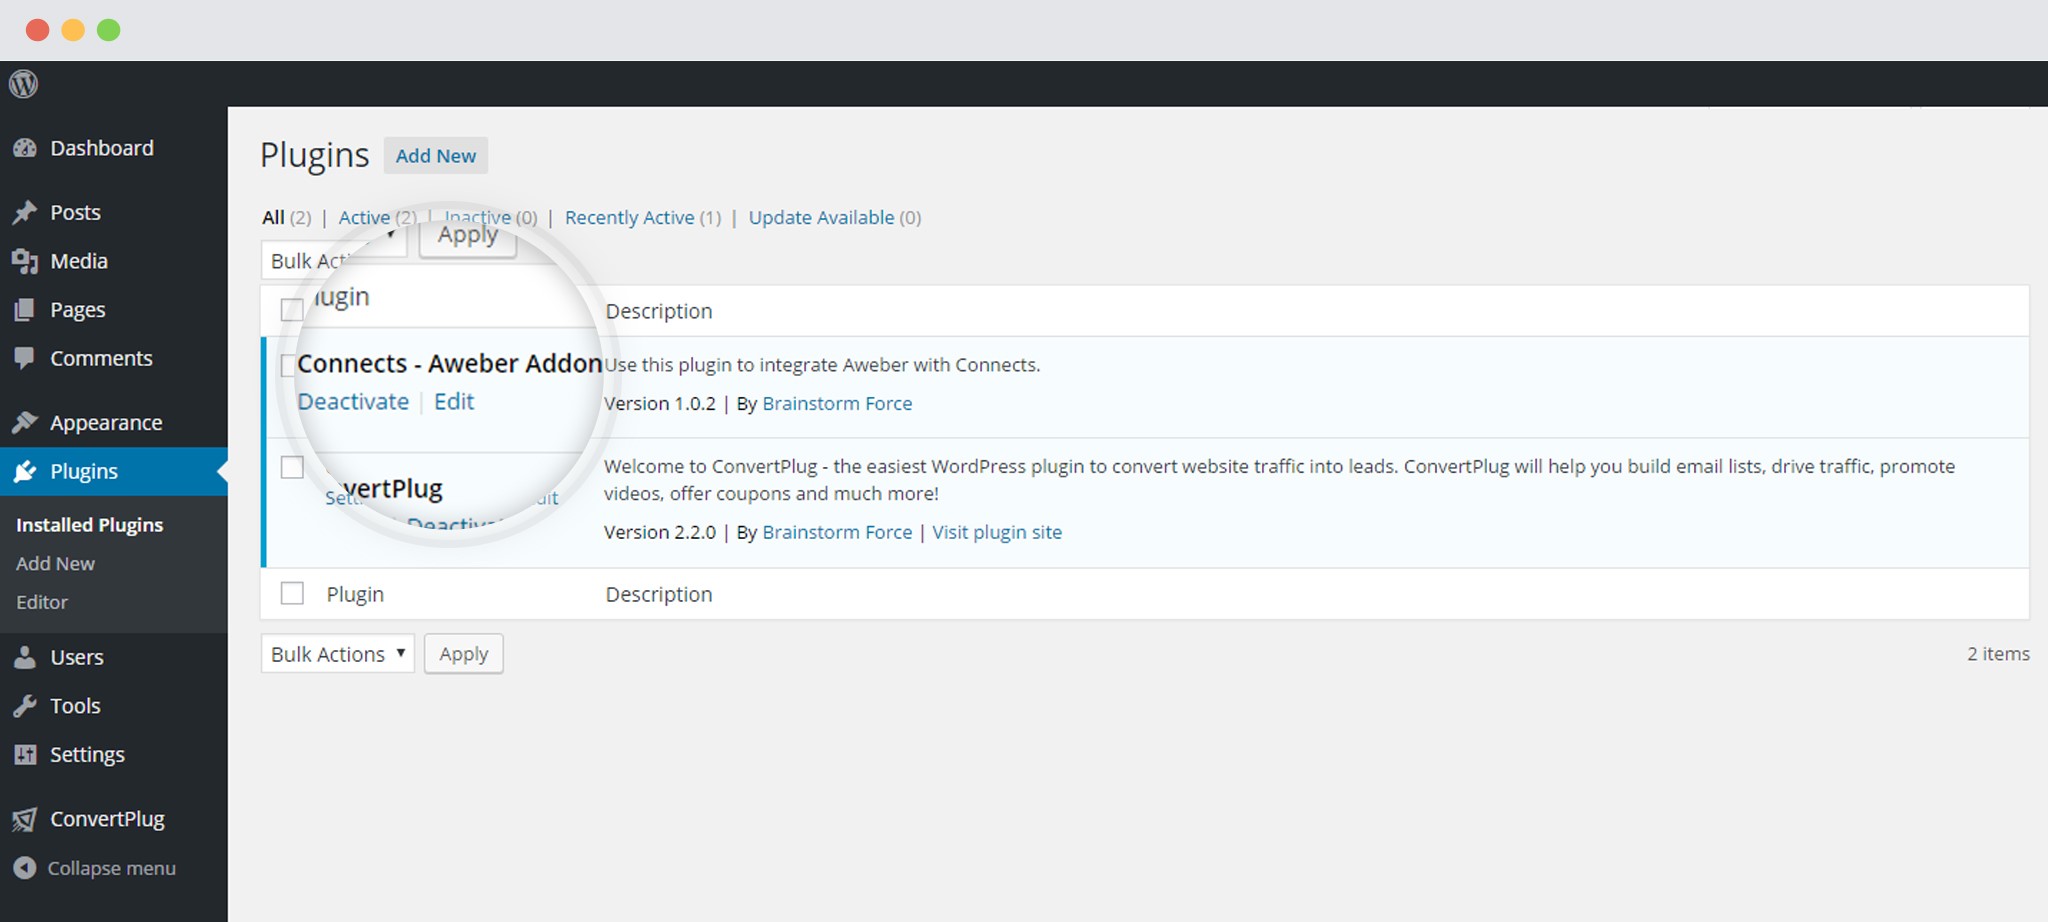
3. Open Connects
You need to open the Connects page seen under the Resources section of ConvertPlug.

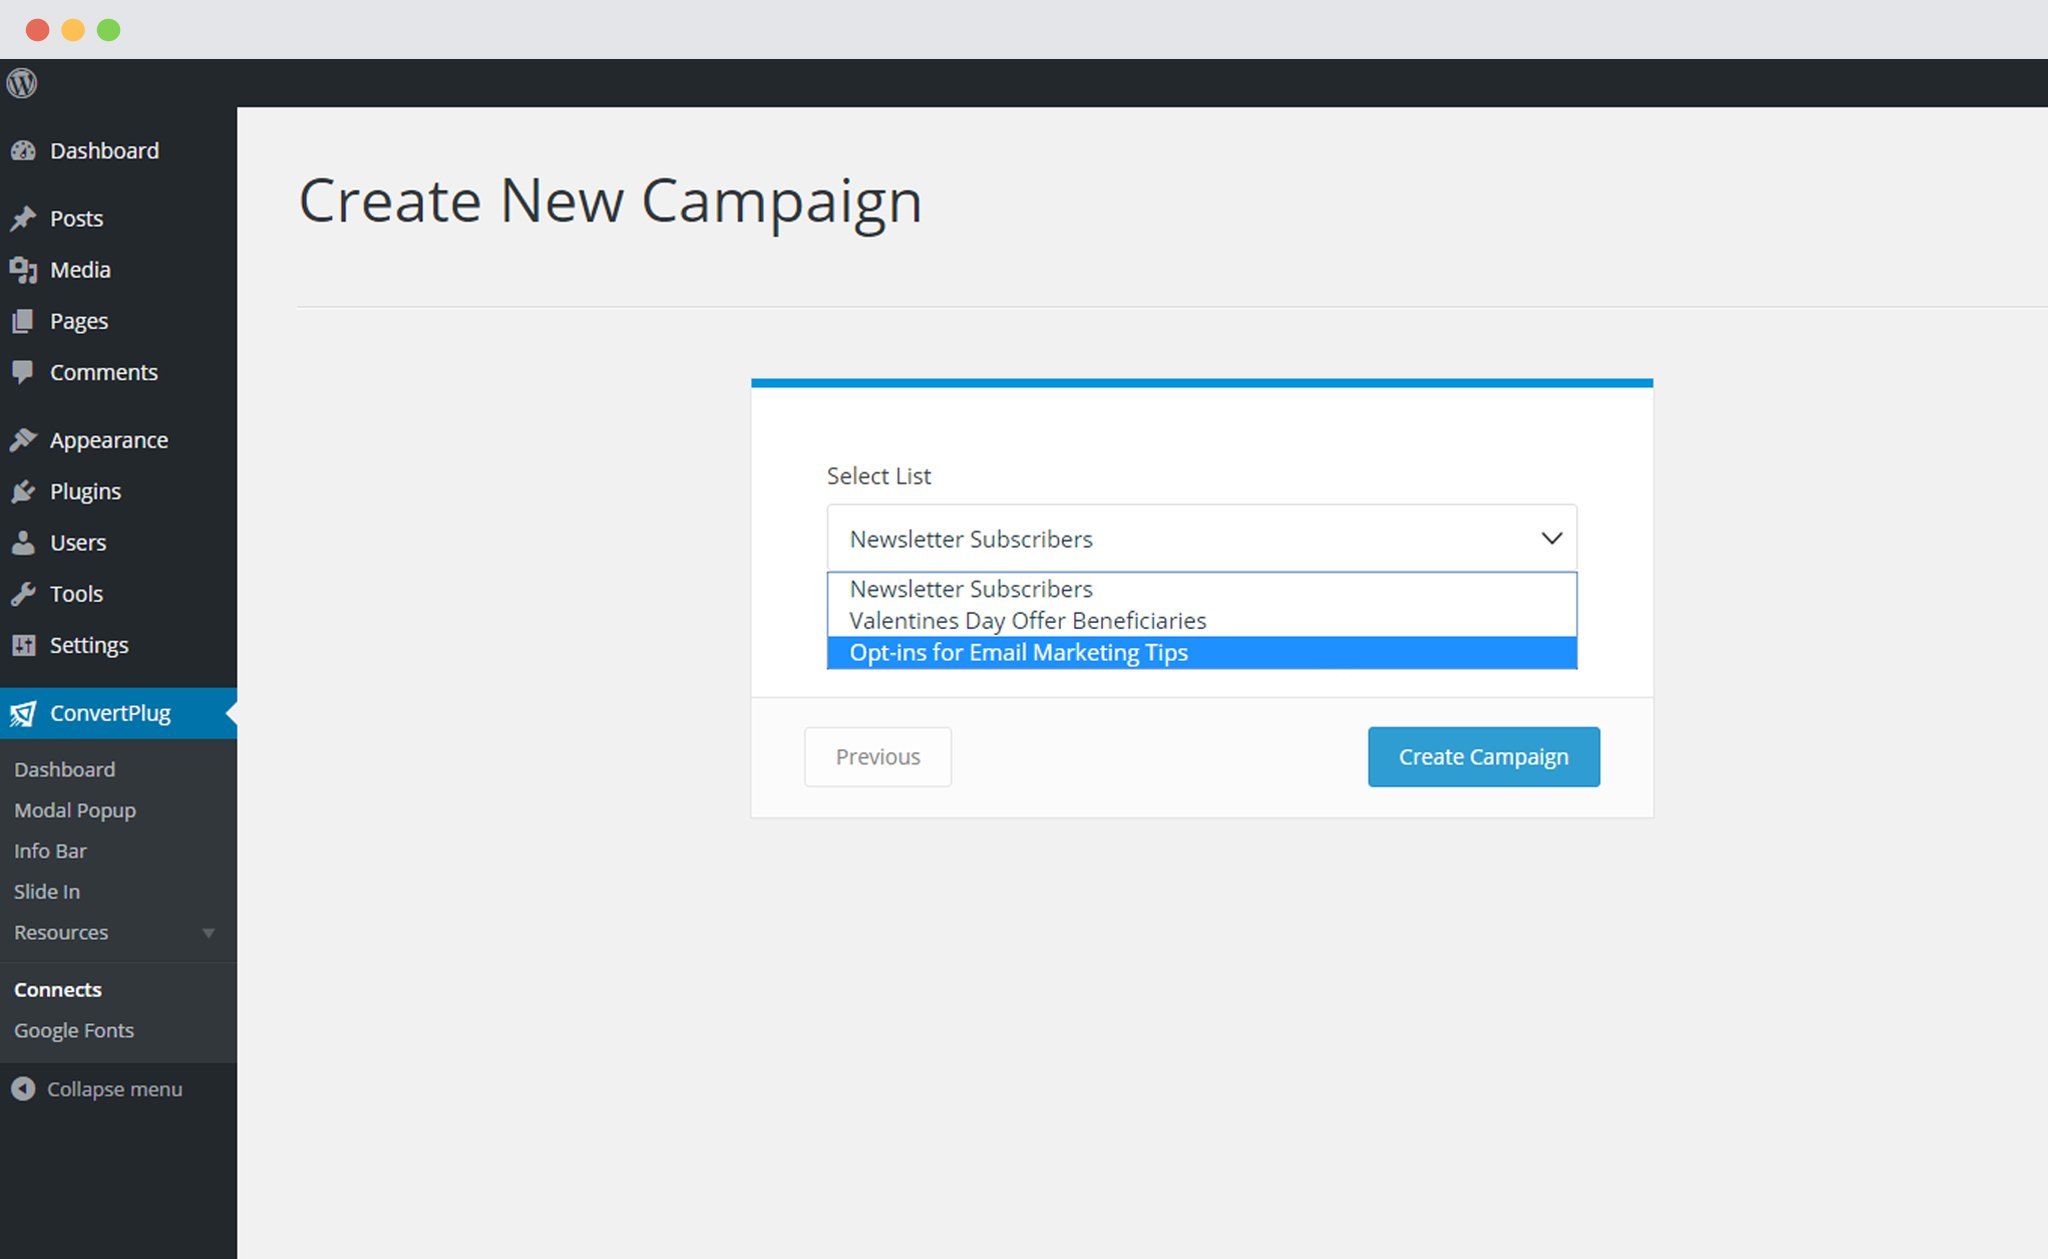
4. Create a New Campaign
You will then find a “Create New Campaign” button that allows you to create a New Campaign. Click on it.

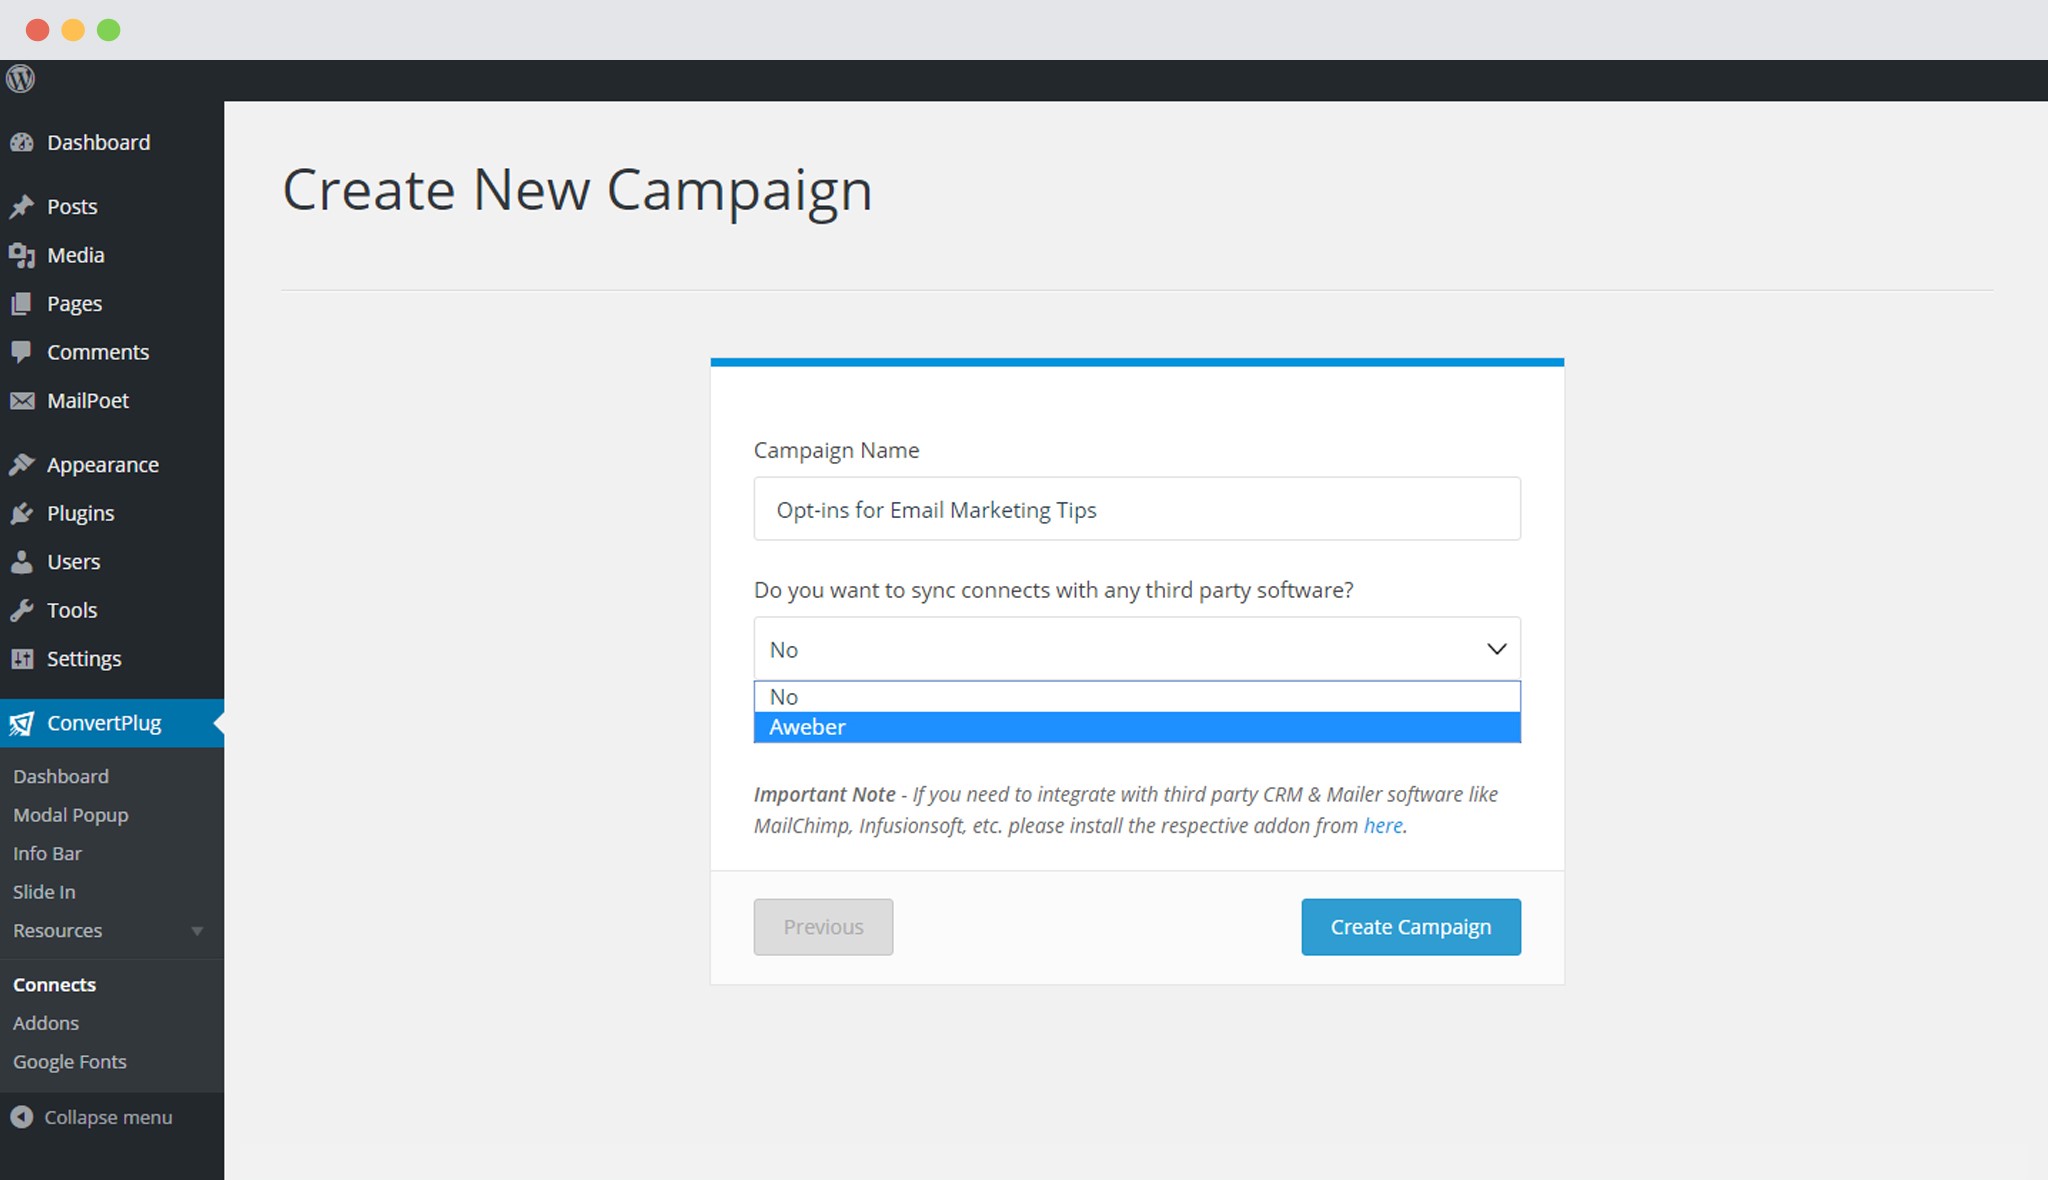
5. Enter a Campaign Name and Select the Third Party Software
A Campaign name should be valid, descriptive and understandable, so that you know what kind of leads are stored in it.
Select AWeber from the drop down below.
6. Authenticate your Account
Each email marketing software might have a different attribute that may be needed to authenticate your account.
For the integration with AWeber, you need to authenticate your account and then enter the authorization code that is generated.
Enter your Username/ Login name and password.
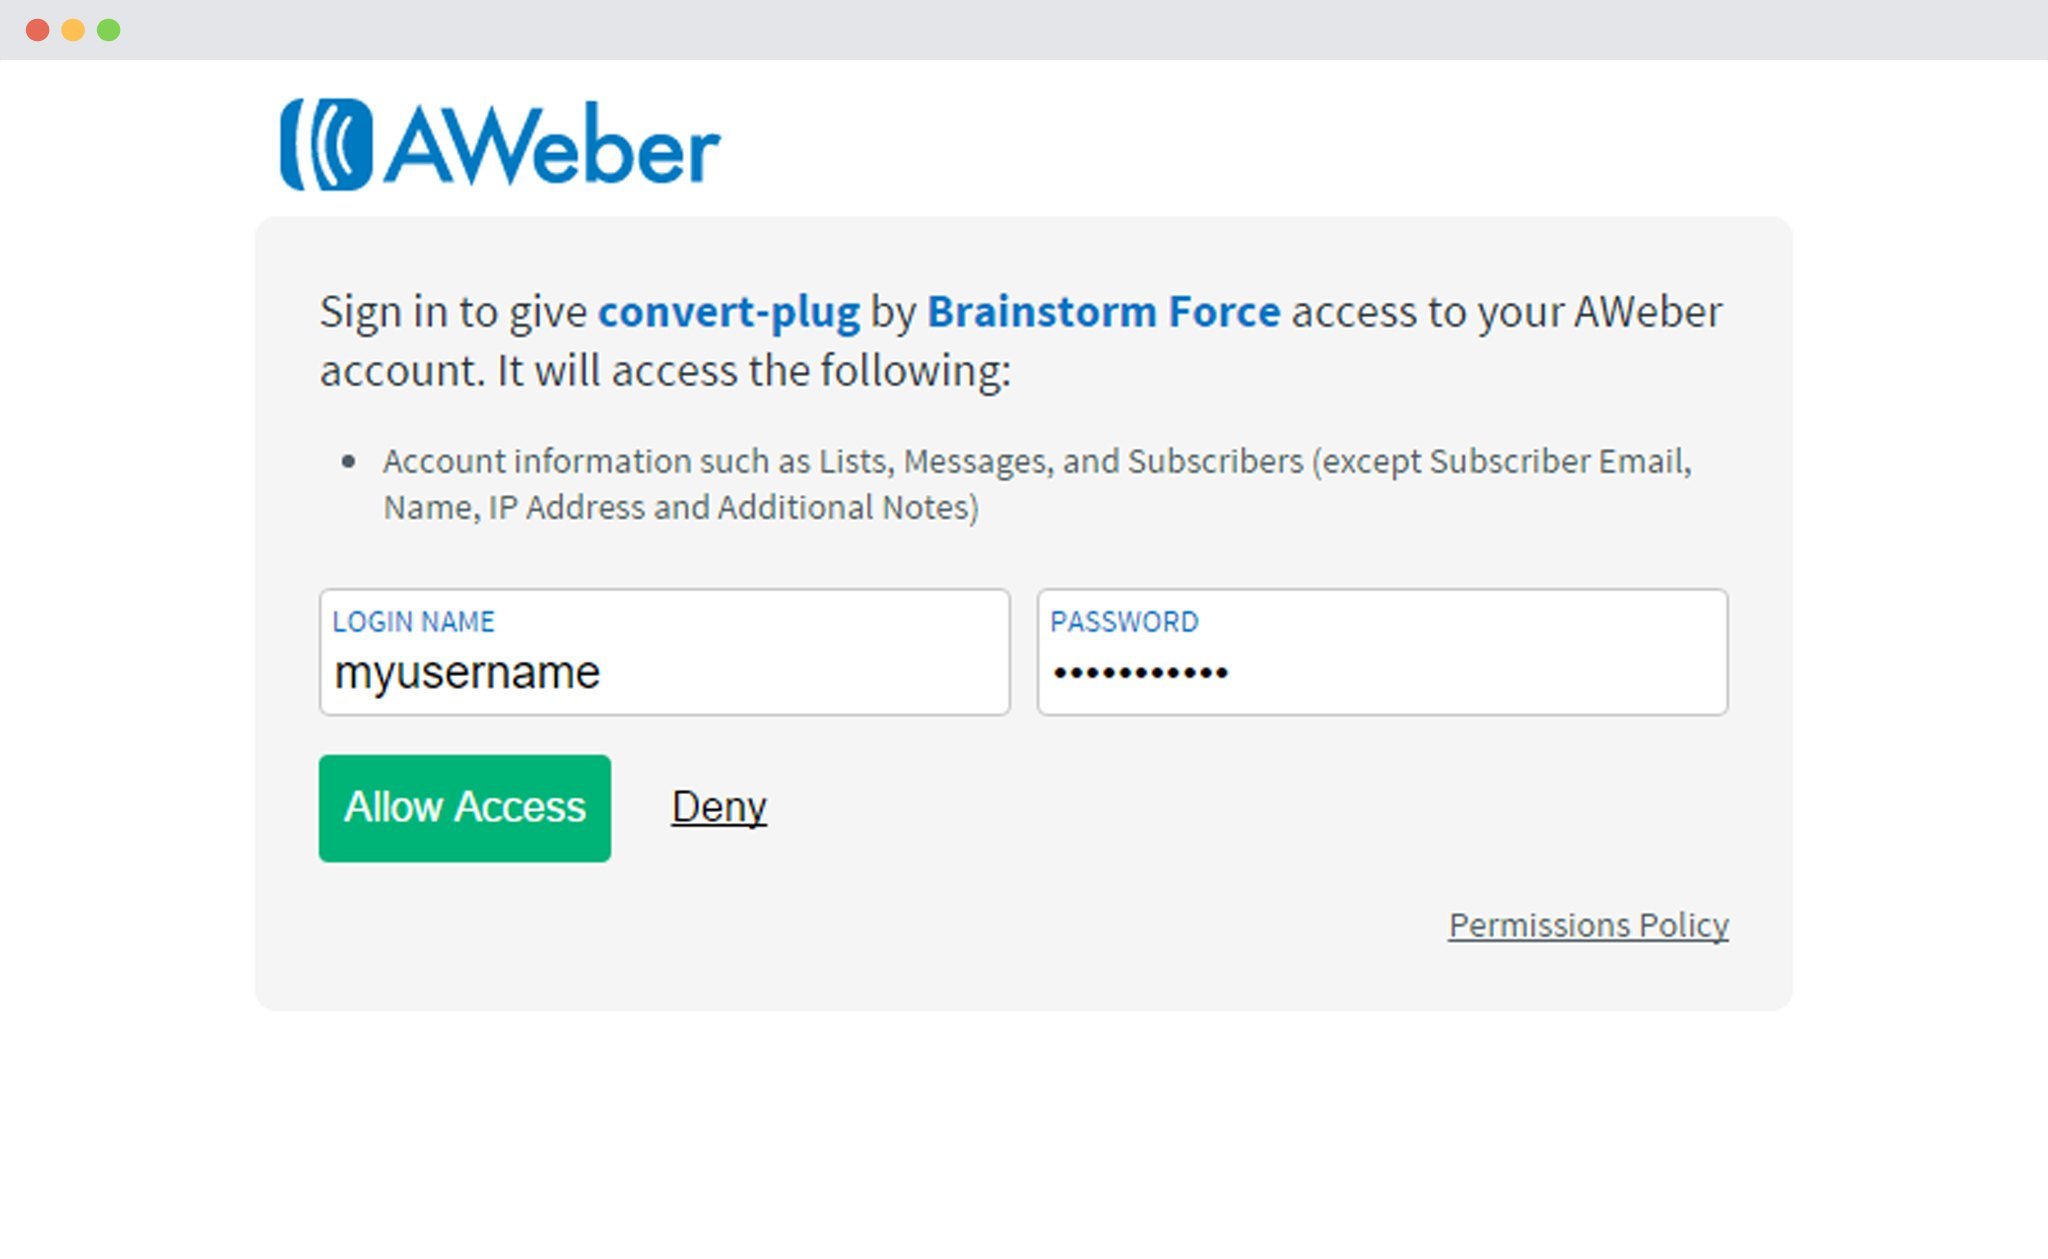
Click on Allow Access.
Points to remember:
i. You should have an existing AWeber account
ii. Create at least one list that can be integrated with ConvertPlug.
7. Paste the Authorization code
Copy the authorization code that is generated after your account is authenticated, and paste it in the Connects interface.
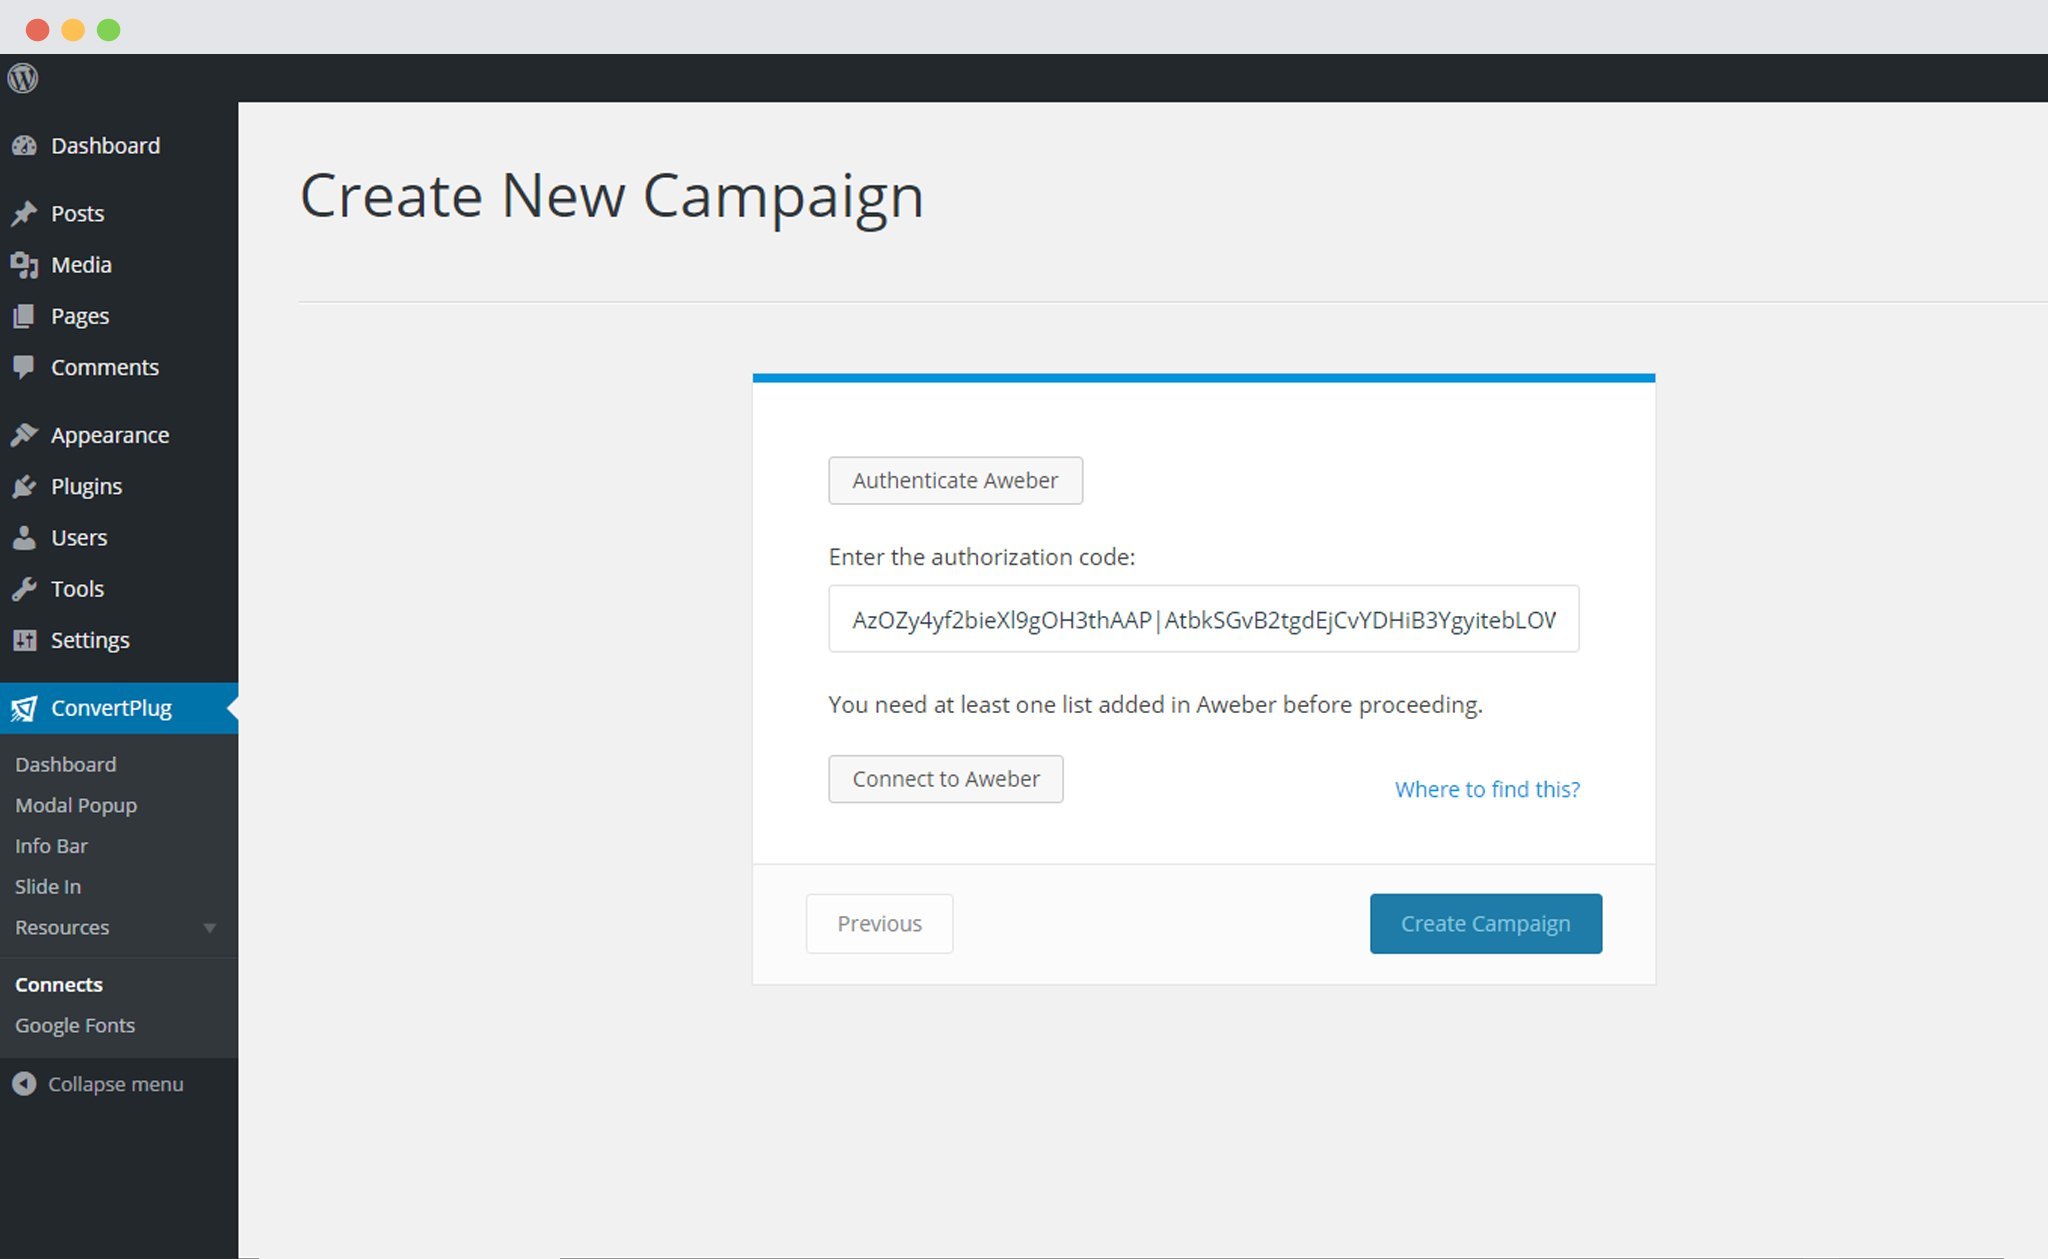
8. Click on Connect to AWeber and Select the list from the Dropdown below
Connect the accounts and select the list you wish to integrate with.
9. Click Create Campaign
Click on the create campaign button and see a new campaign being added to the Connects page.
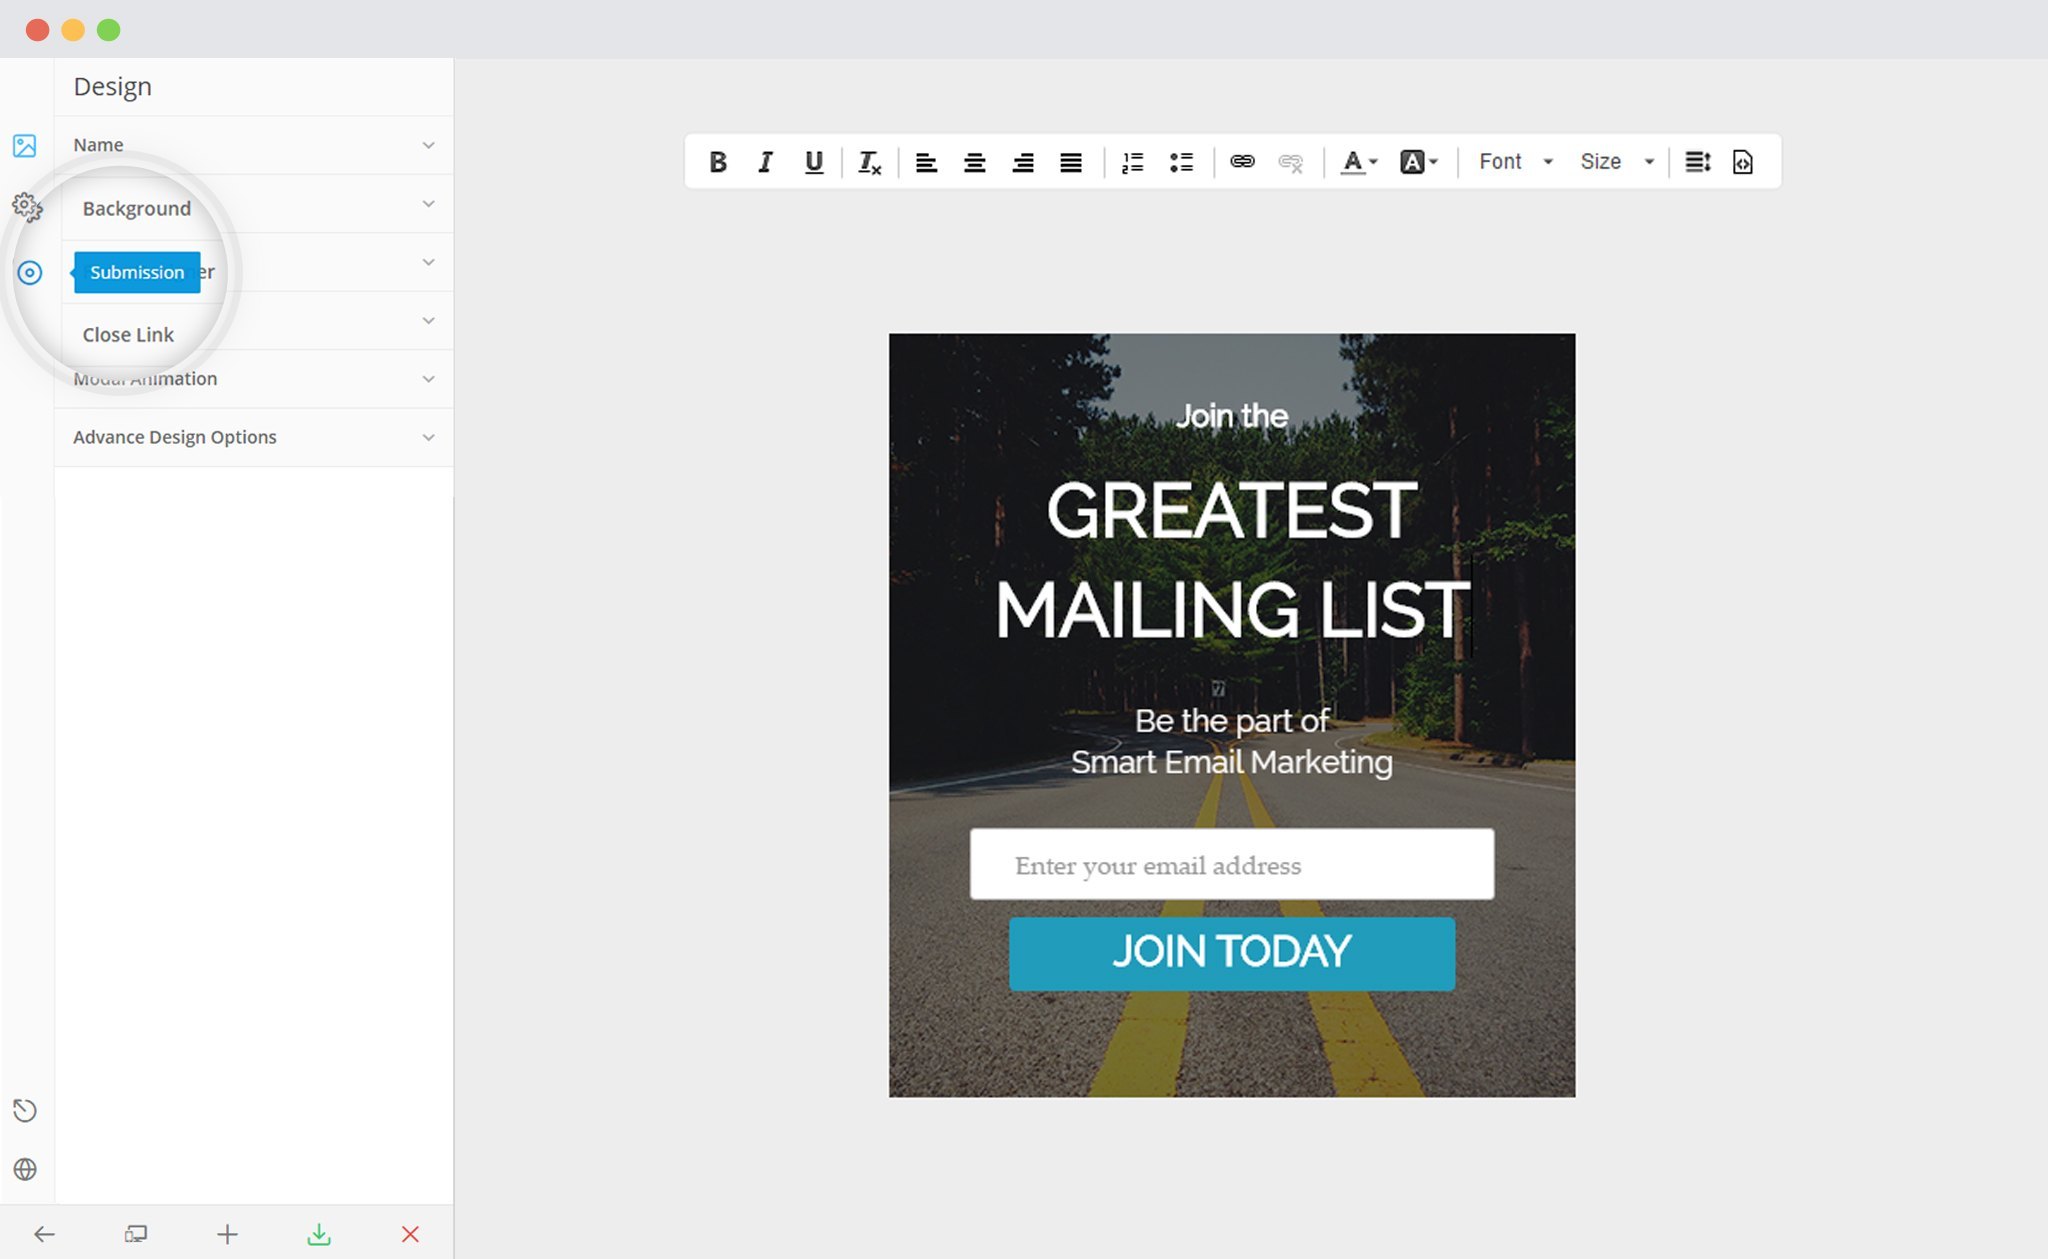
Using the Campaign in a Module:
i. Select and customize a module according to the Campaign needs.
ii. Open it in the editor.
iii. Click on Submissions
iv. Select the appropriate campaign from the Dropdown list
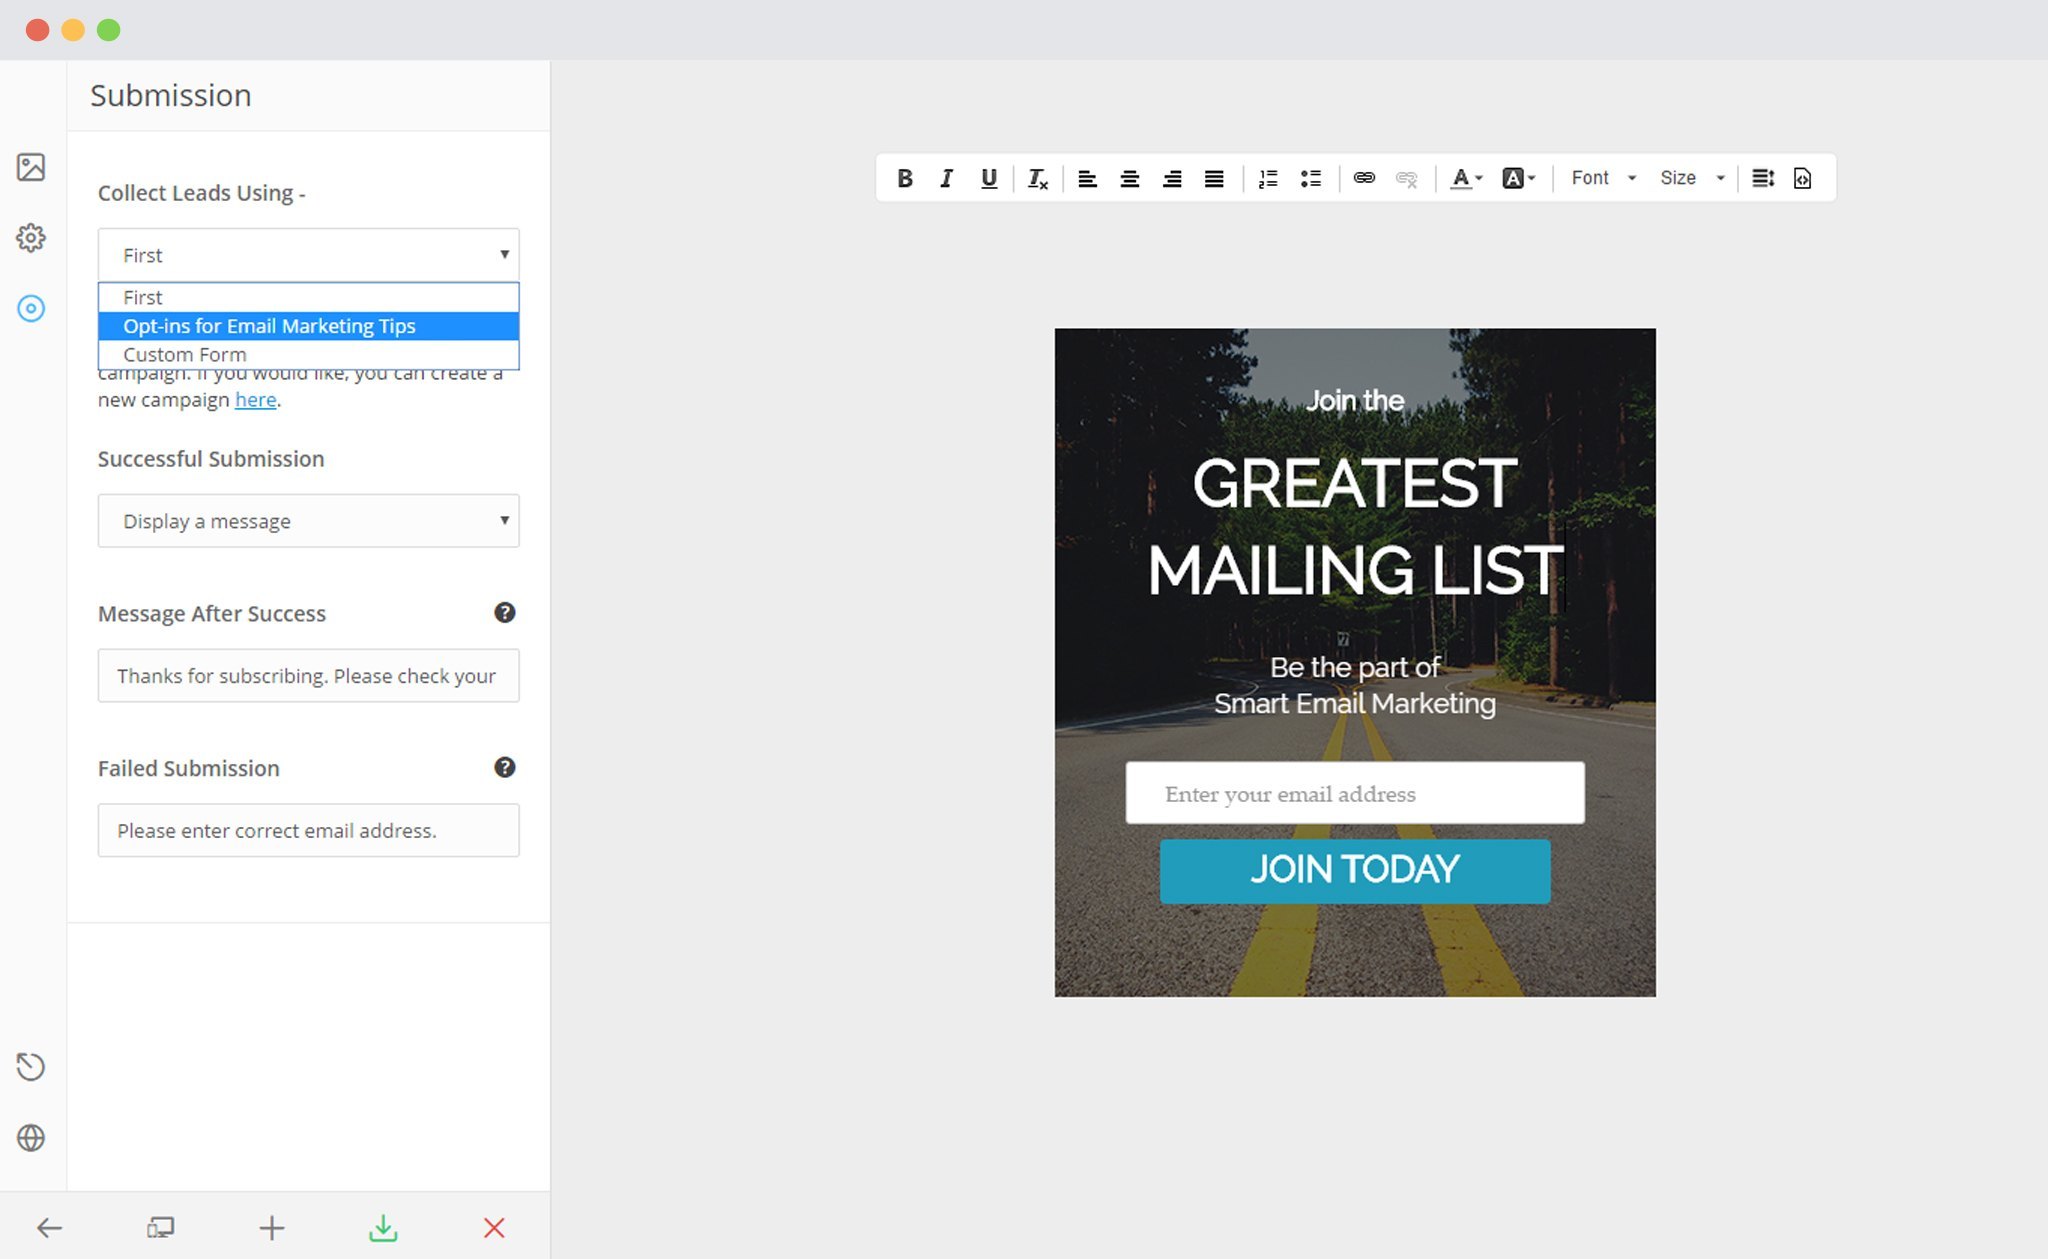
v. Save and Publish the Module.